Spring has Sprung! What better way to celebrate the season than by making a Spring paper banner with Spring inspired colors and patterned papers. Use new Flexible Hang Tabs to display it on a front door, across a mantle, or on a table for a Spring event.
Designed by: Grace Tolman
Time: Approximately 45 minutes
Size: 6” in length and 30” in width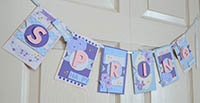
Use your pattern papers to add some color to your season. For the letters in the banner, I used Mini Glue Dots adhesive to create my own thick letters. No need to purchase multiple packs of chipboard letters.
Here's what you need:
- Mini Glue Dots®
- Ultra-Thin Glue Dots®
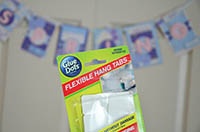
- Glue Dots® Flexible Hang Tabs
- Pink cardstock
- Die Cuts With A View - Marquee stack (or other patterned papers)
- Semi-gloss acrylic paint (I used Altered orange, Landscape Green, Yellow Pastel by Ranger Studio
- Cayenne colored Ink
- Ribbon
- Glitter pen
- Toothpicks
- Circle cutter
- Die cut machine
Here's what you do:
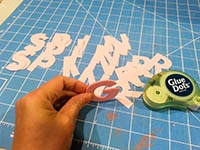
- Using your die cut machine, type up the word “Spring” and create multiple cuts of each letter. For my project, I cut out six pieces of each of the letter. Cut out letters from pink cardstock.
- With Mini Glue Dots adhesive, adhere each letter on top of each other to create a thick letter. Set aside.
- Cut out six 4" x 6" cut apart papers from the Marquee stack. Cut out a few more papers for layering.
- Ink all of the pieces with the Cayenne ink pad. Adhere the layers on top of each other using Ultra-Thin Glue Dots.
- Cut six circles from the same pattern papers. Ink the edges, and adhere to the center of the banner pieces with Ultra-Thin Glue Dots.
- Adhere the letters in the center of these circles with Mini Glue Dots.
- Fussy cut some flowers from the same paper stack and decorate some of the banner blocks with them. Adhere them to the project using more Ultra-Thin Glue Dots.
- Create flags using paper strips and toothpick. Adhere them to the banner blocks using Ultra-Thin Glue Dots.
- Add dots of paint on two opposing edges of each block. Set aside to dry.
- Add shimmer to the pink cardstock letters with a glitter pen.
- Punch two holes on the top of the banner blocks. Thread the ribbon through the banner pieces and adhere to the wall using Glue Dots Flexible Hang Tabs.
~Grace
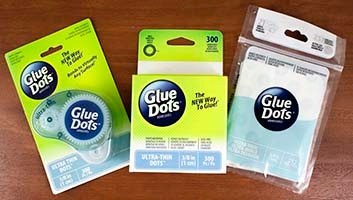
Use either format of Glue Dots products for this project.
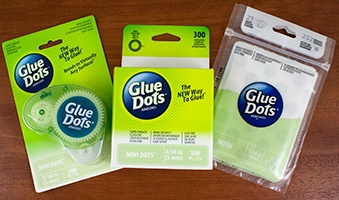
Glue Dots products are available at:
Flexible Hang Tabs and other Glue Dots products are available at:
The Team at Glue Dots consists of three highly creative individuals who find new ways and uses for Glue Dots products for every day life. We hope you like what we create. :-)


