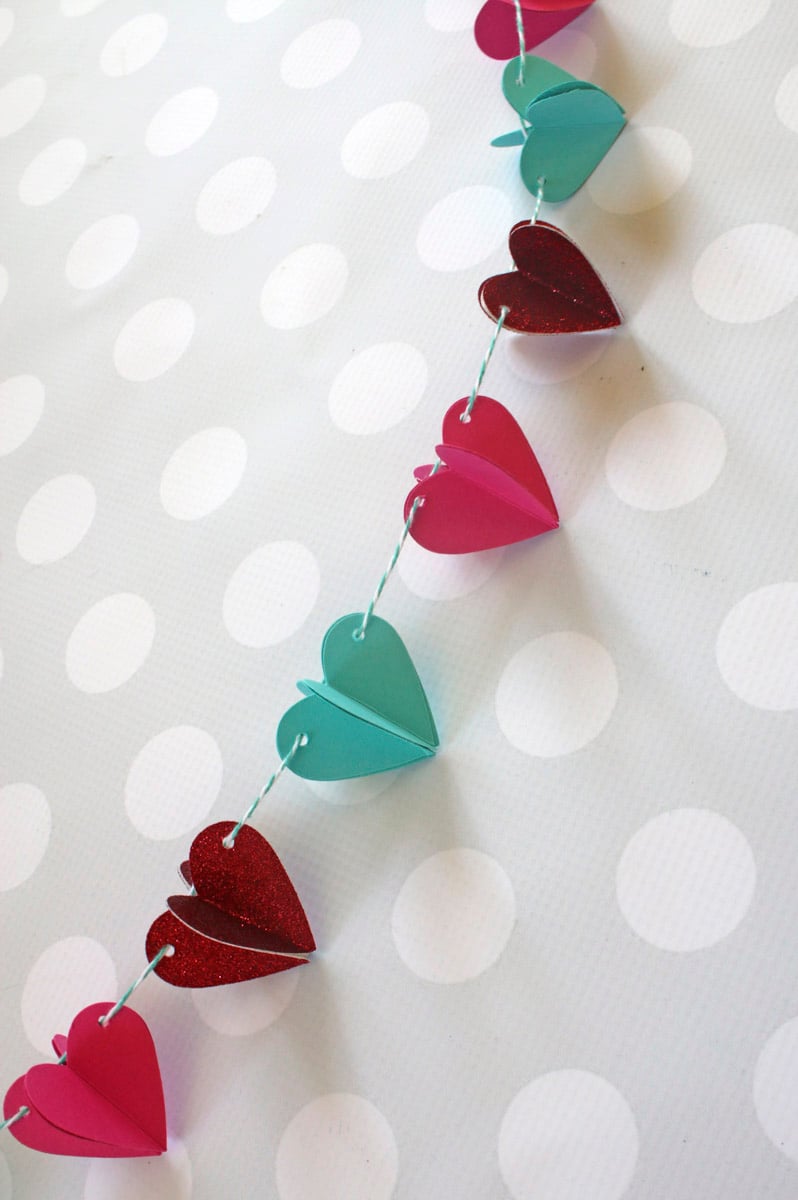
Break out of the dull, winter blues by making a bright, colorful spring wreath! Designer Robyn put a twist on hers by turning her spring wreath into a message board. Guess what?! Even her kids want one for their rooms! A spring wreath message board might just be what you need to brighten up your decor.
Designed by: Robyn Power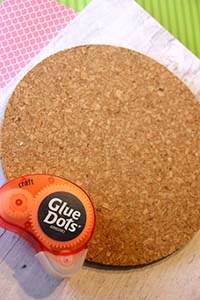
Time: 15-20 minutes
Level: Beginner
Size: varies
I love springtime and the colors that pop up everywhere! I wanted to bring a bit of that into our house, but in a way that was also useful and functional, so I made this little spring wreath message board. Perfect to add some spring color AND a place for little messages or to-do lists for the day! It's super simple and easy to put together too!
Here's what you need:
- Craft Glue Dots®
- Circle cork board
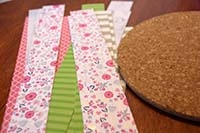
- DCWV designer card stock paper
- Scissors
Here's what you do:
- Decide on the length and width of the paper strips for the outside of the wreath and cut. I cut
 mine 1.5 inches wide and 3.5-4 inches long.
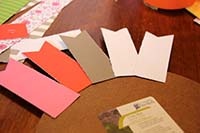
 - Cut a triangle out at the end of each strip, to give them a tag/flag look.
- Use your Craft Glue Dots to adhere each strip to the back of your circle cork board.
- Place each strip evenly around the cork board to create a spring wreath look.
- And hang it up! That's all there is to it! Functional AND decorative! Love it!
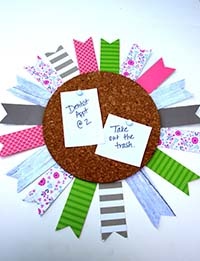
It turned out so cute and was so easy to put together really quick. Now my kids all want one in their rooms as well! I'm all for that if I can write their chores on it each day. ;-)
Happy Spring!
~Robyn
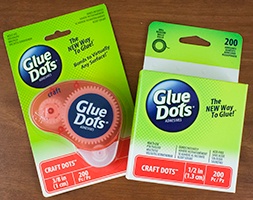
Use either format of Craft Glue Dots for this project:
Glue Dots products are available at:
![]()


The Team at Glue Dots consists of three highly creative individuals who find new ways and uses for Glue Dots products for every day life. We hope you like what we create. :-)


