When your kids are young, have them send a letter to your household elf….or jolly old St. Nick… Then, as they grow out of that stage of make believe, encourage them to write kind notes to others in the family during the holiday season. This festive mail box is a great place for mail pickup and delivery!
Made by: Dawn Mercedes Barrett
Time: 60 minutes plus drying time
Level: Intermediate
Size: 8 x 3.25 x 5.25 inches
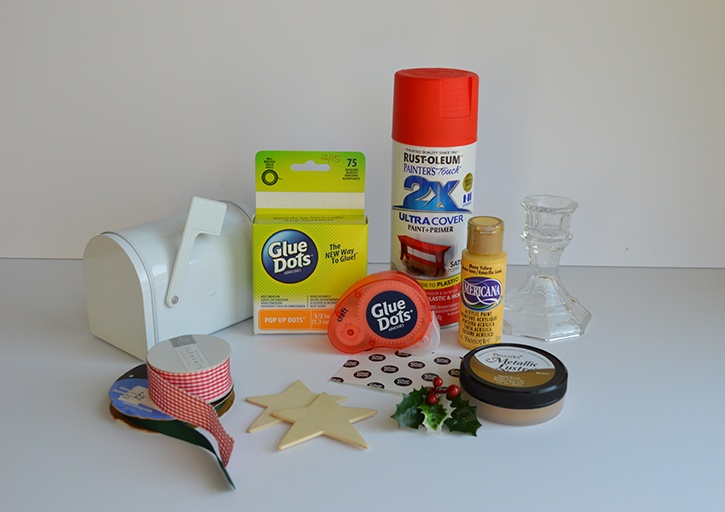
Here's what you need:
- Glue Dots® Craft Dots™
- Glue Dots® Advance Strength Double-Sided Sheets
- Glue Dots® Mini Dots™
- Glue Dots® Pop Up Dots™
- Two Provocraft 3" wooden stars
- White tin mail box
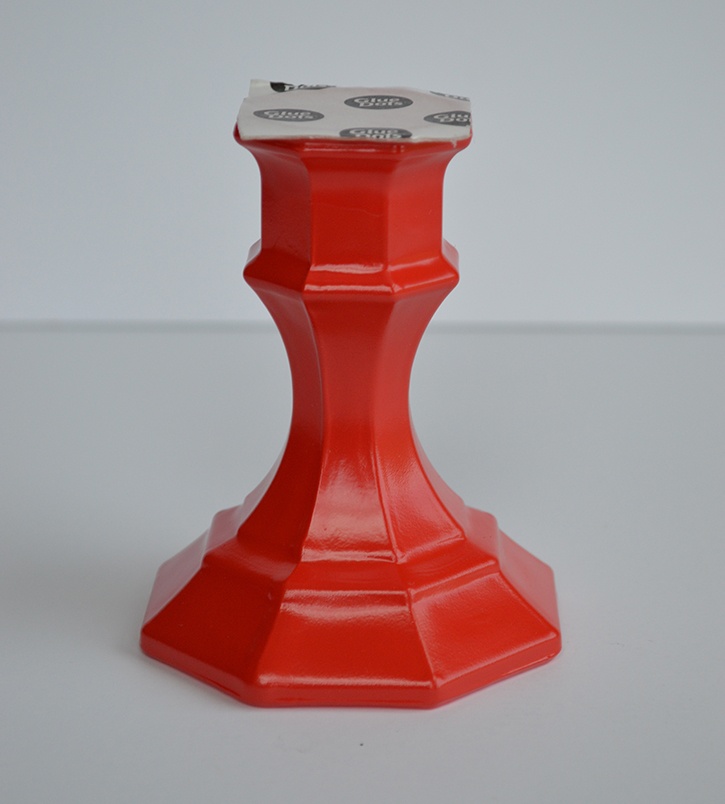
- Candle stick (I got mine from the Dollar Tree)
- 1" Red Gingham Ribbon
- 5/8" Dark Green Ribbon
- Pearl bling from the Eyelet Outlet
- Americana acrylic paint in Moon Yellow
- DecoArt Metallic Lustre in Gold Rush
- Holly berry spring and florist tape
- Rust-oleum Painter’s Touch 2X in Poppy Red (satin)
- Scissors
- Paint brush
- Pencil
- Paper towels
- Painter’s Tape
- Fray Check
Here's what you do:
Mask off the top of the candlestick with Scotch Painter’s Tape.
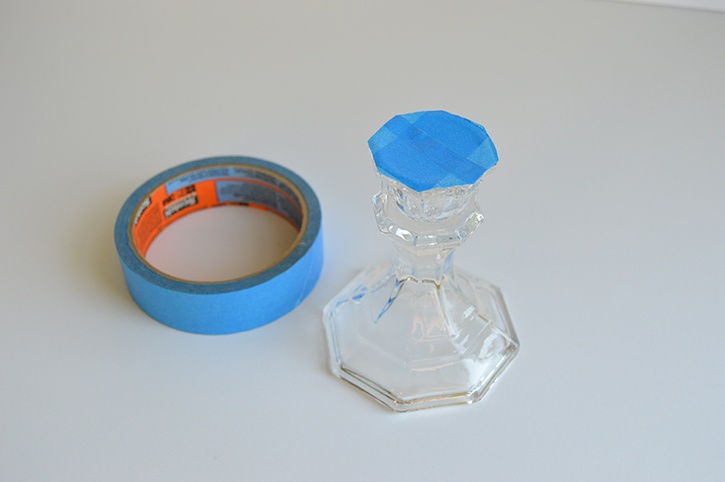
In a well ventilated area, lightly spray the candlestick with Poppy Red spray paint. Wait at least 30 minutes, or until dried before spraying on a 2nd light coat. You may have to repeat this a third time. Set aside and let the painted candlestick dry for 24 hours.
Tip: Be sure to look carefully at the underside of the candle stick to make sure you haven’t missed any areas.
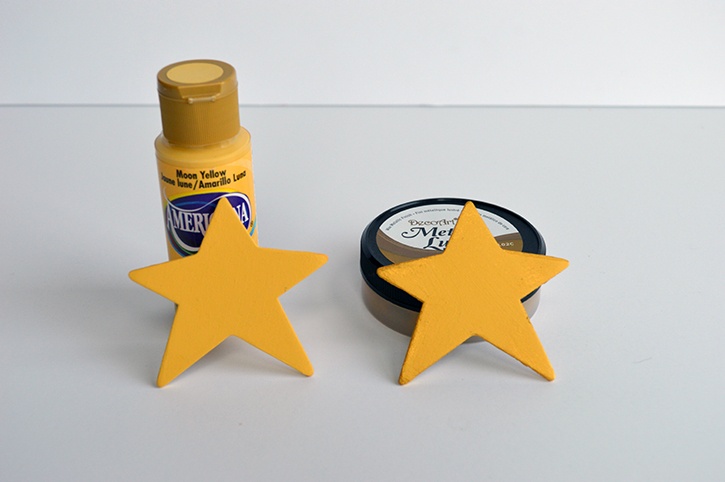
Paint the two stars using Moon Yellow acrylic paint. Paint on the front and sides, leave the back free of paint in order to have a better surface to adhere to the mail box. Allow it to dry at least 30 minutes. Add a second coat. Let dry over night.
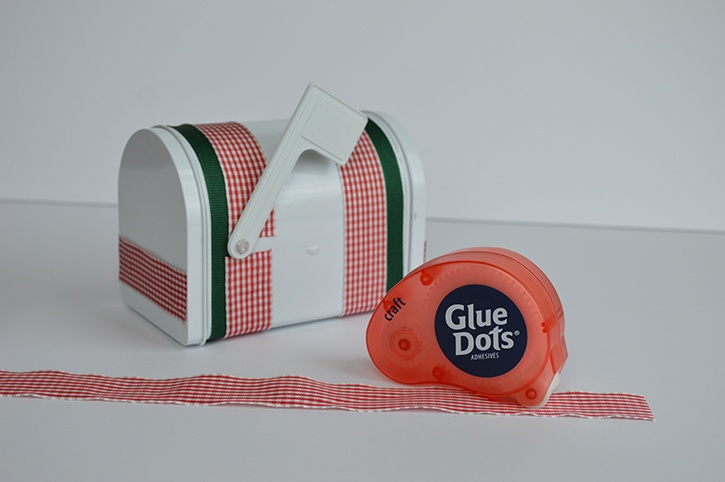
In the meantime, use Craft Dots to adhere ribbon on the white, tin mail box. You may want to add ribbon on the ends as well.
Tip: Use Fray Check to secure the ends of cut ribbon and to prohibit fraying.
When the stars are complete dry, use the Metallic Lustre to dry brush the finish onto the edges of the star.
Tip: Dry brushing means that you work with a dry brush. Do not wet it. If your get too much finish on your brush, use a paper towel to dab some off to keep your brush as dry as possible.
When the candlestick is dry, apply the Advanced Strength Sheet where the masking tape was and trim any excess off the edges.
Center the mail box on top of it and firmly press down.
Add embellishments as desired. For the stars, use the Advanced Strength Sheets. Use florist tape to gather your holly spring together. Then, secure it so the hinge of the mail box flag using a Pop Up Dots. Mini Dots will keep your pearl bling secure especially as it sits in storage during 11 months of the year.
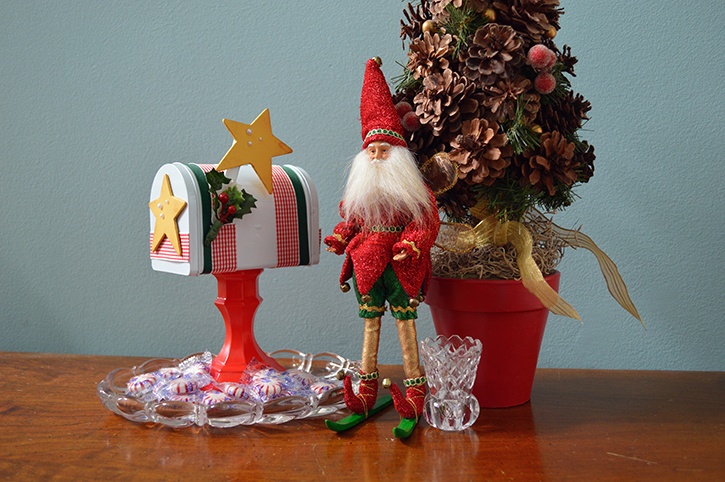
A magical mail box to help bring the Magic of Christmas into your home!
~Dawn


Dawn Mercedes Barrett is a designer who enjoys juggling a number of activities. Whether it is creating a card or object for home decor, whipping up a batch of fresh cookies for kids that drift through the house, or learning to enjoy the rigors of strengthening her body through running, she is your go-to crafter for help, ideas, and encouragement. Who says you (or your style) have to grow old and moldy? Dawn’s up beat style and silly comments will keep you smiling and chuckling.


