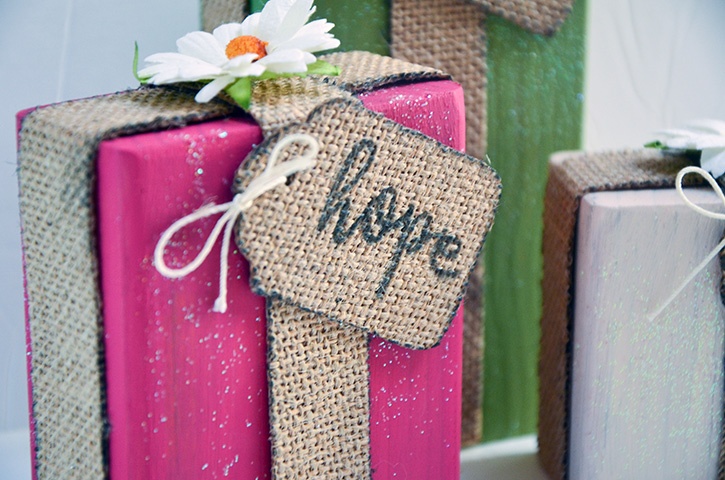
I was inspired by this wood block set that I found on Pinterest. I love the simple yet cute look of the project. I changed mine a bit by changing the colors of the blocks, adding a flower on top and sprinkling some glitter for some added shine. The burlap adheres onto the painted wood surface without any problems with the use of Advanced Strength Glue Dots® adhesive.
Made by: Grace Tolman
Time: Approximately 1 hour (including paint drying time)
Level: Intermediate
Size: Large block = 6" x 1 ½" x 1 ½"; Medium block = 4" x 1 ½" x 1 ½"; Small block = 3" x 1 ½" x 1 ½"
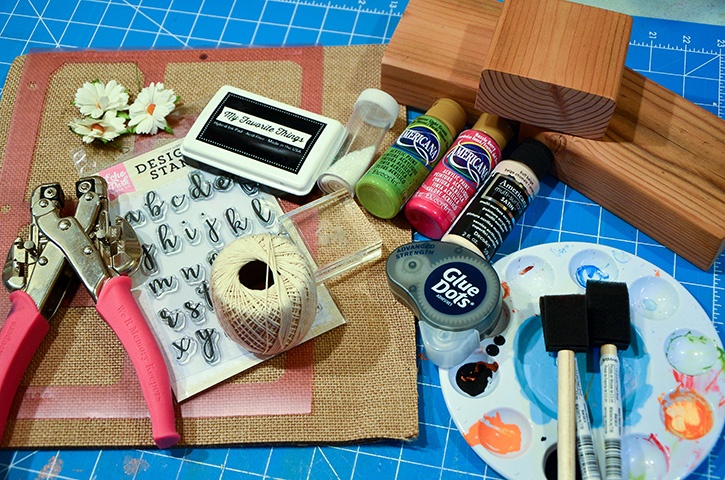
Here's what you need:
- Glue Dots® Advanced Strength Adhesive
- Wood blocks
- DecoArt Paints - Razzle Berry, Hauser Light Green, Buff Beige
- Burlap Sheets
- Flowers- Inspired By Stamping
- Twine
- Glitter
- Stamps
- Ink
- Hole punch
- Scissors
- Paint Brush
Here's what you do:
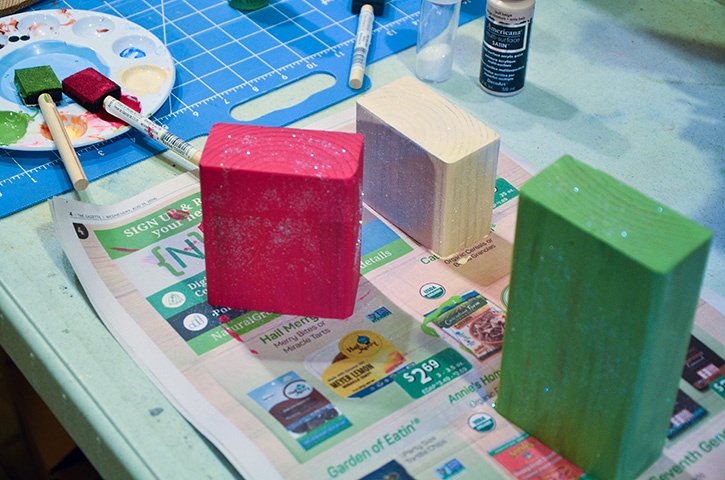
Paint the blocks with desired color. *Sand the blocks beforehand if deemed necessary. Sprinkle some glitter onto the surface of the blocks while the paint is wet so that the glitter will adhere to the block easily. Set aside to dry.
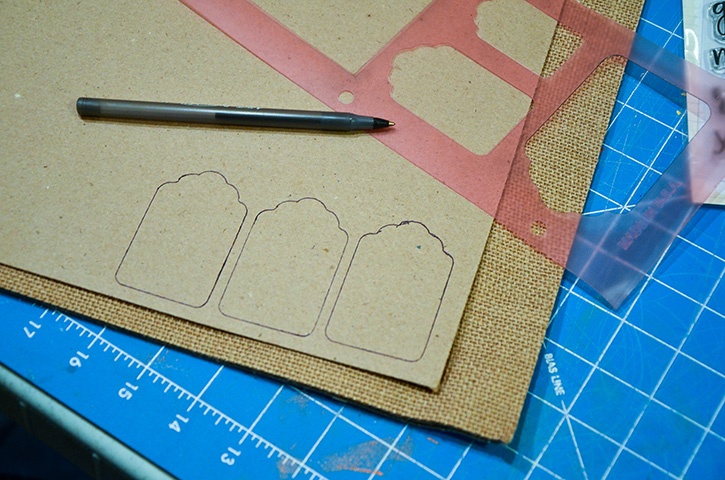
Make the tags. Cut tags from burlap sheets. I used a template for tags, but you can just make your own measurements and cut accordingly. Create a hole on the top of the tags using the hole punch.
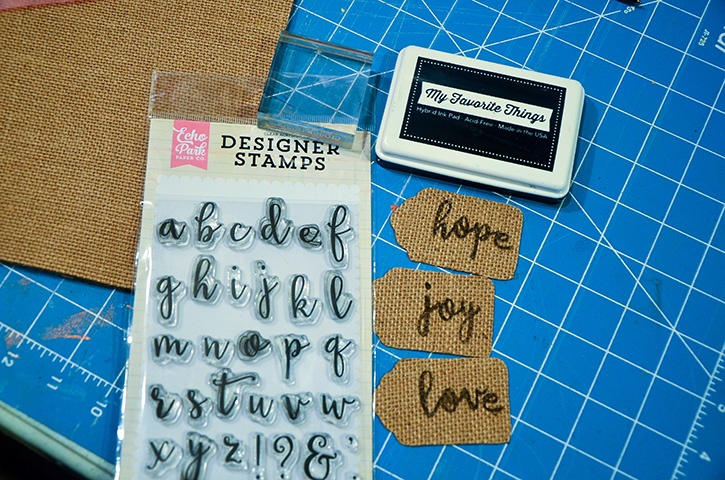
Create the words onto the tags using stamps and black ink. *Make sure that the ink you use is good on burlap.
Thread some twine through the tags and tie into bows. Set aside.
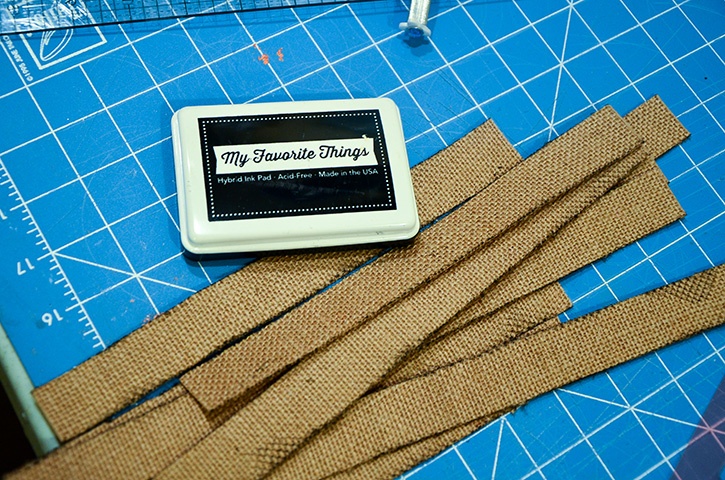
Cut 1” strips from burlap. Ink the edges of the burlap using the black ink pad. The inking is optional but I like the “weathered” and “distressed” effect that it gives.
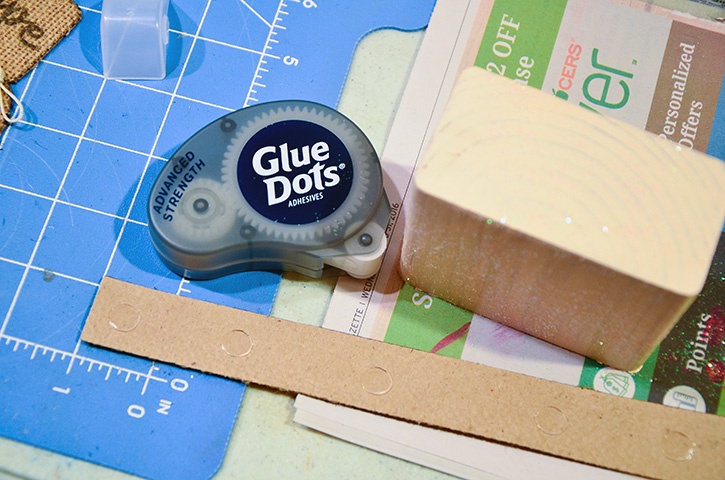
Once the paints are dried onto the block, add the strips of burlap onto the wood to make it look like a gift box. Adhere the burlap strips using Glue Dots Advanced Strength adhesive. Depending on the size of the block, you might have to trim the excess strip (for the smaller blocks) and connect two pieces of strips together (for the larger ones).
Add the flower on top using more Advanced Strength adhesive.
Adhere the tags on the front of each block using Advanced Strength adhesive.
~Grace
P.S. This holiday decor project was inspired by Craft Critters 4x4 Presents.

I’m a mom to a 10 year old boy and an 8 year old girl. Therefore my life is usually filled with learning, new discovery, bribery and driving to and from all of our activities. I have a loving and very supportive husband of 11 years. When the kids have gone to bed at night, my time is spent crafting while catching up on my favorite shows and movies. I also enjoy reading, window shopping, knitting and perusing blogs for inspirations. Three years ago we moved to Colorado from California and we are enjoying our new environment. I feel very inspired with my new home, my new scrapbook space and the mountain views. Although I’ve been doing some type of scrapbooking since grade school, I only started to scrapbook seriously after my son was born. When he was born I knew I would be staying at home with him but coming from a fast paced sales job I was afraid I would ran out of things to do during the day. Little did I know that with newborns you won’t have any time to do anything else. Anyways, after going through a basic scrapbooking class I was hooked and haven’t stopped scrapping since.


