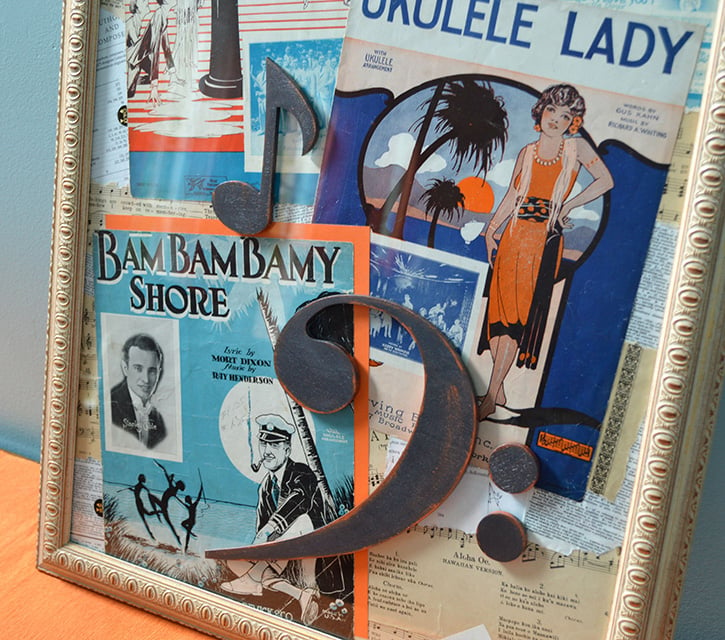
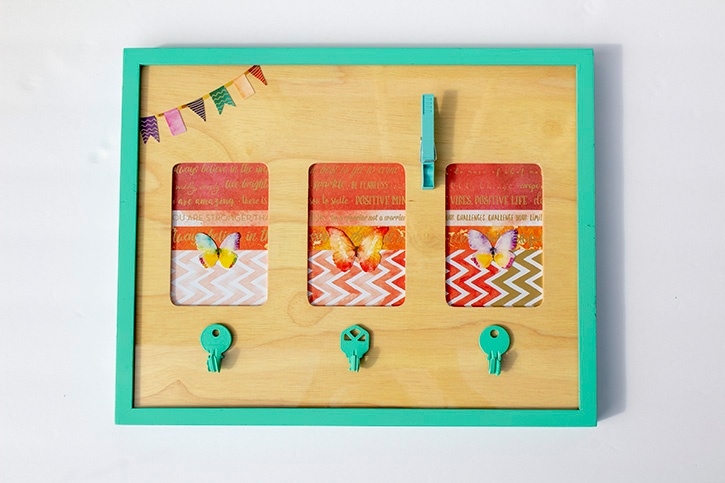
How do crafters stay organized? We make something! Check out the tutorial below to see how to turn an old collage photo frame into a memo board for inspiration, ideas, and project deadlines.
.jpg?width=725&name=Glue-Dots-Memo-Board-decorated-close-up(1).jpg)
Designed by: Danielle Hunter
Time: Approximately 45 minutes (not including drying time)
Level: Beginner
Size: 11¾ " x 14 ¾"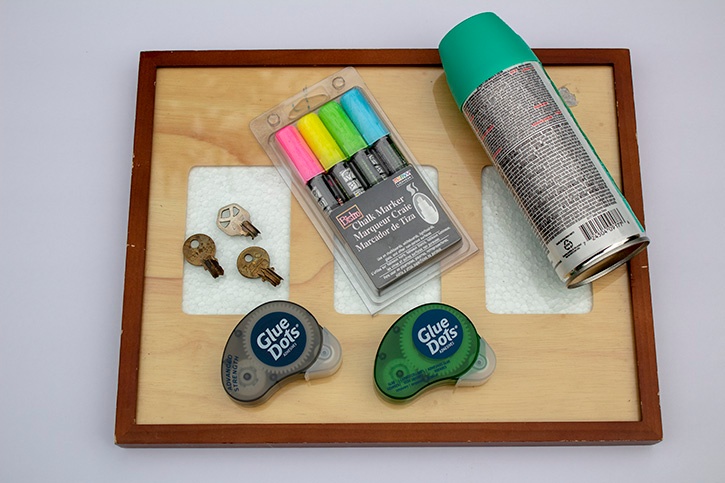
Here's what you need:
- Advanced Strength Dots™
- Removable Glue Squares®
- Marvy chalk markers
- Spray paint (turquoise)
- Paper trimmer
- 11¾ x 14¾” Collage photo frame
- Paper House decorative paper (color washed)
- Paper House stickers
- 3 bent keys
- Clothespin
Here's what you do:
Take apart frame to clean and dry. Apply several coats of spray paint to frame and keys. Allow drying time in between coats.
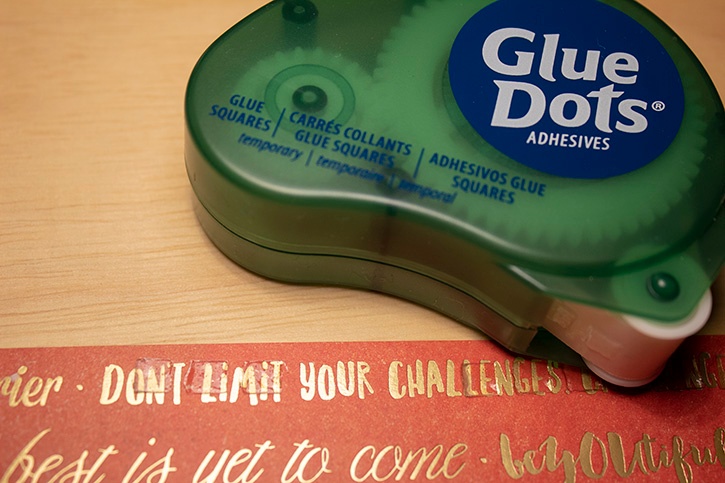
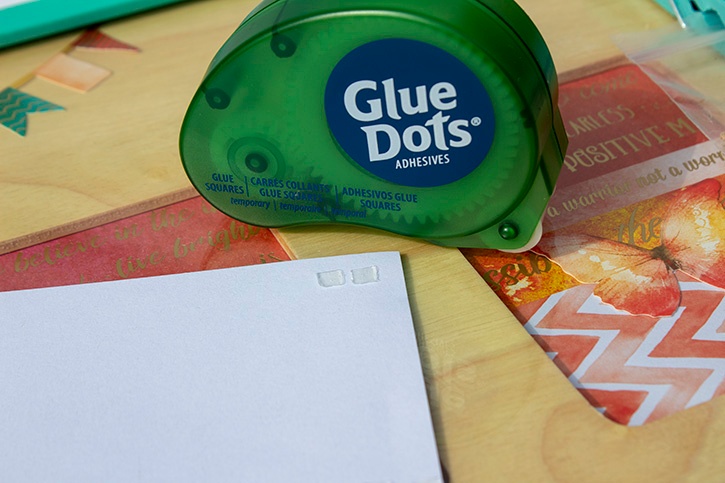
Trim a piece of Paper House decorative paper to fit behind the wooden insert openings. Use Removable Glue Squares to attach paper behind openings.
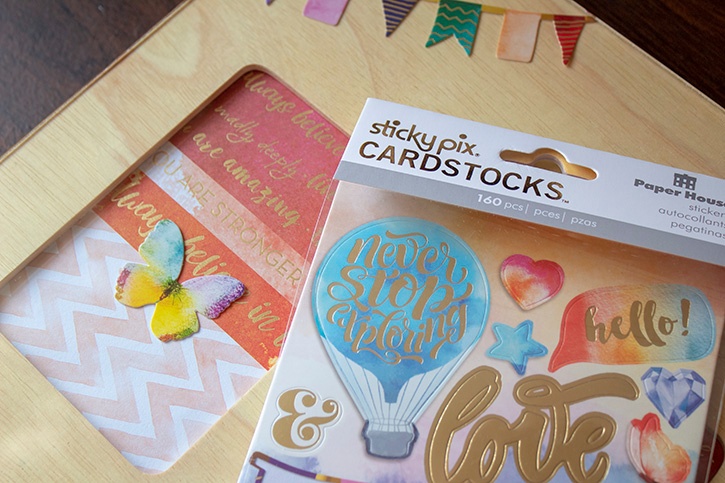
Decorate front of insert with Paper House stickers and put frame back together.
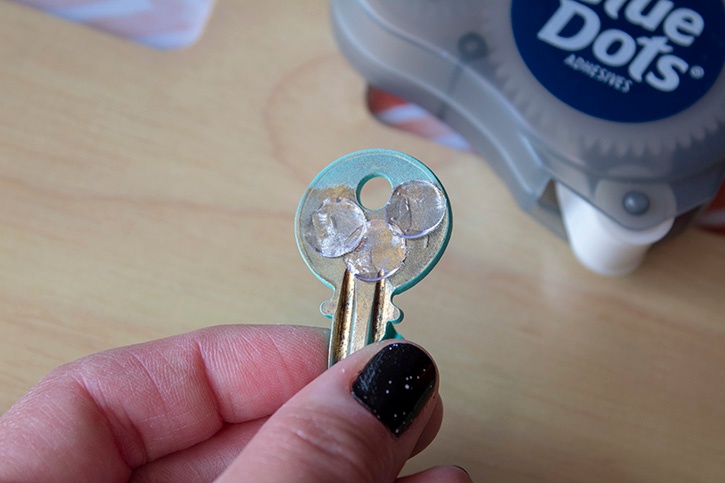
Attach clothespin and keys to glass with Advanced Strength Dots.
Write reminders and notes with Marvy chalk markers.
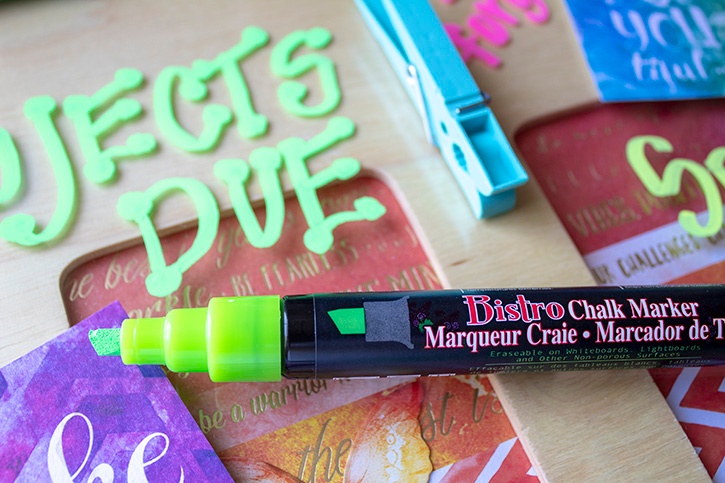
Attach inspiration to frame with Removable Glue Squares.
~ Danielle

Danielle Hunter is a multitasking mom of two creative girls. She works in human resources for a non-profit organization and is a yoga teacher in training. She lives in Northeast Ohio and has been dedicated to crafting since childhood. Danielle completed her first scrapbook at the age of four, was a scrapbooker-for-hire for several years, and has shared her knowledge in a classroom setting. She enjoys turning trash to treasure, making crafts for kids, and creating artistic projects with bold colors and fun designs. Danielle joined the very first design team for Glue Dots in 2010. Her projects have been featured in Craft Ideas and CardMaker magazines, as well as websites such as Reader’s Digest, HGTV, and Crafting a Green World.


