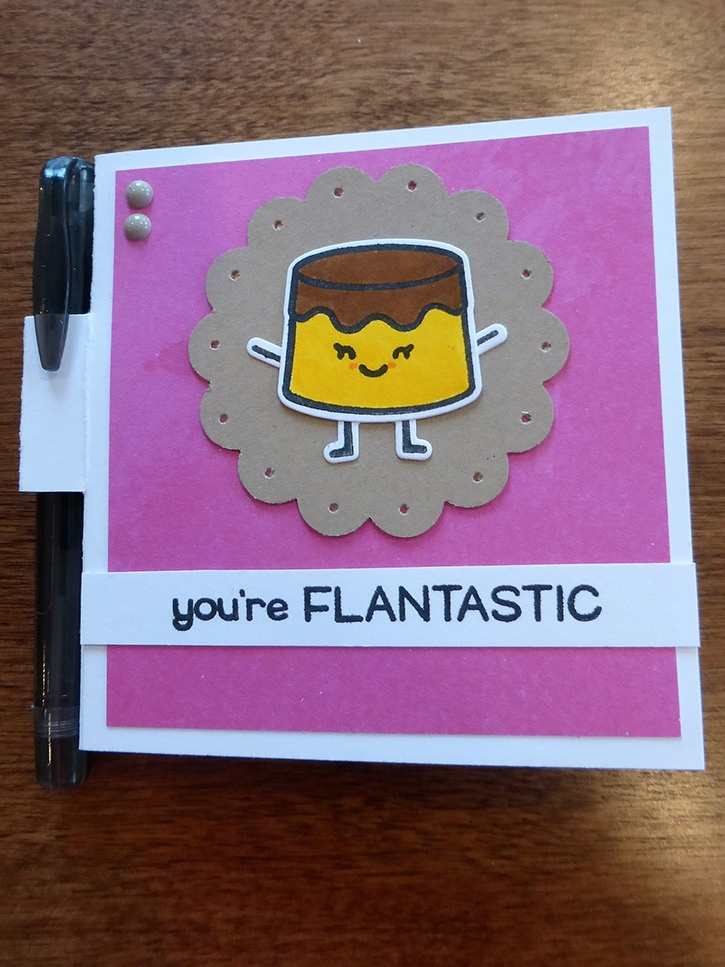
This cute little Post-It Note holder is perfect for teachers. It comes together quickly and can last the better part of a school year! A great way to give this gift is to package it in a cellophane bag with a note that says, “Just a note to say, I appreciate you in a big way,” or something like that.
Made by: Amanda Tibbitts
Level: Moderate handiness
Time: 1 hour

Here's what you need:
- Permanent GlueTape™
- Advanced Strength Double-Sided Sheets
- One sheet of heavyweight white cardstock
- One sheet of Kraft cardstock
- A small sheet of pink watercolor (or you could use patterned) paper
- Lawn Fawn's “Sweet Friends” stamp set and coordinating dies
- Black ink
- Baby wipes/stamp cleaner
- Zig Clean Color Brush markers (I used 3 Colors)
- Self-sticking enamel dots
- Mini gel pens
- Standard size Post-It Notes
- Acrylic block for stamping
- Paper trimmer
- Scoreboard
- Scissors
- 2” scallop circle punch
- Cuttlebug or other manual die cut machine
Here's what you do:
Using the paper trimmer, cut the white card stock to 7 ⅜ X 3¼-inches and set the leftovers aside to stamp images on. Using the scoreboard, score the card stock at 3 ⅛ inch, 3 ½ inch and 3 ⅜ inch. Really crease these once you’ve made the scores. Cut a 3 x 2 ⅞-inch piece from the pink paper to use as the background on the top of the holder. 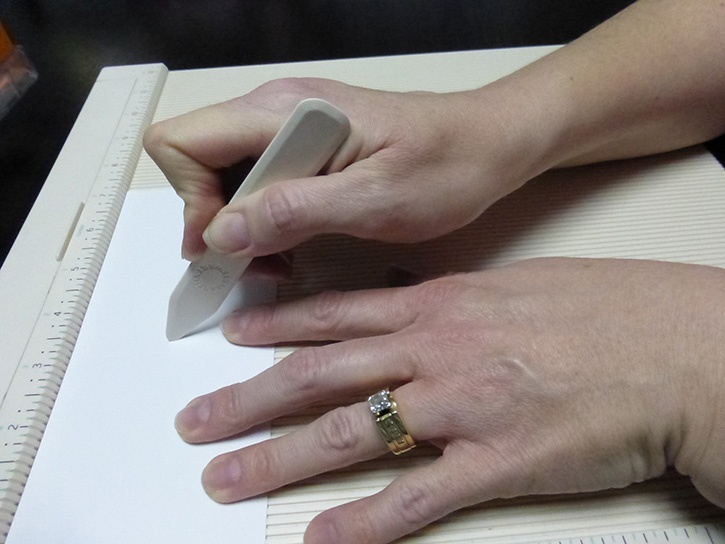
Once all your creases are set, fold the card stock, using the middle scoring line (the the 3½ inch line) as the center. Cut two slits to the score line in the middle of the card stock.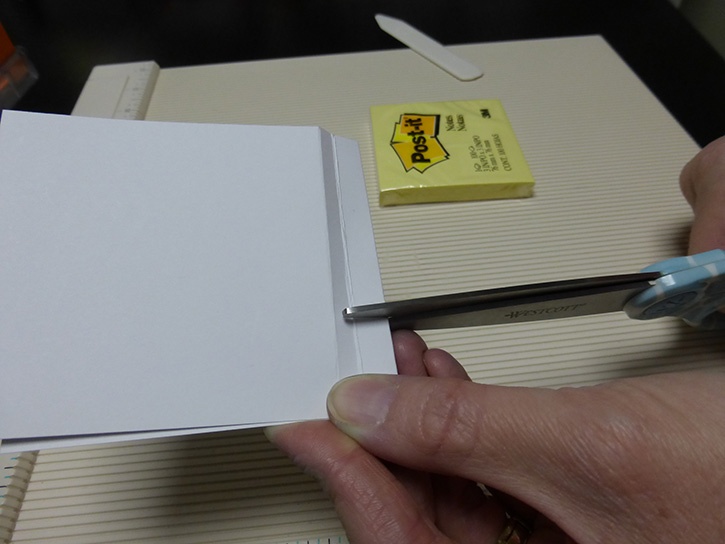 This will be the pen holder. Use the Advanced Strength Sheets and trim a small piece to fit on the inside of the holder on both the top and bottom of the pen holder area. But be sure to NOT glue where you popped out the pen holder, or it won’t open.
Using the super cute “Sweet Friends” stamp set, select which character your Post-It holder's cover will have. Grab your sentiment and stamp both on the leftover white paper. 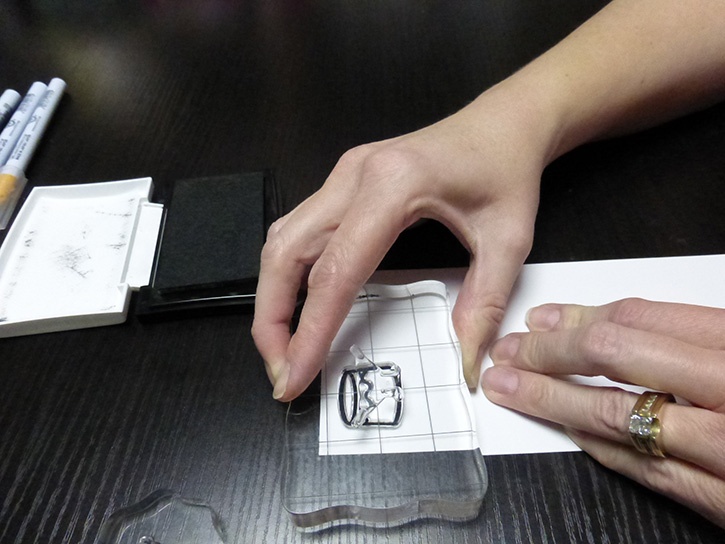
Color your images with your markers. Then, using the coordinating dies and the Cuttlebug, cut out your images. Trim the sentiment with your scissors or paper trimmer. Using the scallop punch, cut out a shape.
Cut a larger piece from the Advanced Strength adhesive sheet, remove one side of the liner and apply it to the back of the Post-Its. Remove the backing, and put the Post-It’s on the inside of your holder. 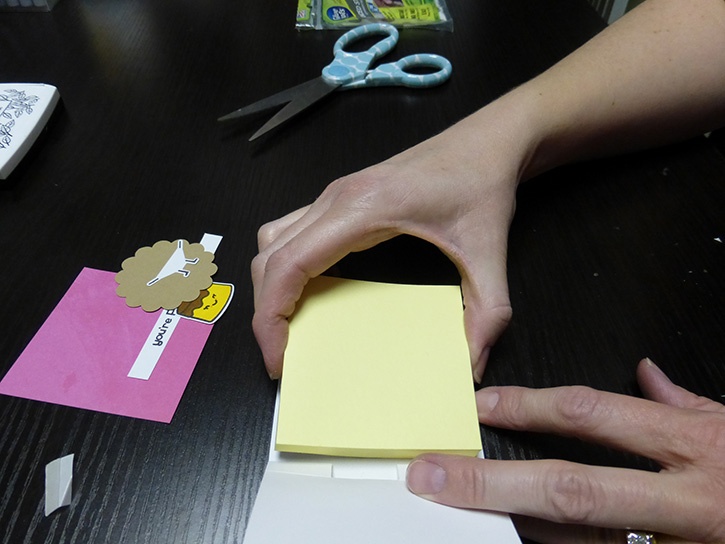
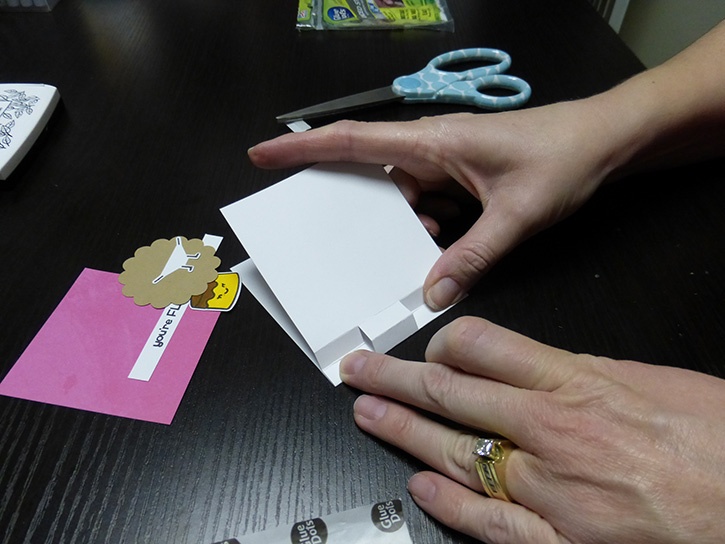
Use the tape runner and place adhesive to the top portion of the pink piece. 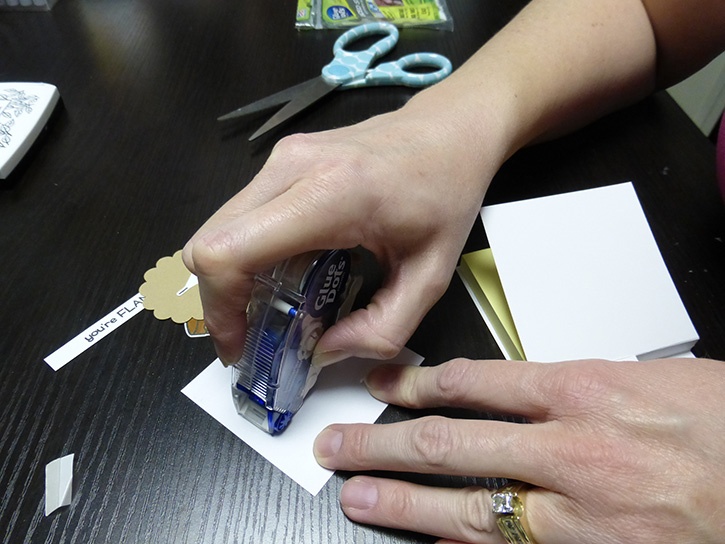
Place the pink piece on the front of the holder. With the tape runner, glue your colored image into the scallop shape. Once assembled glue your image into the center of the upper portion on the cover of your Post-It Notes holder.
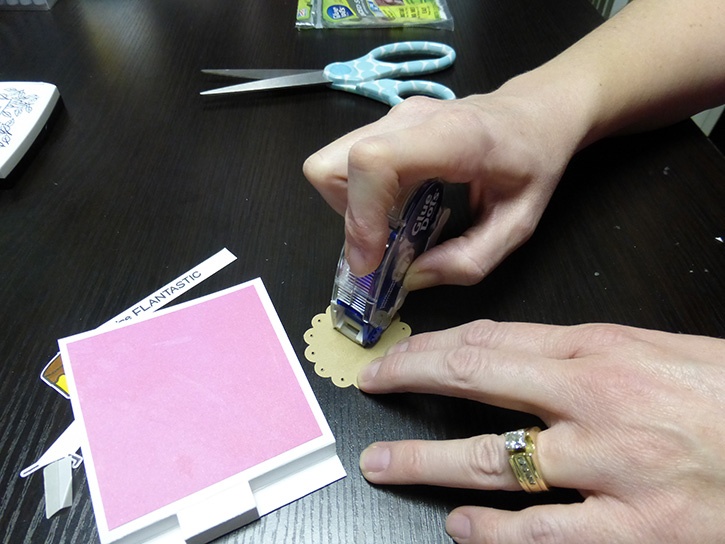
Glue your sentiment to the bottom of the pink background, going edge to edge. Grab two tiny enamel dots and put them in the corner. The final step is to add the pen to the holder.
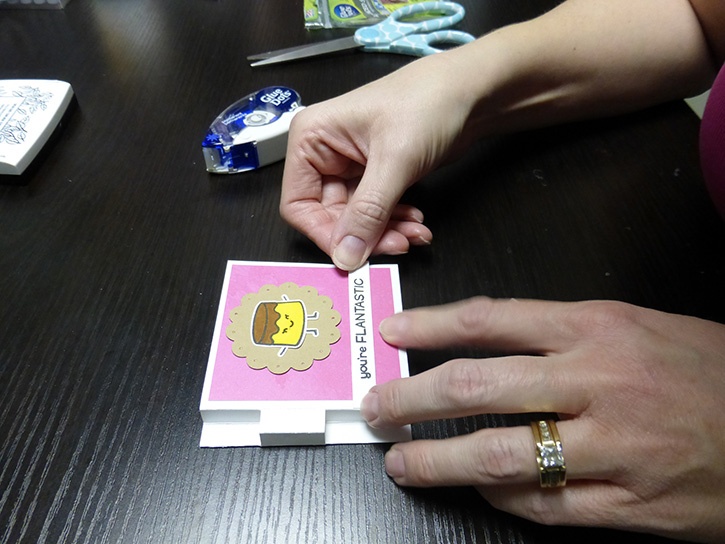
This little gift is so cute, thanks to the Lawn Fawn stamps. Teachers are going to love being told how
Flantastic they are!
~ Amanda

I began crafting in 1996 and simply fell in love with making my own cards. Long live snail mail! Crafting isn’t just a hobby for me, but a way of life… Teacher gifts, posters, scrapbooks, wood crafts? Yes, please! I have been married to my cute husband for 16 years and he definitely inspires me to try new things and enjoy the little things. As a stay home Mom, my time is spent raising my two girls, and raising the bar for my gift giving!


