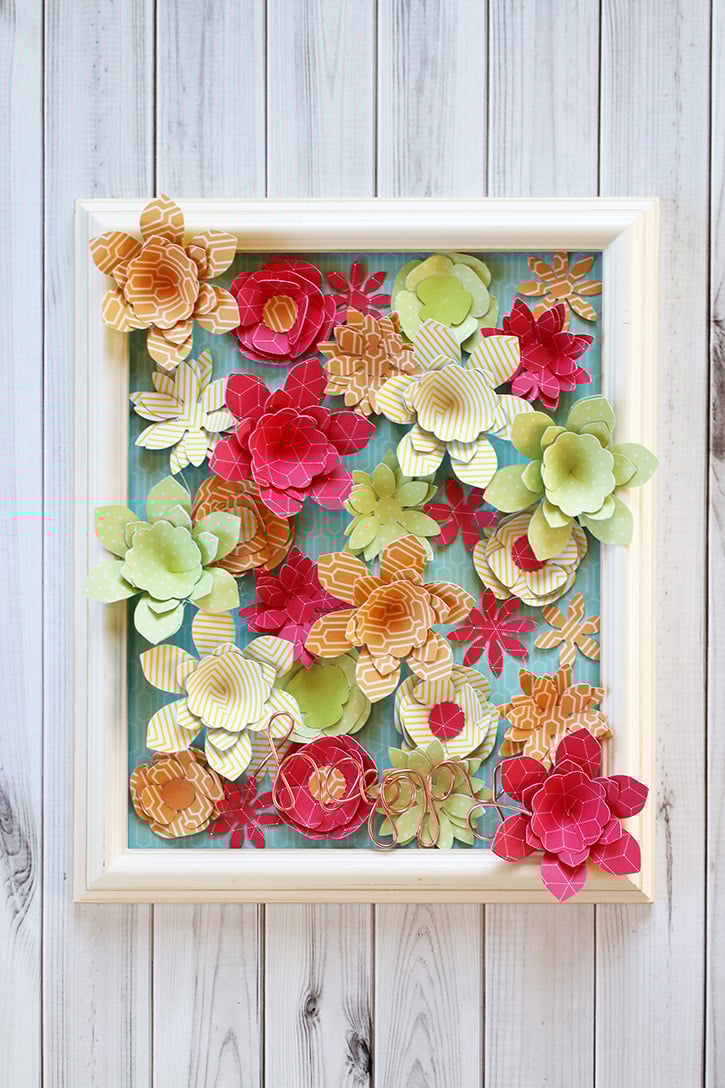
To me, spring décor always means lots of flowers! For this craft I wanted to incorporate that idea into a 3D piece of art that can be preserved and used for the spring season for years to come.
Made by: Samantha Taylor
Time: 1 hour
Level: Moderate Handiness
Size: 8” x 10”
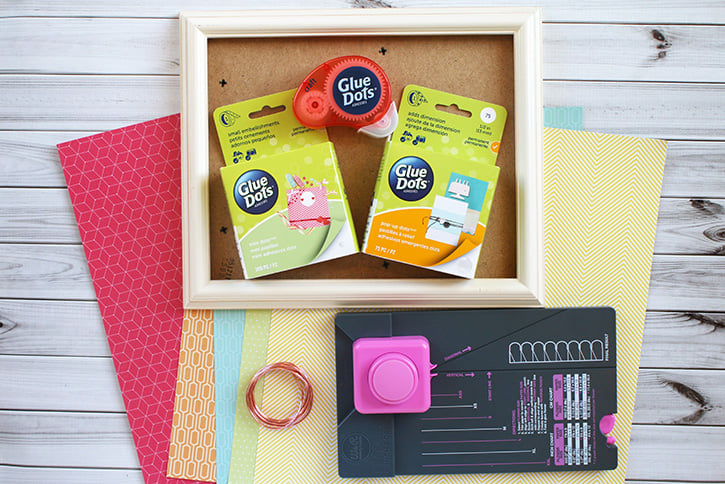
Supply List:
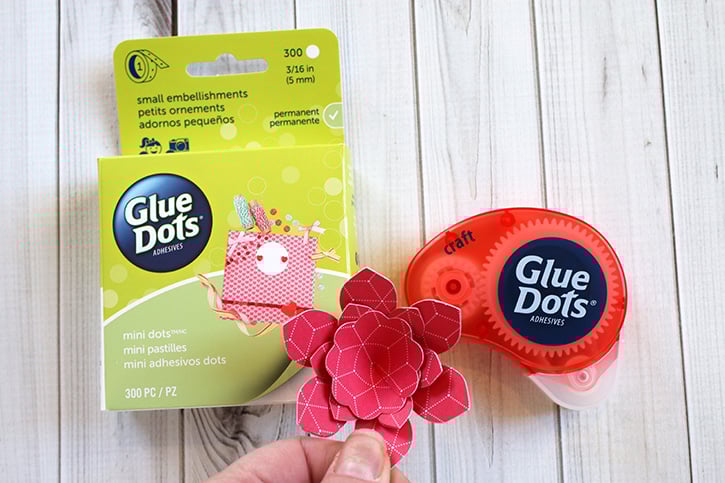
- Pop-up Dots™
- Mini Dots™
- Craft Dots™
- 8” x 10” picture frame
- Patterned paper in a variety of colors
- Chipboard
- Wire
- A way to cut paper flowers (templates, flower punches, manual dies, or digital die cutting machine)
Directions:
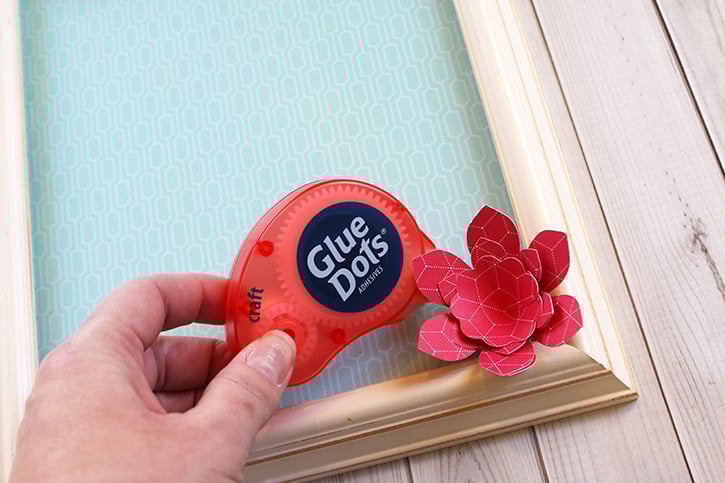
Cut a piece of chipboard and patterned paper to frame size (8” x 10”). Attach the patterned paper to the chipboard with Craft Dots.
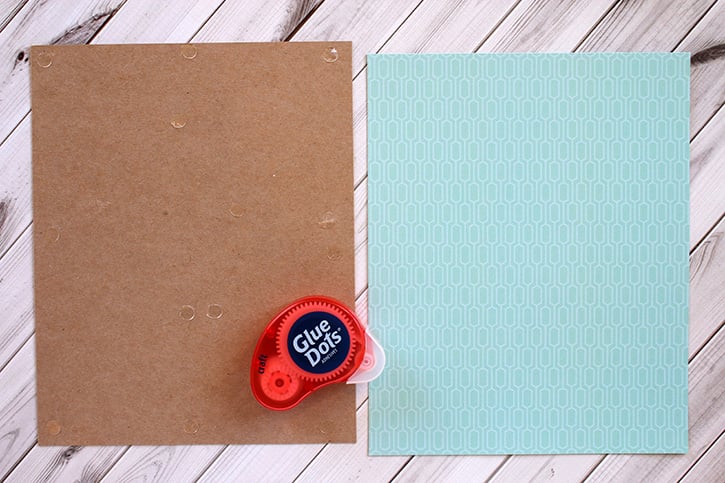
Remove glass from the frame and place the chipboard into the frame.
Cut lots of flowers in different sizes from different colored patterned paper. Use Craft Dots and Mini Dots to assemble flowers.
Attach flowers to the chipboard inside the frame using Craft Dots and Pop-up Dots. Start by attaching the largest flowers first, and work down to the smallest flowers.
Create the word “happy” from wire. Attach to the frame using Pop-up Dots.
I used a mix of Pop-up Dots, Mini Dots, and Craft Dots for this project, but you can also use Glue Squares, Micro Dots, and Ultra-Thin Dots. Choose colors that fit your home décor and customize this project to match your personal style.
~ Samantha

My name is Samantha Taylor and I have a passion for combining crafting and creativity to beautify life. I live in a small town in rural Iowa with my husband and 2 boys (all 3 of whom you’ll see featured in my projects). I’m a paper crafting fanatic who also loves photography. I enjoy making lay outs, cards, mini albums and home decor items, party decorations, and crafting with my kids. My favorite thing about crafting is getting to connect with so many people all over the world who also love creating pretty things and preserving memories. You can find more from me at www.taylorstamped.blogspot.com. I am so excited to share with you my love for the many uses of Glue Dots®!


