This sweet necklace can be made in a short amount of time, and with any colors you may like!
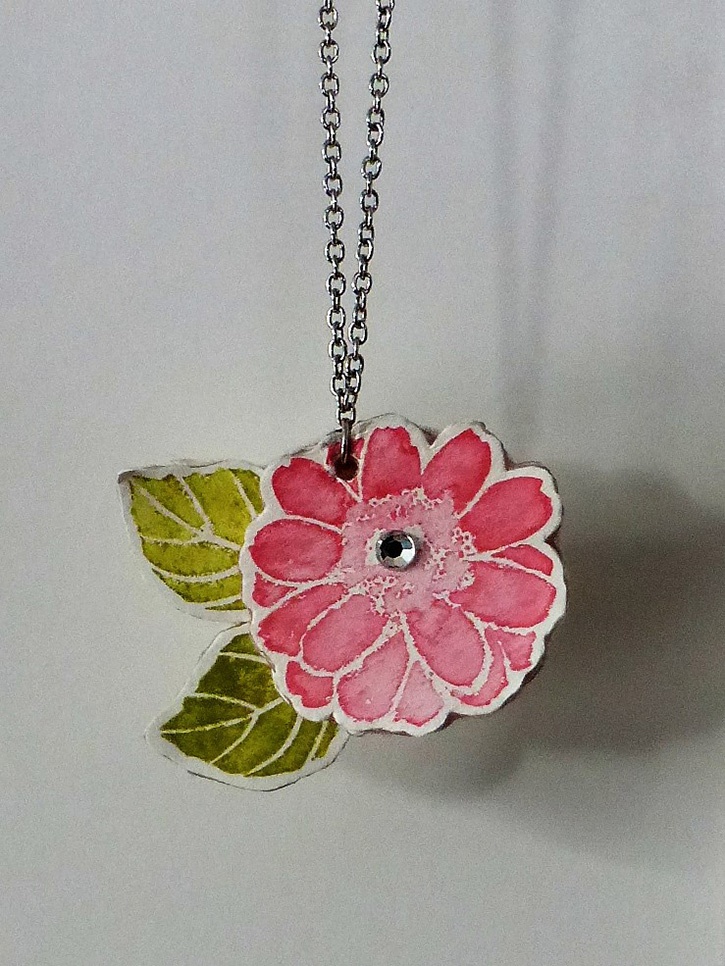
Made by: Amanda Tibbitts
Level: Moderate handiness
Time: About 1.5 hours
Here's what you need:
- Advanced Strength Double-Sided Sheets
- Advanced Strength Dots™
- Canson® XL® Watercolor Paper
- Concord & 9TH Petals & Pallets Stamp Set
- Acrylic block
- Water brush
- Baby wipes or stamp cleaner
- Tim Holtz Distress® Oxide Inks in 2 colors (this project uses two colors: Worn Lipstick and Peeled Paint)
- Scrap felt for backing
- Scrap paper to protect work surface
- Necklace chain
- Scissors for paper and adhesive
- Small hole punch
- Wire cutters or pliers
Here's what you do:
With the Worn Lipstick Oxide Distress Ink, lightly stamp 5 flowers, leaving enough room to cut them out later. It doesn’t matter as much if the stamp is stamped perfectly. Use the baby wipe or stamp cleaner to clean off your stamp. Then, with the Peeled Paint ink pad, stamp 10 leaves, also leaving enough space to cut them out. Next, dab some water on your water brush. Lightly brush over the petals of one of the flowers to lightly fade out the impression. Once you’ve "water colored" them to your liking, set them aside to really dry. Follow the same step for two of the leaves.
* Please note that it is not necessary to watercolor all 5 of your flowers or all 10 of your leaves, just the ones you’re using as the top pieces.
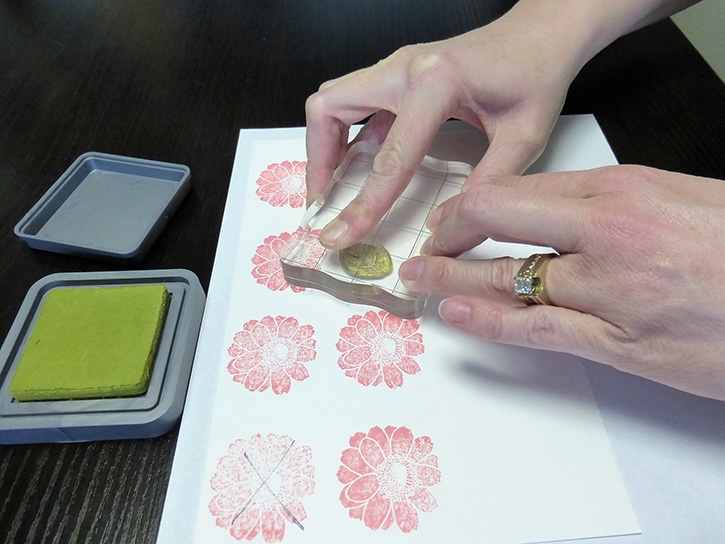
Cut out leaves and flowers the same way for each flower, so they will stack nicely. Leave a little border around if you’d like and do the same for each leaf. With the small hole punch, punch all of the flowers in the top center, or wherever you want your chain to hang from.
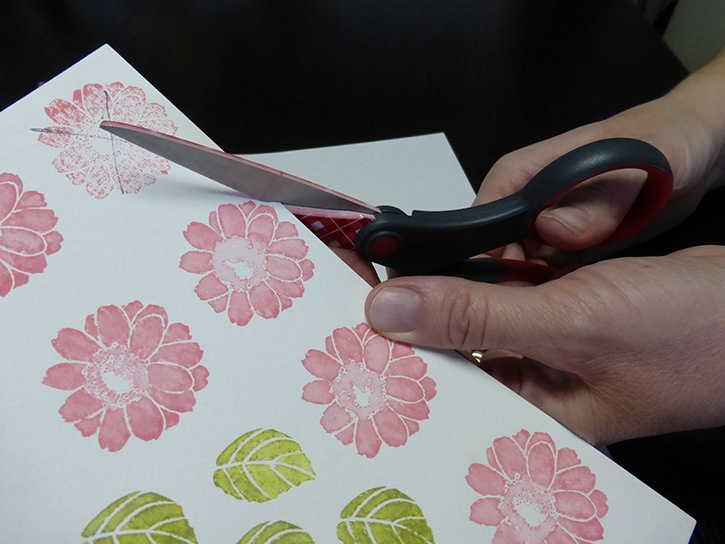
With Advanced Strength Sheets apply adhesive to the back of 4-5 flowers, and cut them out with your adhesive scissors. Cut the sheet as close to the edge of your flowers and leaves as you can, so that there is no adhesive hanging off of the edges.
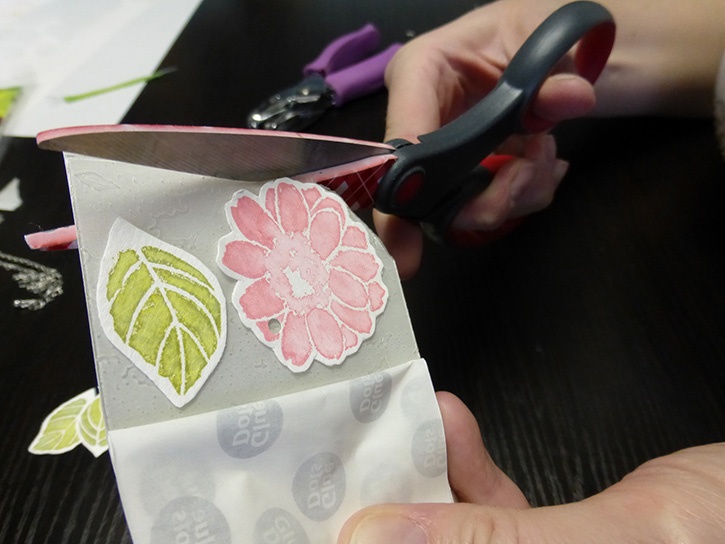
Punch the hole again through the adhesive and remove the adhesive backing from one of the the flowers.
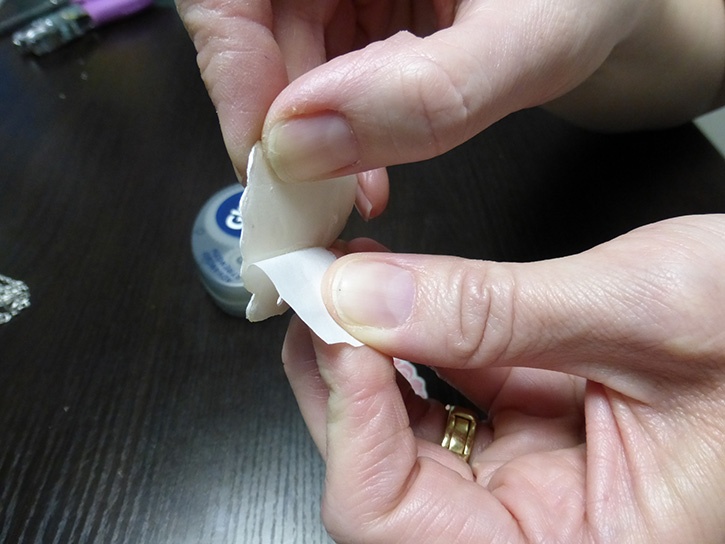
Begin stacking them one on top of each other, removing the backing for each layer as you go. Be sure to save the one that has no adhesive on the back as the bottom layer. Follow the same step for making the two leaves.
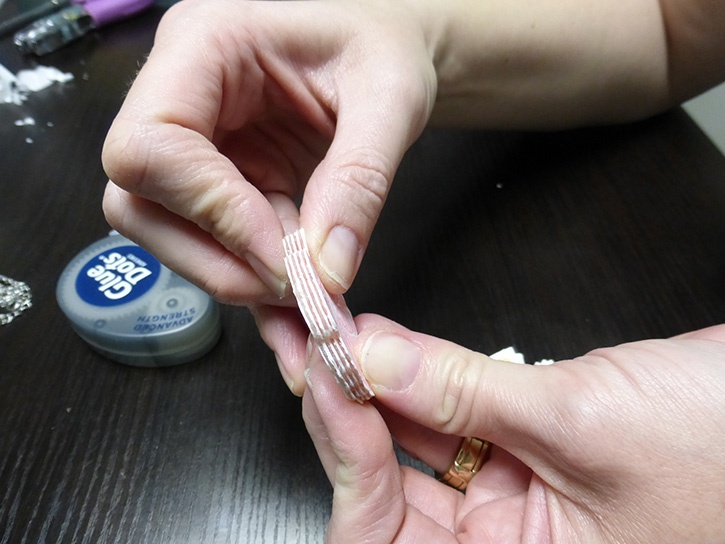
Use Advanced Strength Dots to stick the stacked leaves to the back of your stacked flower. Only apply dots to the bottom part portion of the leaves. Hold the now assembled flower against your scrap felt and trace the outline. Then trim out the shape as close to the same size you can. Once you’ve got it trimmed out, run Advanced Strength Dots along the back of the flower and leaves. Stick your felt piece to this and press it down so it’s really adhered.
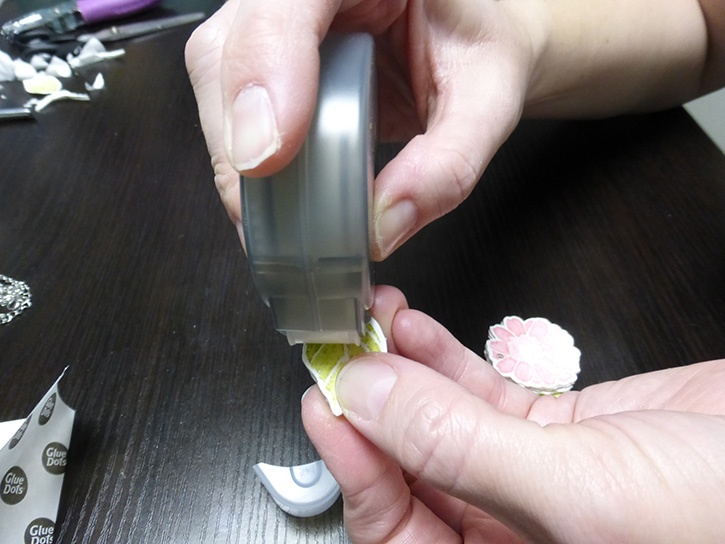
Once your felt backing is on and smoothed, you can string your chain through the hole and get your necklace ready to wear! Use the pliers or wire cutters to help bend the necklace pieces if you need to.
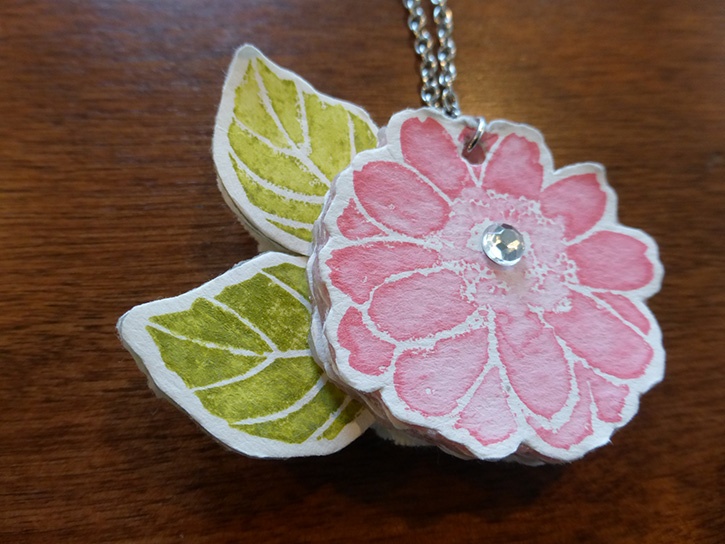
You’ll be able to wear this fun necklace time and time again, thanks to the Advanced Strength Dots. Make some other pendants in different colors to fit your needs. Try different stamps, or even draw your own element! The sky is truly the limit with this project!
~ Amanda

I began crafting in 1996 and simply fell in love with making my own cards. Long live snail mail! Crafting isn’t just a hobby for me, but a way of life… Teacher gifts, posters, scrapbooks, wood crafts? Yes, please! I have been married to my cute husband for 16 years and he definitely inspires me to try new things and enjoy the little things. As a stay home Mom, my time is spent raising my two girls, and raising the bar for my gift giving!


-1.jpg)
