Pop-Up cards are all the rage lately and I can understand the hype. The techniques I will be sharing with you requires a few clicks in a specific design software and your electronic die cut machine. Check out your respective instruction manual to see how you can achieve the same technique with your die cut machines.
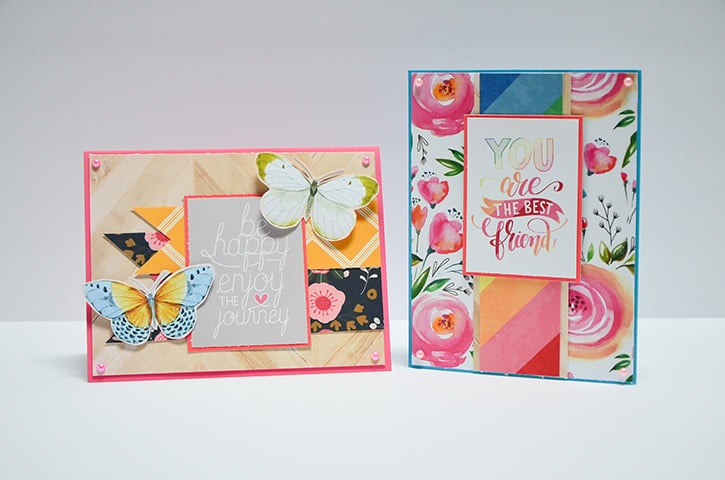
Designed by: Grace Tolman
Time: 30-40 minutes
Level: Moderate Handiness
Size: A2 sized cards (4 ¼" x 5 ½")
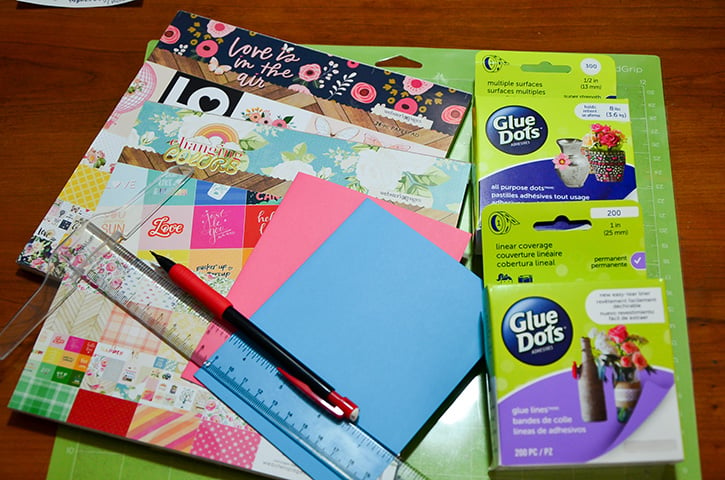
Materials:
- Glue Lines®
- All Purpose Dots™
- Black Pen
- Die cut machine
- Paper trimmer
- Scissors
- Card bases
- Webster’s Pages: Chasing colors and Love is in the air, 8x8 paperpads,
- Cardstock- Pink, Die Cuts with a View
- Pearls- Cupcake assortment, Doodlebug Design Inc.
Directions:
Create the pop up feature on your design software. This will be the process that will take the longest, especially if you are new to this technique. Make sure to search online for tutorials. I found YouTube to be a great resource as the visual aspect helped me a lot.
I wanted to create two different cards so once I got my pop up feature completed in my software, I cut them out onto my pattern paper of choice twice, one going vertical and the other horizontal.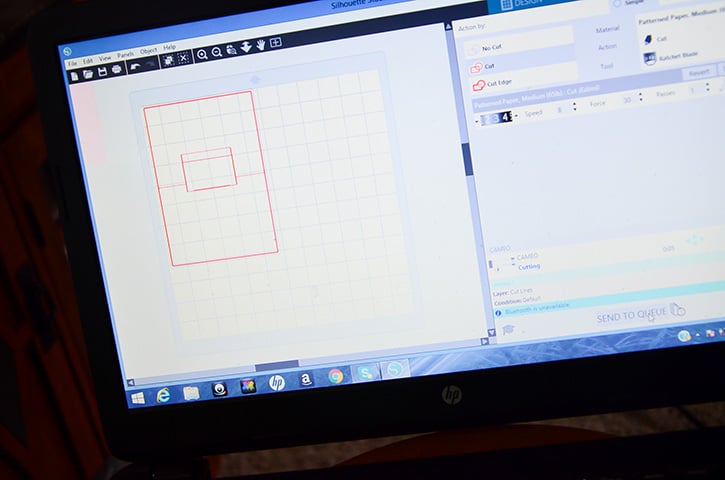 Make the folds necessary to create the pop up action on your paper. I folded and unfolded the piece a few times before the pop up feature to take effect.
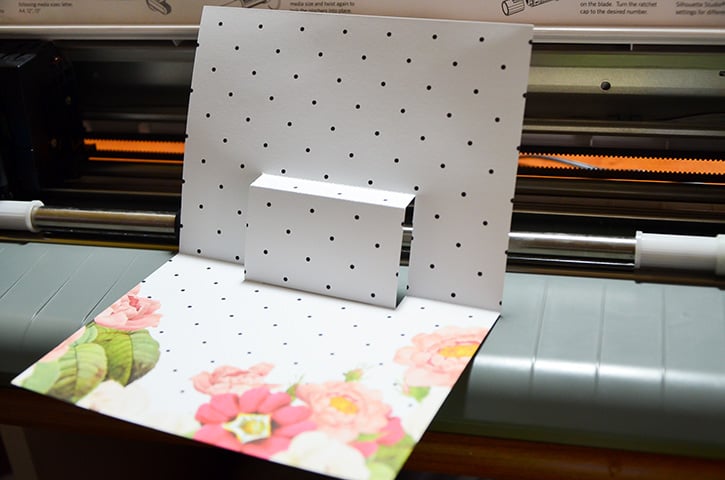
Adhere Glue Lines to one side of the paper and place it onto the inside of the card, making sure that the fold of the paper matches perfectly with the fold of the card.
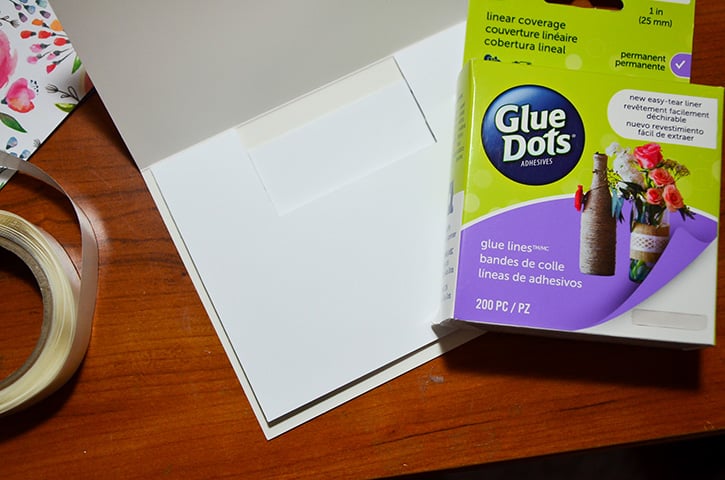
Close the card to ensure the adhesive is secure. Repeat the process to attach the other side of the paper to the inside of the card.
Handcut whatever element you want to “pop up” inside your card and adhere parts of it onto the pop up mechanism with All Purpose Dots. Don't forget to also decorate the front of the card.
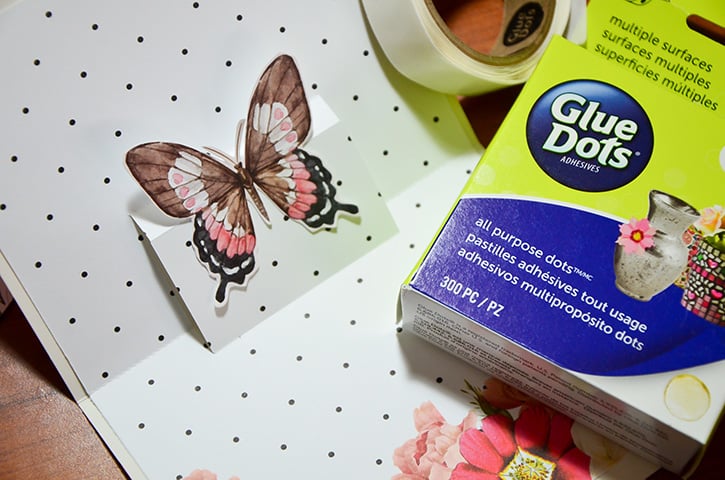
With the butterfly card, I made my own embellishments by hand-cutting some of the butterflies found within the card. I adhered these with All Purpose Dots.
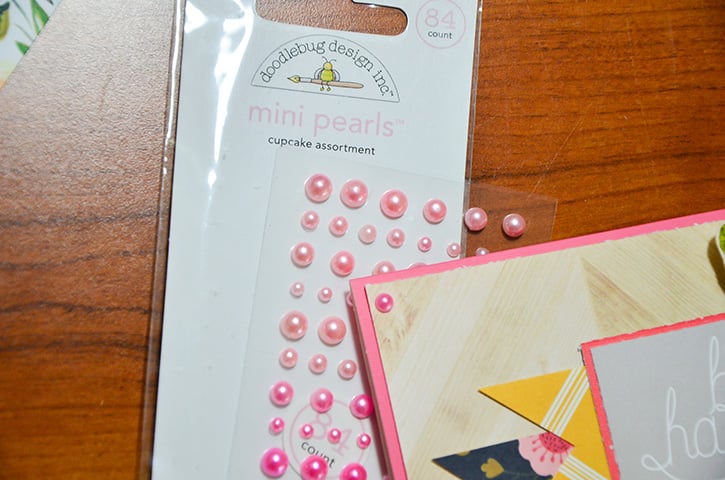
I also used some paper blocks with quotes on them as my card sentiments. I made sure to mat them with cardstock so they will stand out against the background. I adhered all of the papers with some more All Purpose Dots. For my finishing touch, I added pearls to the four corners of the card fronts.
~ Grace

I’m a mom to a 10 year old boy and an 8 year old girl. Therefore my life is usually filled with learning, new discovery, bribery and driving to and from all of our activities. I have a loving and very supportive husband of 11 years. When the kids have gone to bed at night, my time is spent crafting while catching up on my favorite shows and movies. I also enjoy reading, window shopping, knitting and perusing blogs for inspirations. Three years ago we moved to Colorado from California and we are enjoying our new environment. I feel very inspired with my new home, my new scrapbook space and the mountain views. Although I’ve been doing some type of scrapbooking since grade school, I only started to scrapbook seriously after my son was born. When he was born I knew I would be staying at home with him but coming from a fast paced sales job I was afraid I would ran out of things to do during the day. Little did I know that with newborns you won’t have any time to do anything else. Anyways, after going through a basic scrapbooking class I was hooked and haven’t stopped scrapping since.


