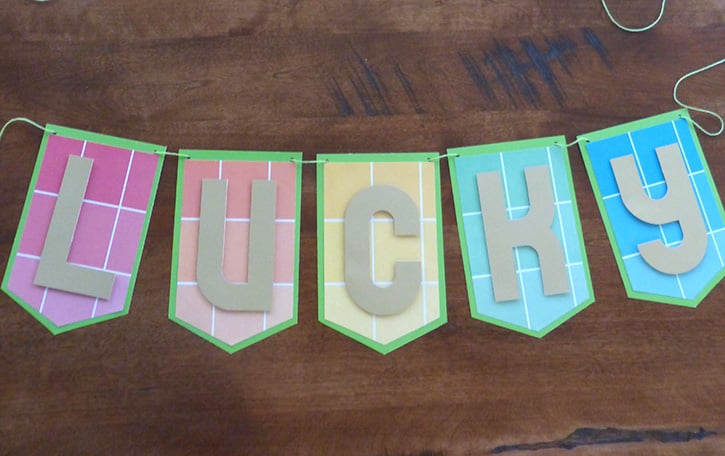
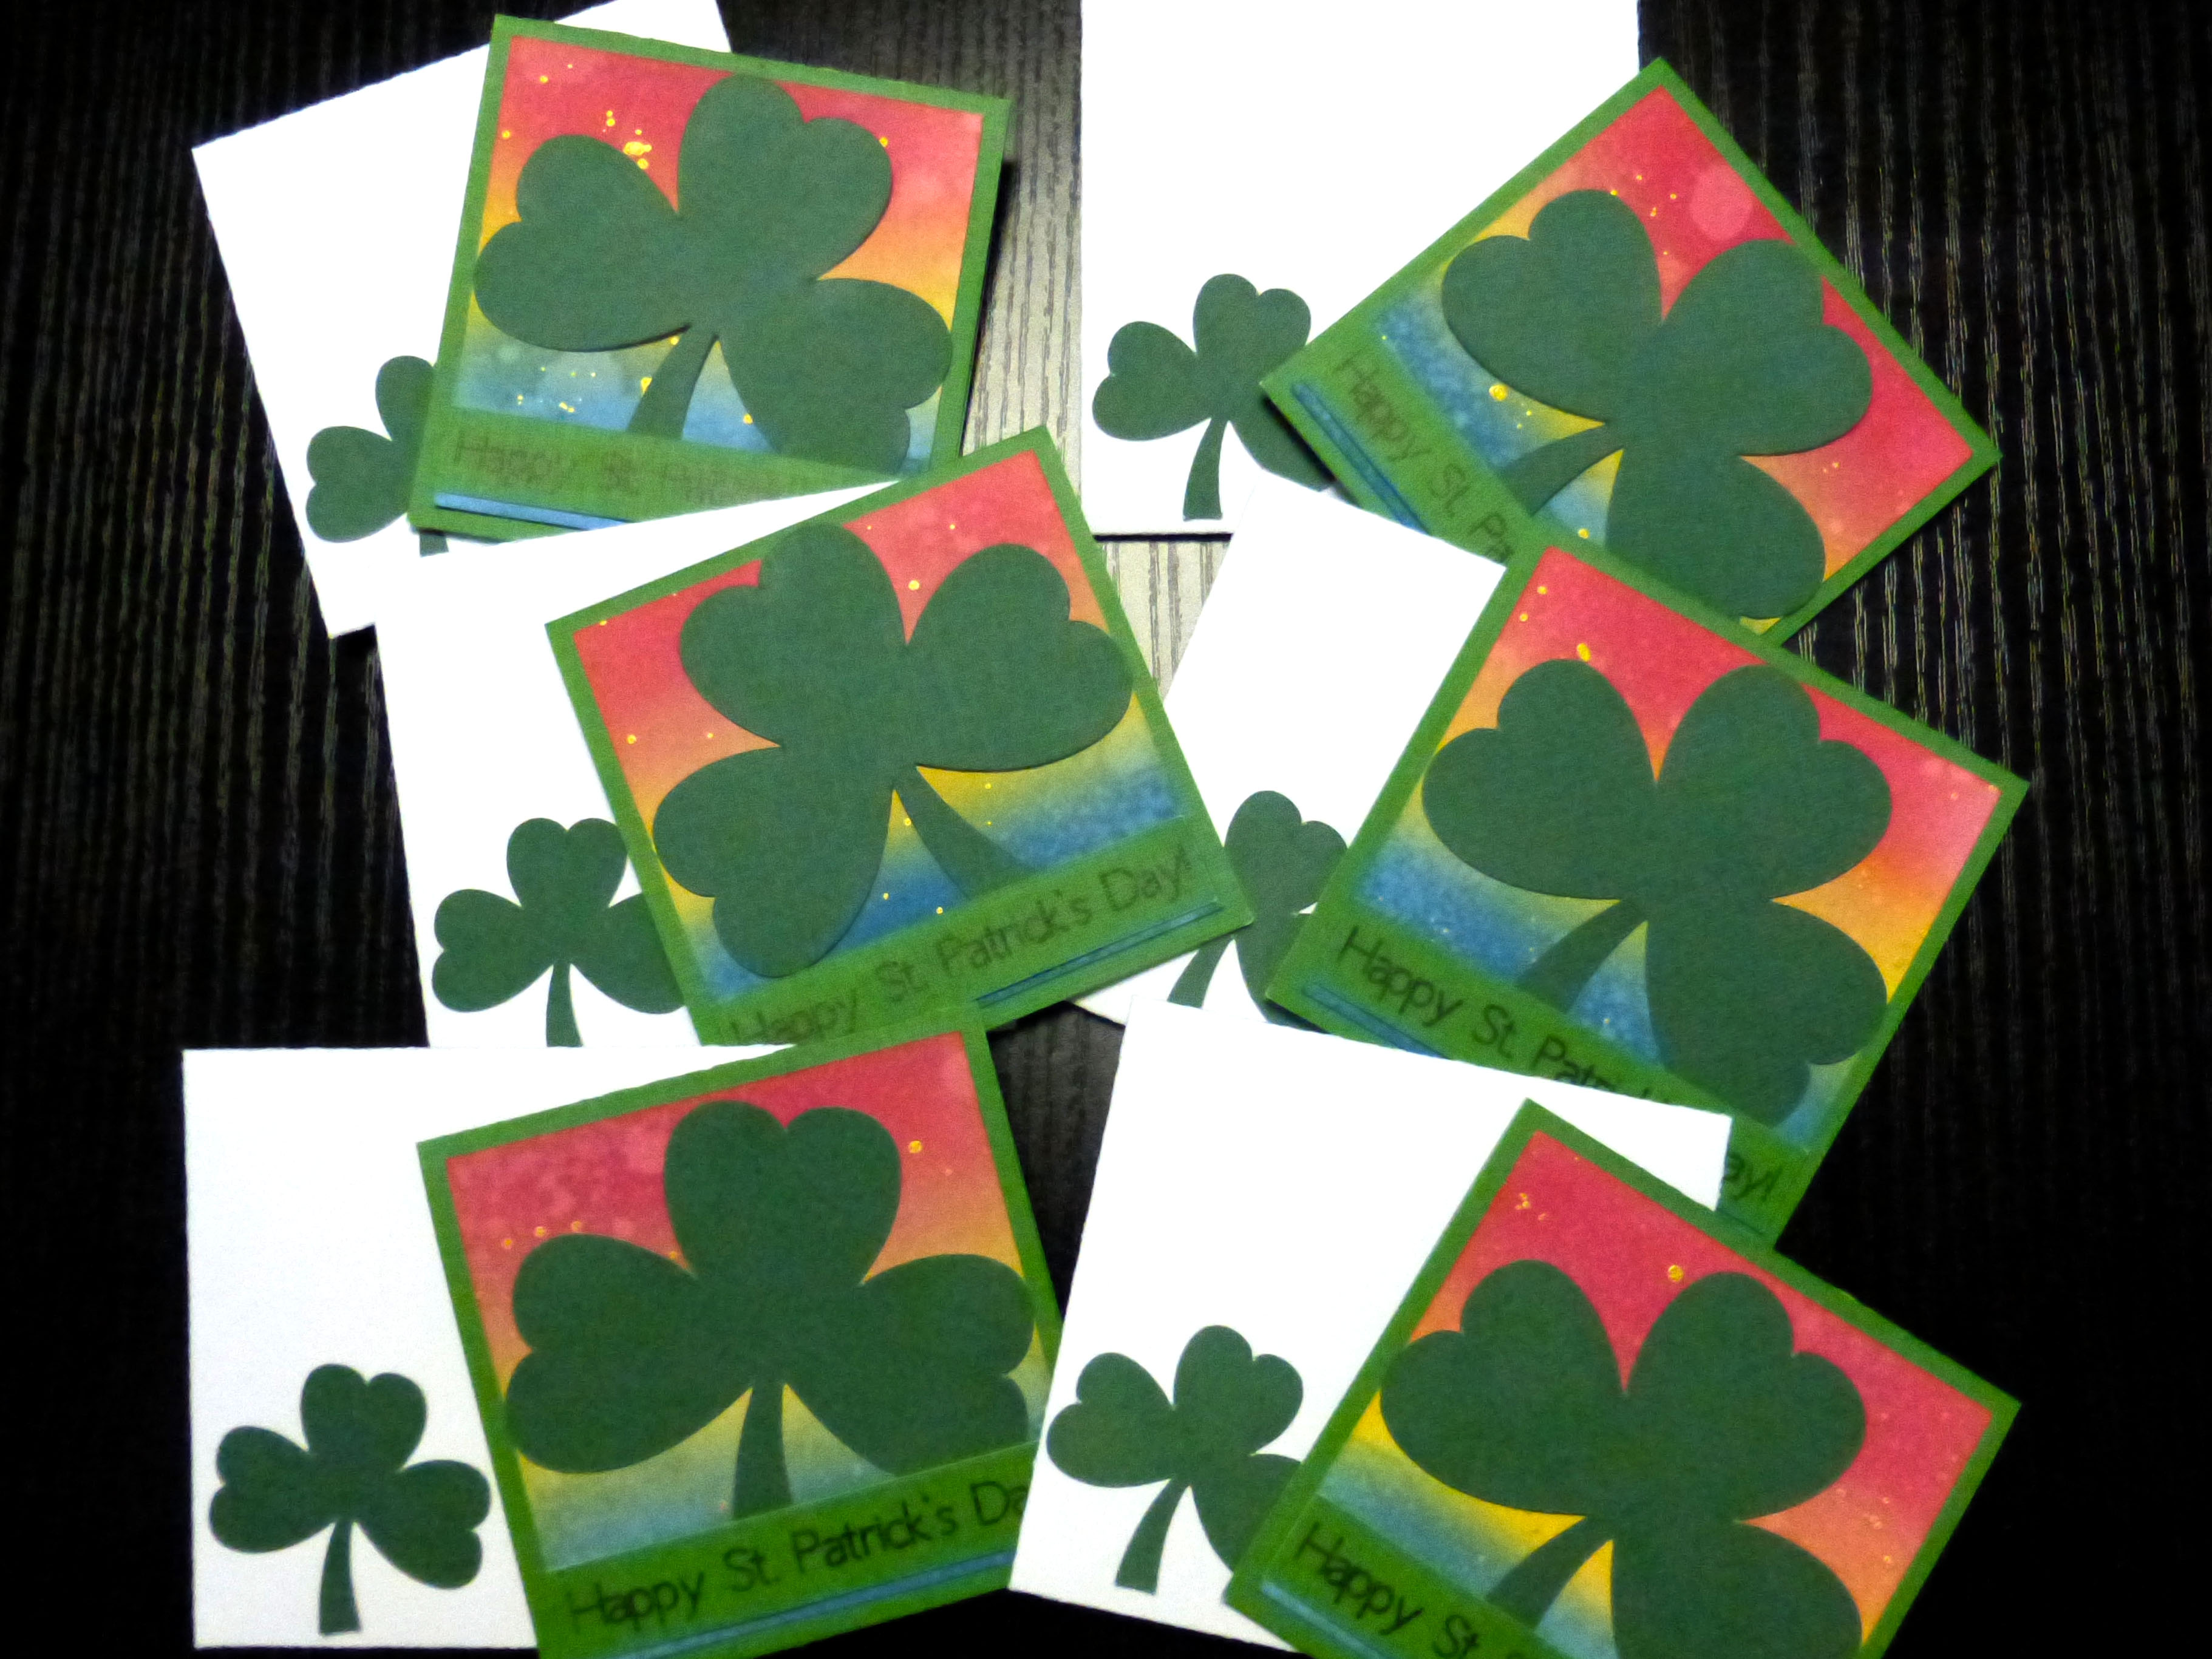
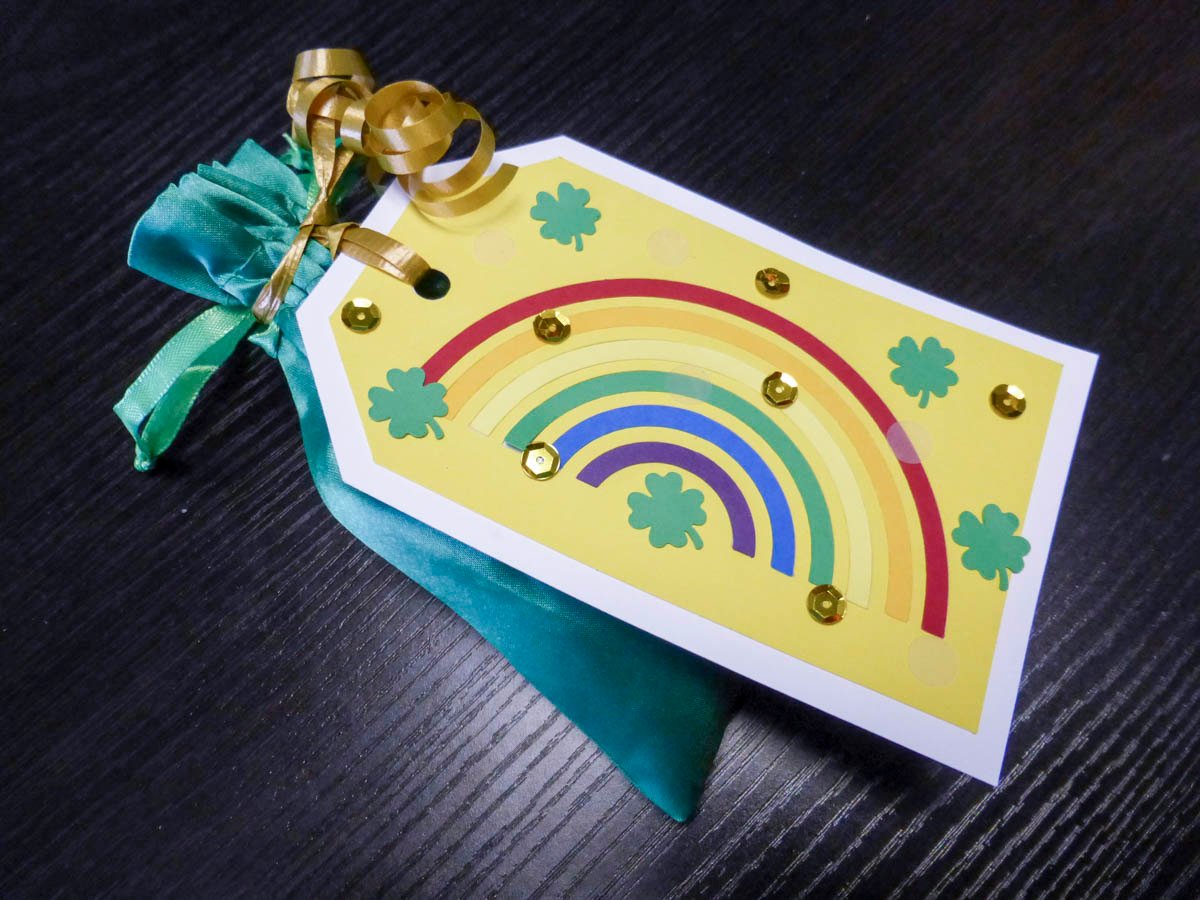
This cute banner has a lot of potential to be the hit of Saint Patrick’s Day! The paint chip style of the patterned paper will fit most any word, and looks perfectly rainbow for a lucky day!
Made By: Amanda Tibbitts
Time: 45 Minutes
Level: Moderate Handiness
Size: Five 5” panels, or more depending on word chosen

Supplies:
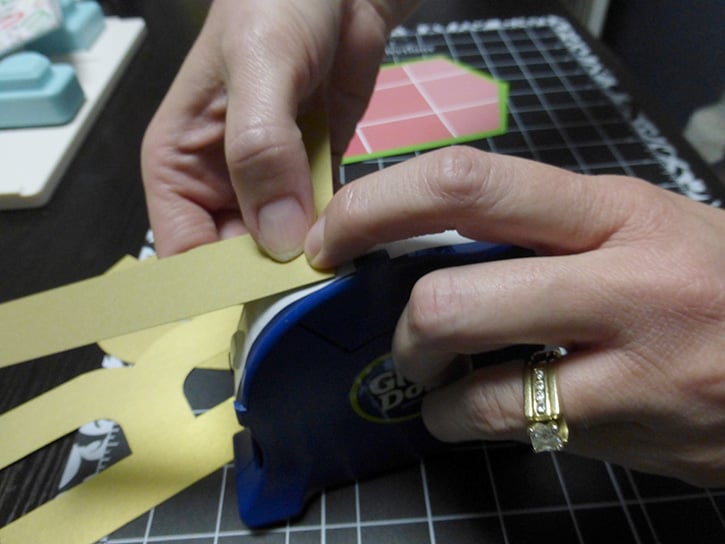
- Premium Permanent GlueTape
- Pop-Up Dots™
- Craft Smith cardstock in “Greens” and “Paint Chip
- Gold cardstock
- Coordinating twine
- We R Memory Keepers Banner Punch Board and Alphabet Punch Board
- Paper trimmer
- Scissors
- Craft Mat
Directions:
Cut the gold cardstock to 3” x 5” using the paper trimmer. Cut the green paper to 5” x 8” and then cut the patterned cardstock to 4 ½” x 7 5/8”.
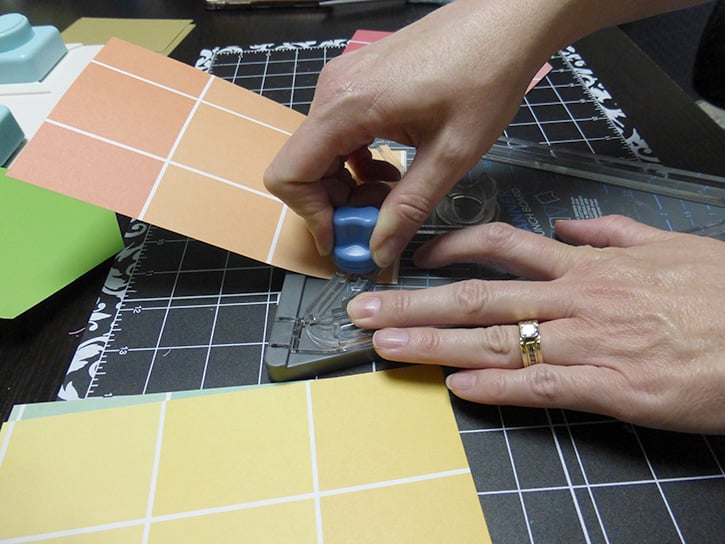
With the Alphabet Punch Board, make the word LUCKY, or whichever word you want to use. Once the letters are punched, set them aside and use the banner punch board to make the green and patterned paper banner pieces.

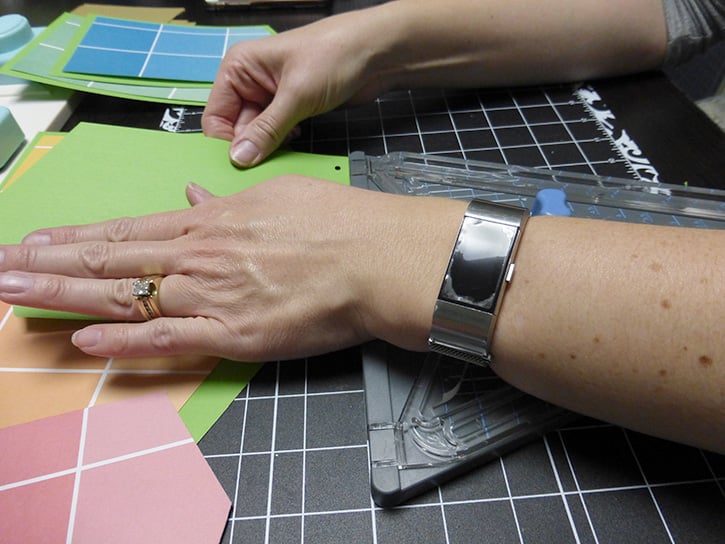
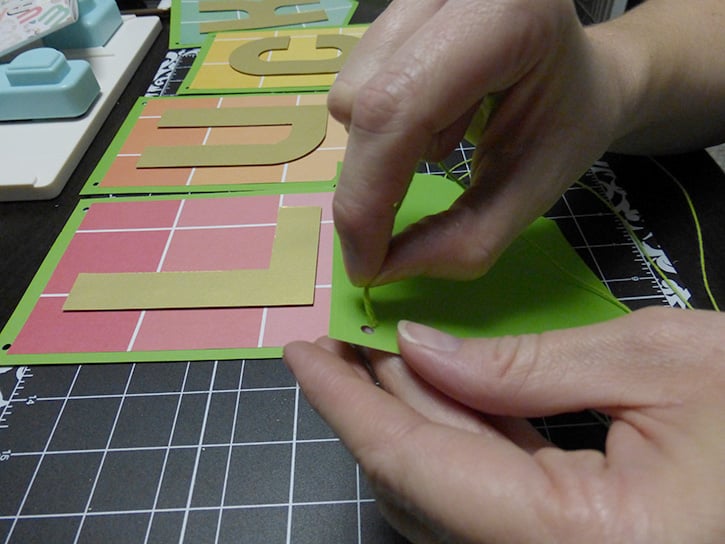
Don’t forget to punch holes in the top corners of the green banner paper so you can hang it.
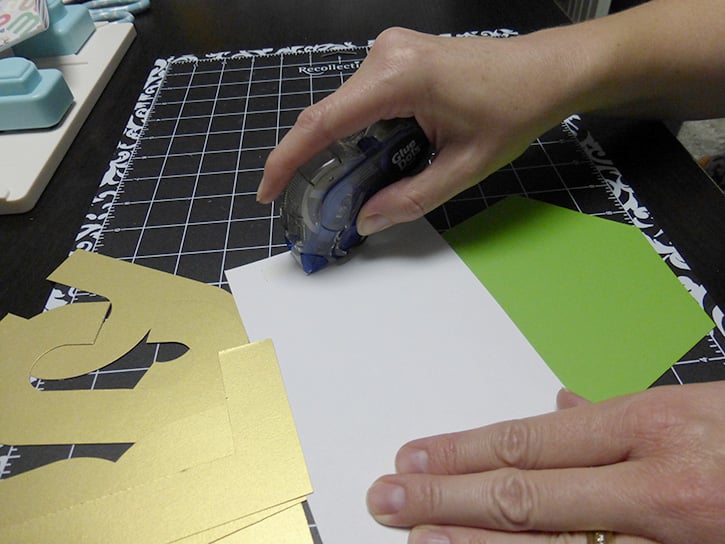
Use the Premium Permanent GlueTape to adhere the patterned banner shape to the green.
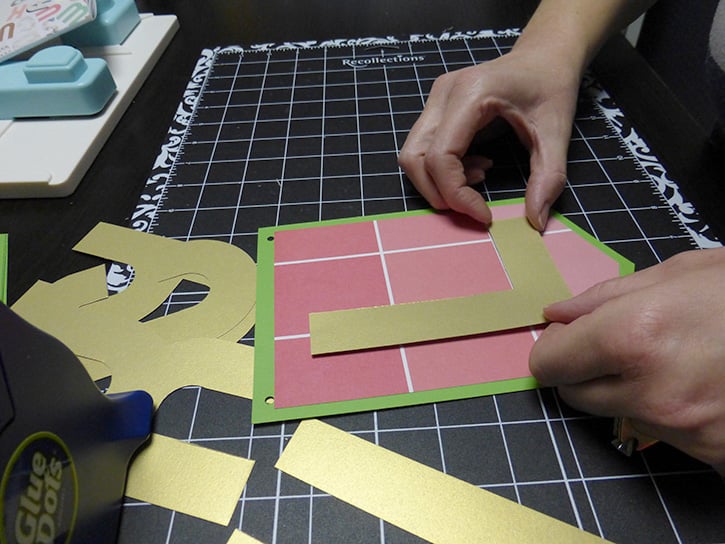
Once all the patterned papers have been adhered, use a few Pop-Up Dots to attach the letters, which will add some dimension.
Mount them to the patterned paper.
Thread some twine from the back side of the Y all the way to the end of the L piece. Trim off the excess and tie a loop on each end to help hang up.
Be sure to embellish as you like. Happy Saint Patrick’s Day!
~ Amanda

I began crafting in 1996 and simply fell in love with making my own cards. Long live snail mail! Crafting isn’t just a hobby for me, but a way of life… Teacher gifts, posters, scrapbooks, wood crafts? Yes, please! I have been married to my cute husband for 16 years and he definitely inspires me to try new things and enjoy the little things. As a stay home Mom, my time is spent raising my two girls, and raising the bar for my gift giving!


