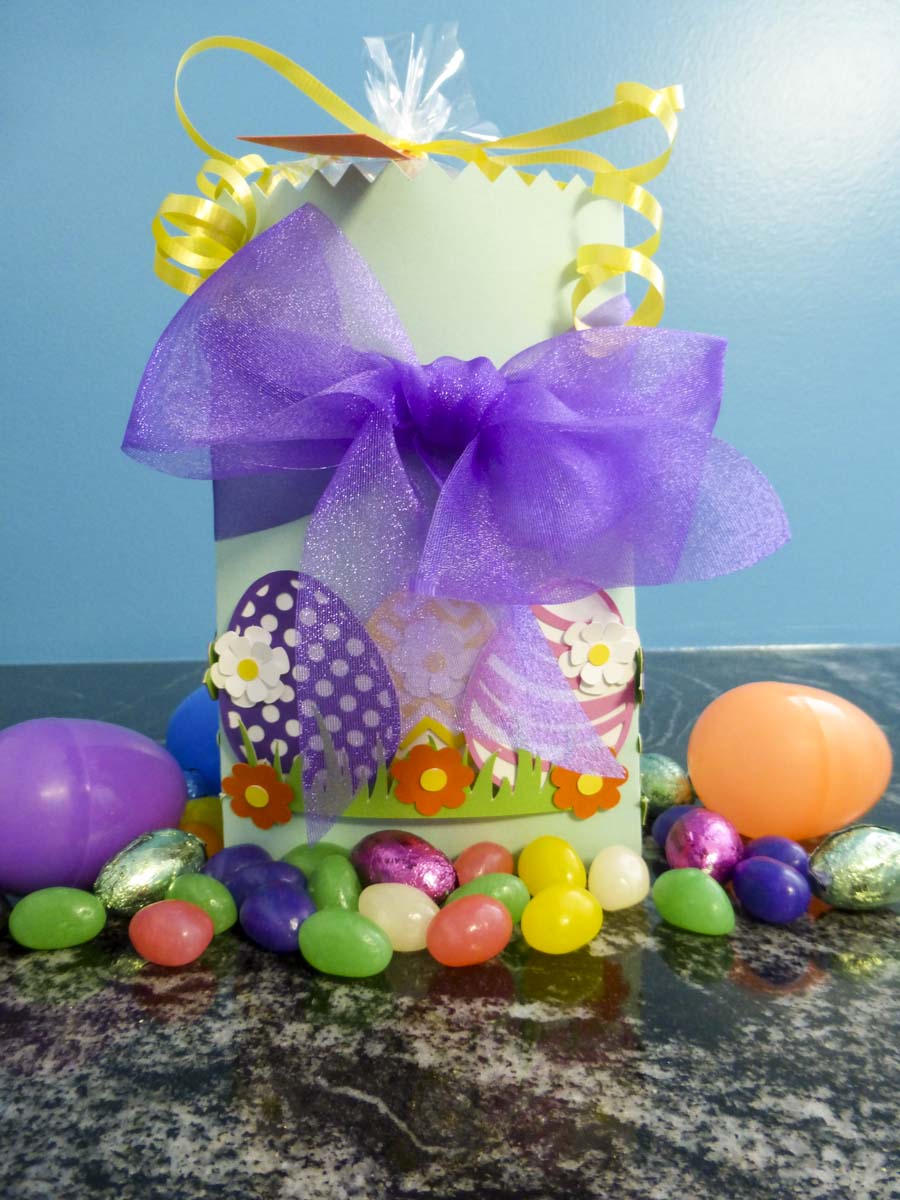
What better way to share in the Easter festivities than a few egg-shaped surprise pouches! Besides being cute and fairly easy to create, they are ever-so versatile: hand out treats to your class, use them as place cards for Easter dinner, or brighten your kid’s day with one! Simply grab your nearest Glue Dots® Permanent Glue Tape, some candy for the craft (and some to snack on), and you’ll be ready to impress the Easter Bunny in no time. Enjoy!
MADE BY: SAMANTHA TAYLOR | TIME: 10-15 MINS
LEVEL: INTERMEDIATE | SIZE: 3 ½” x 4 ½”
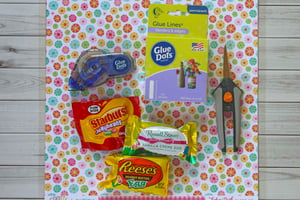
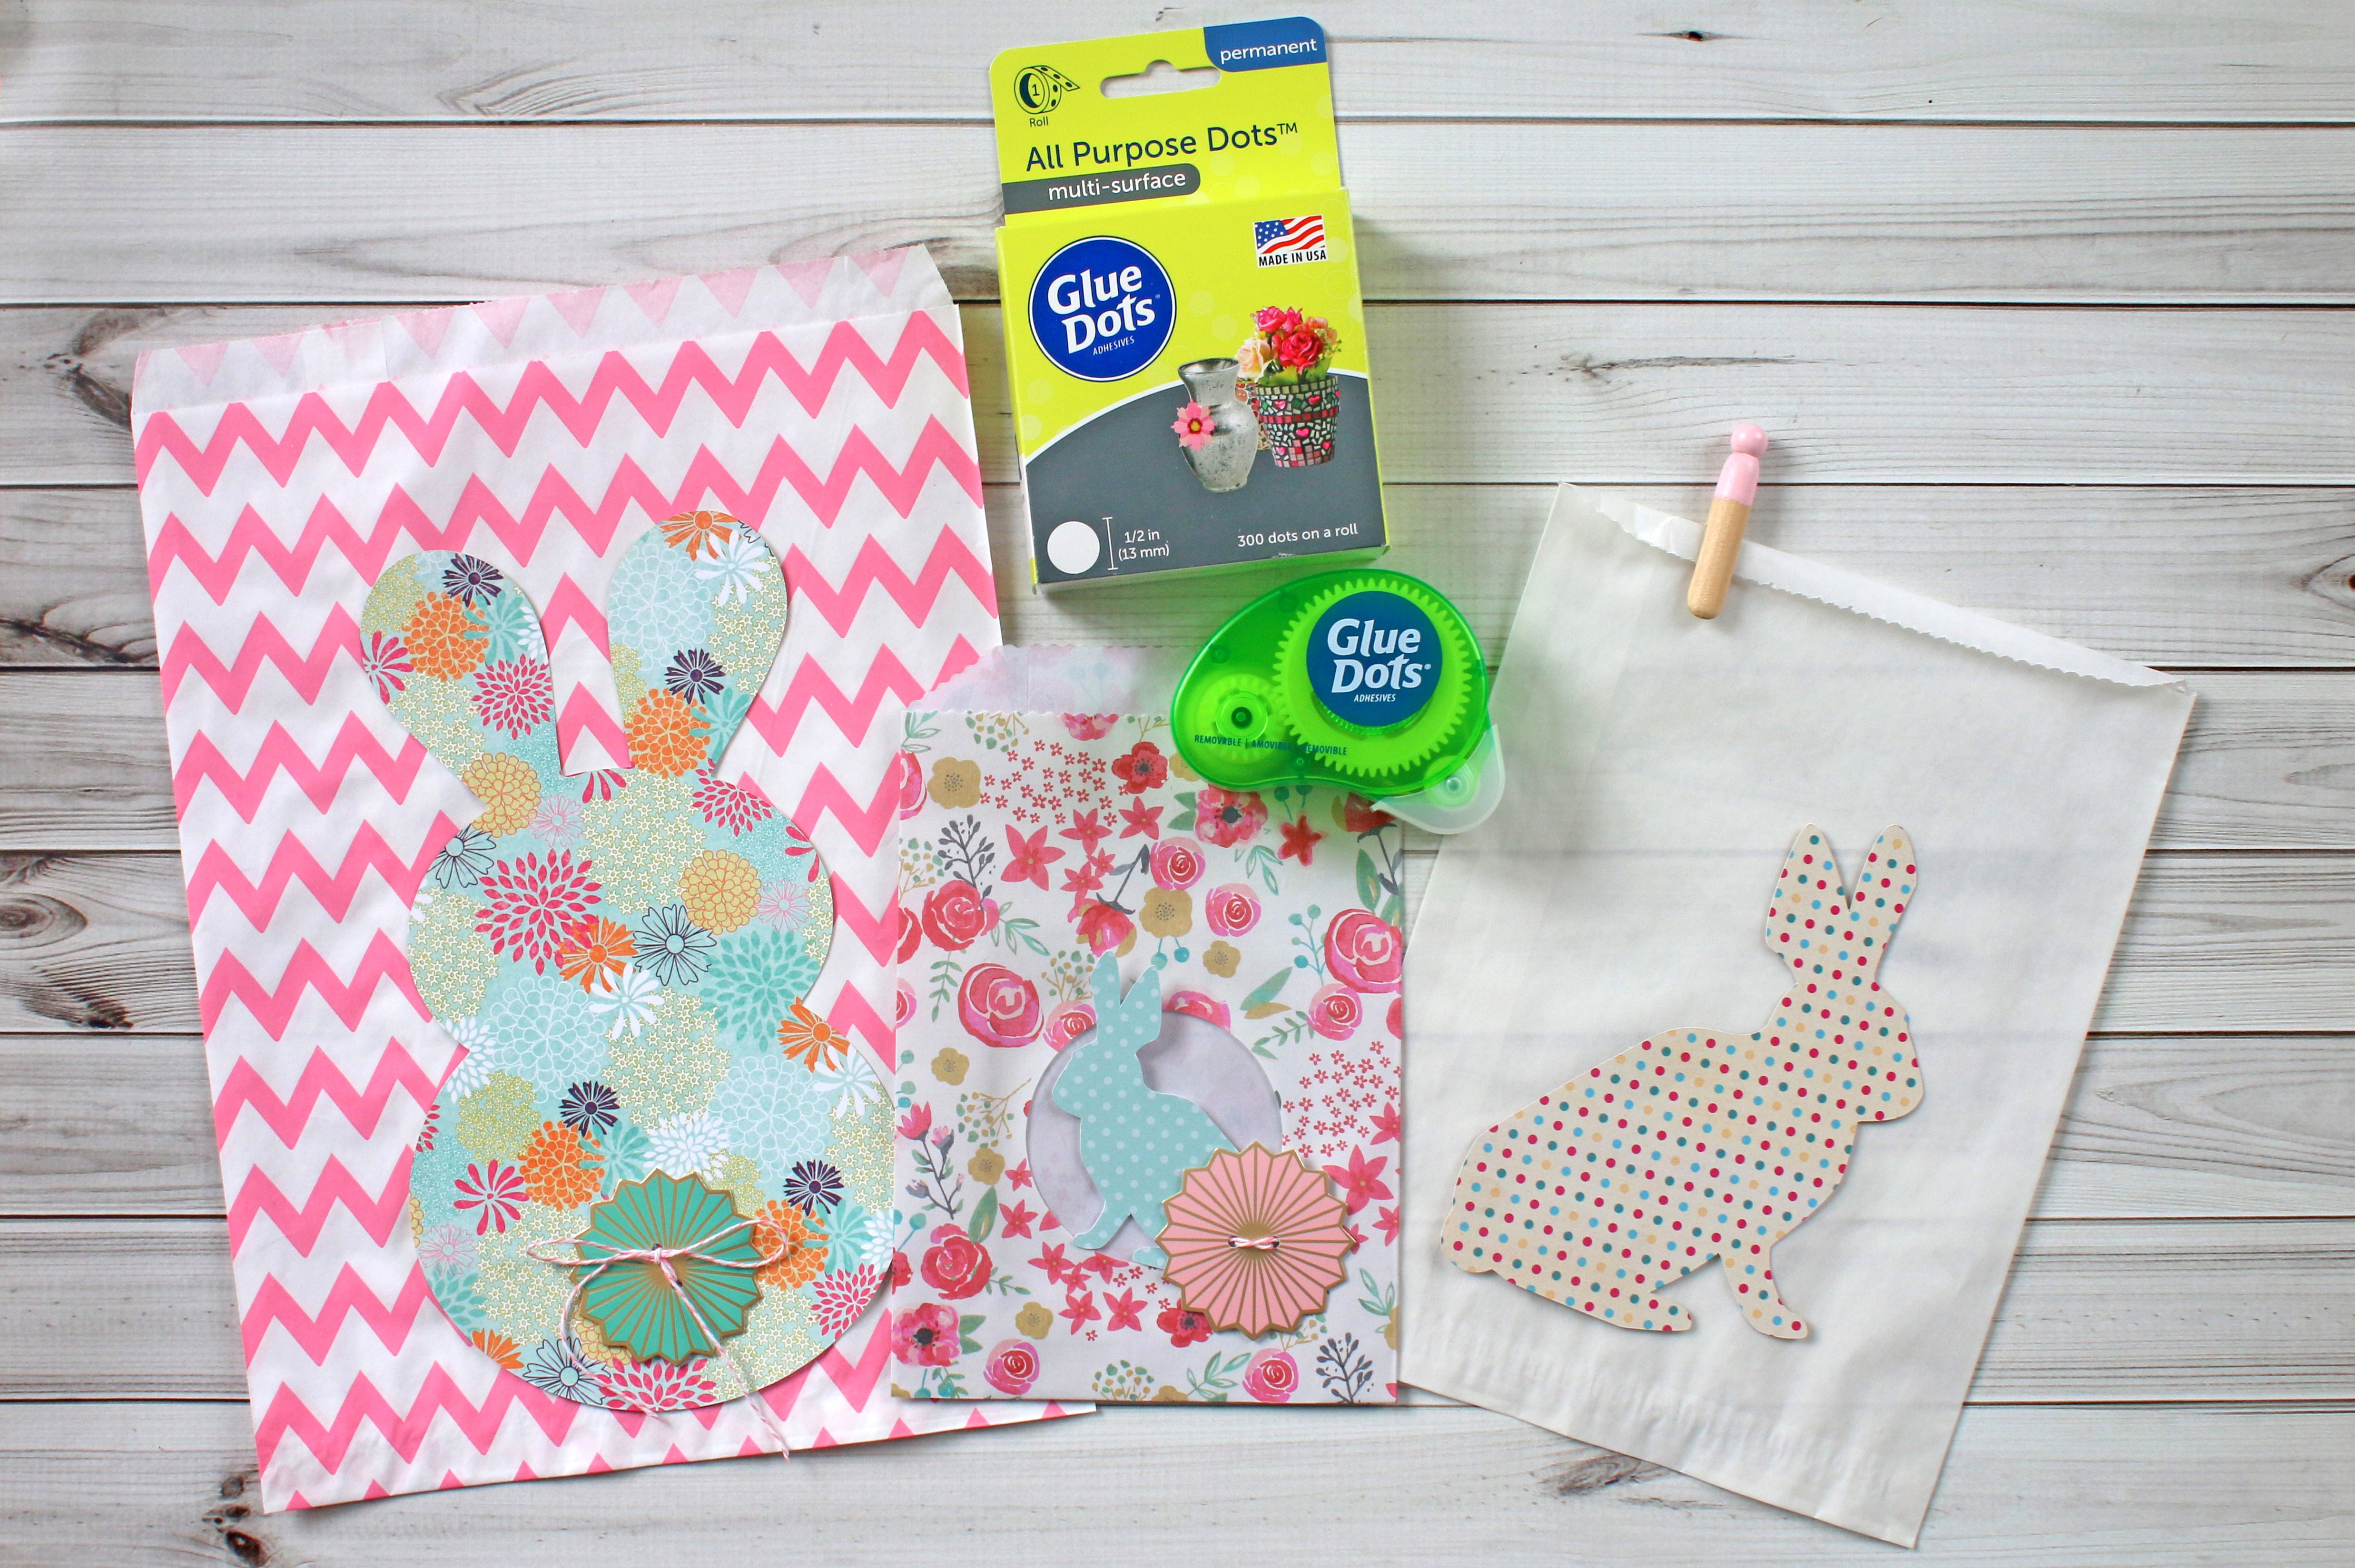
Supplies:
- Glue Dots® Permanent Glue Tape
- Patterned Paper
- Scissors
- Candy
- Oval or Egg Shape Cutting Tool or Template
- *Optional Butterfly or Flower Embellishments*
Directions:
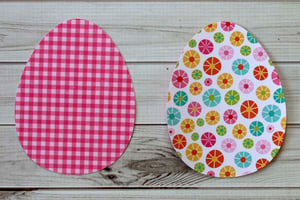
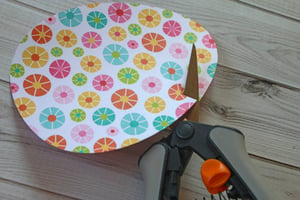
- Cut egg shapes. You will need 2 egg shapes for each single pocket. These eggs measure about 3 ½” wide x 4 ½” tall. The easiest way is to measure your piece of candy you want to use and add about 1” to both the width and the height.
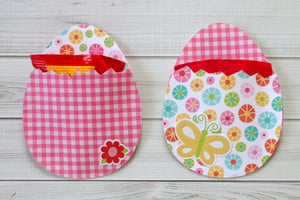
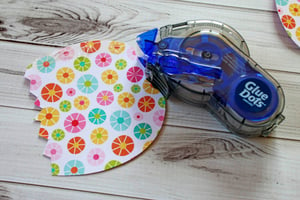
- Use a pointy scissors to cut a jagged line about ¼ of the way down from the top of one egg.
- Place Glue Dots® Permanent Glue Tape around the far outer edges of the egg you just cut. Do not put adhesive on the jagged edge (the jagged side will form the opening to your pocket).
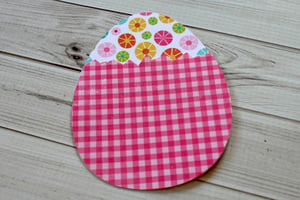
- Place this jagged edge piece on a whole egg and press the edges firmly together. Then, add flower or butterfly embellishments to the egg pocket if you’re feeling festive.
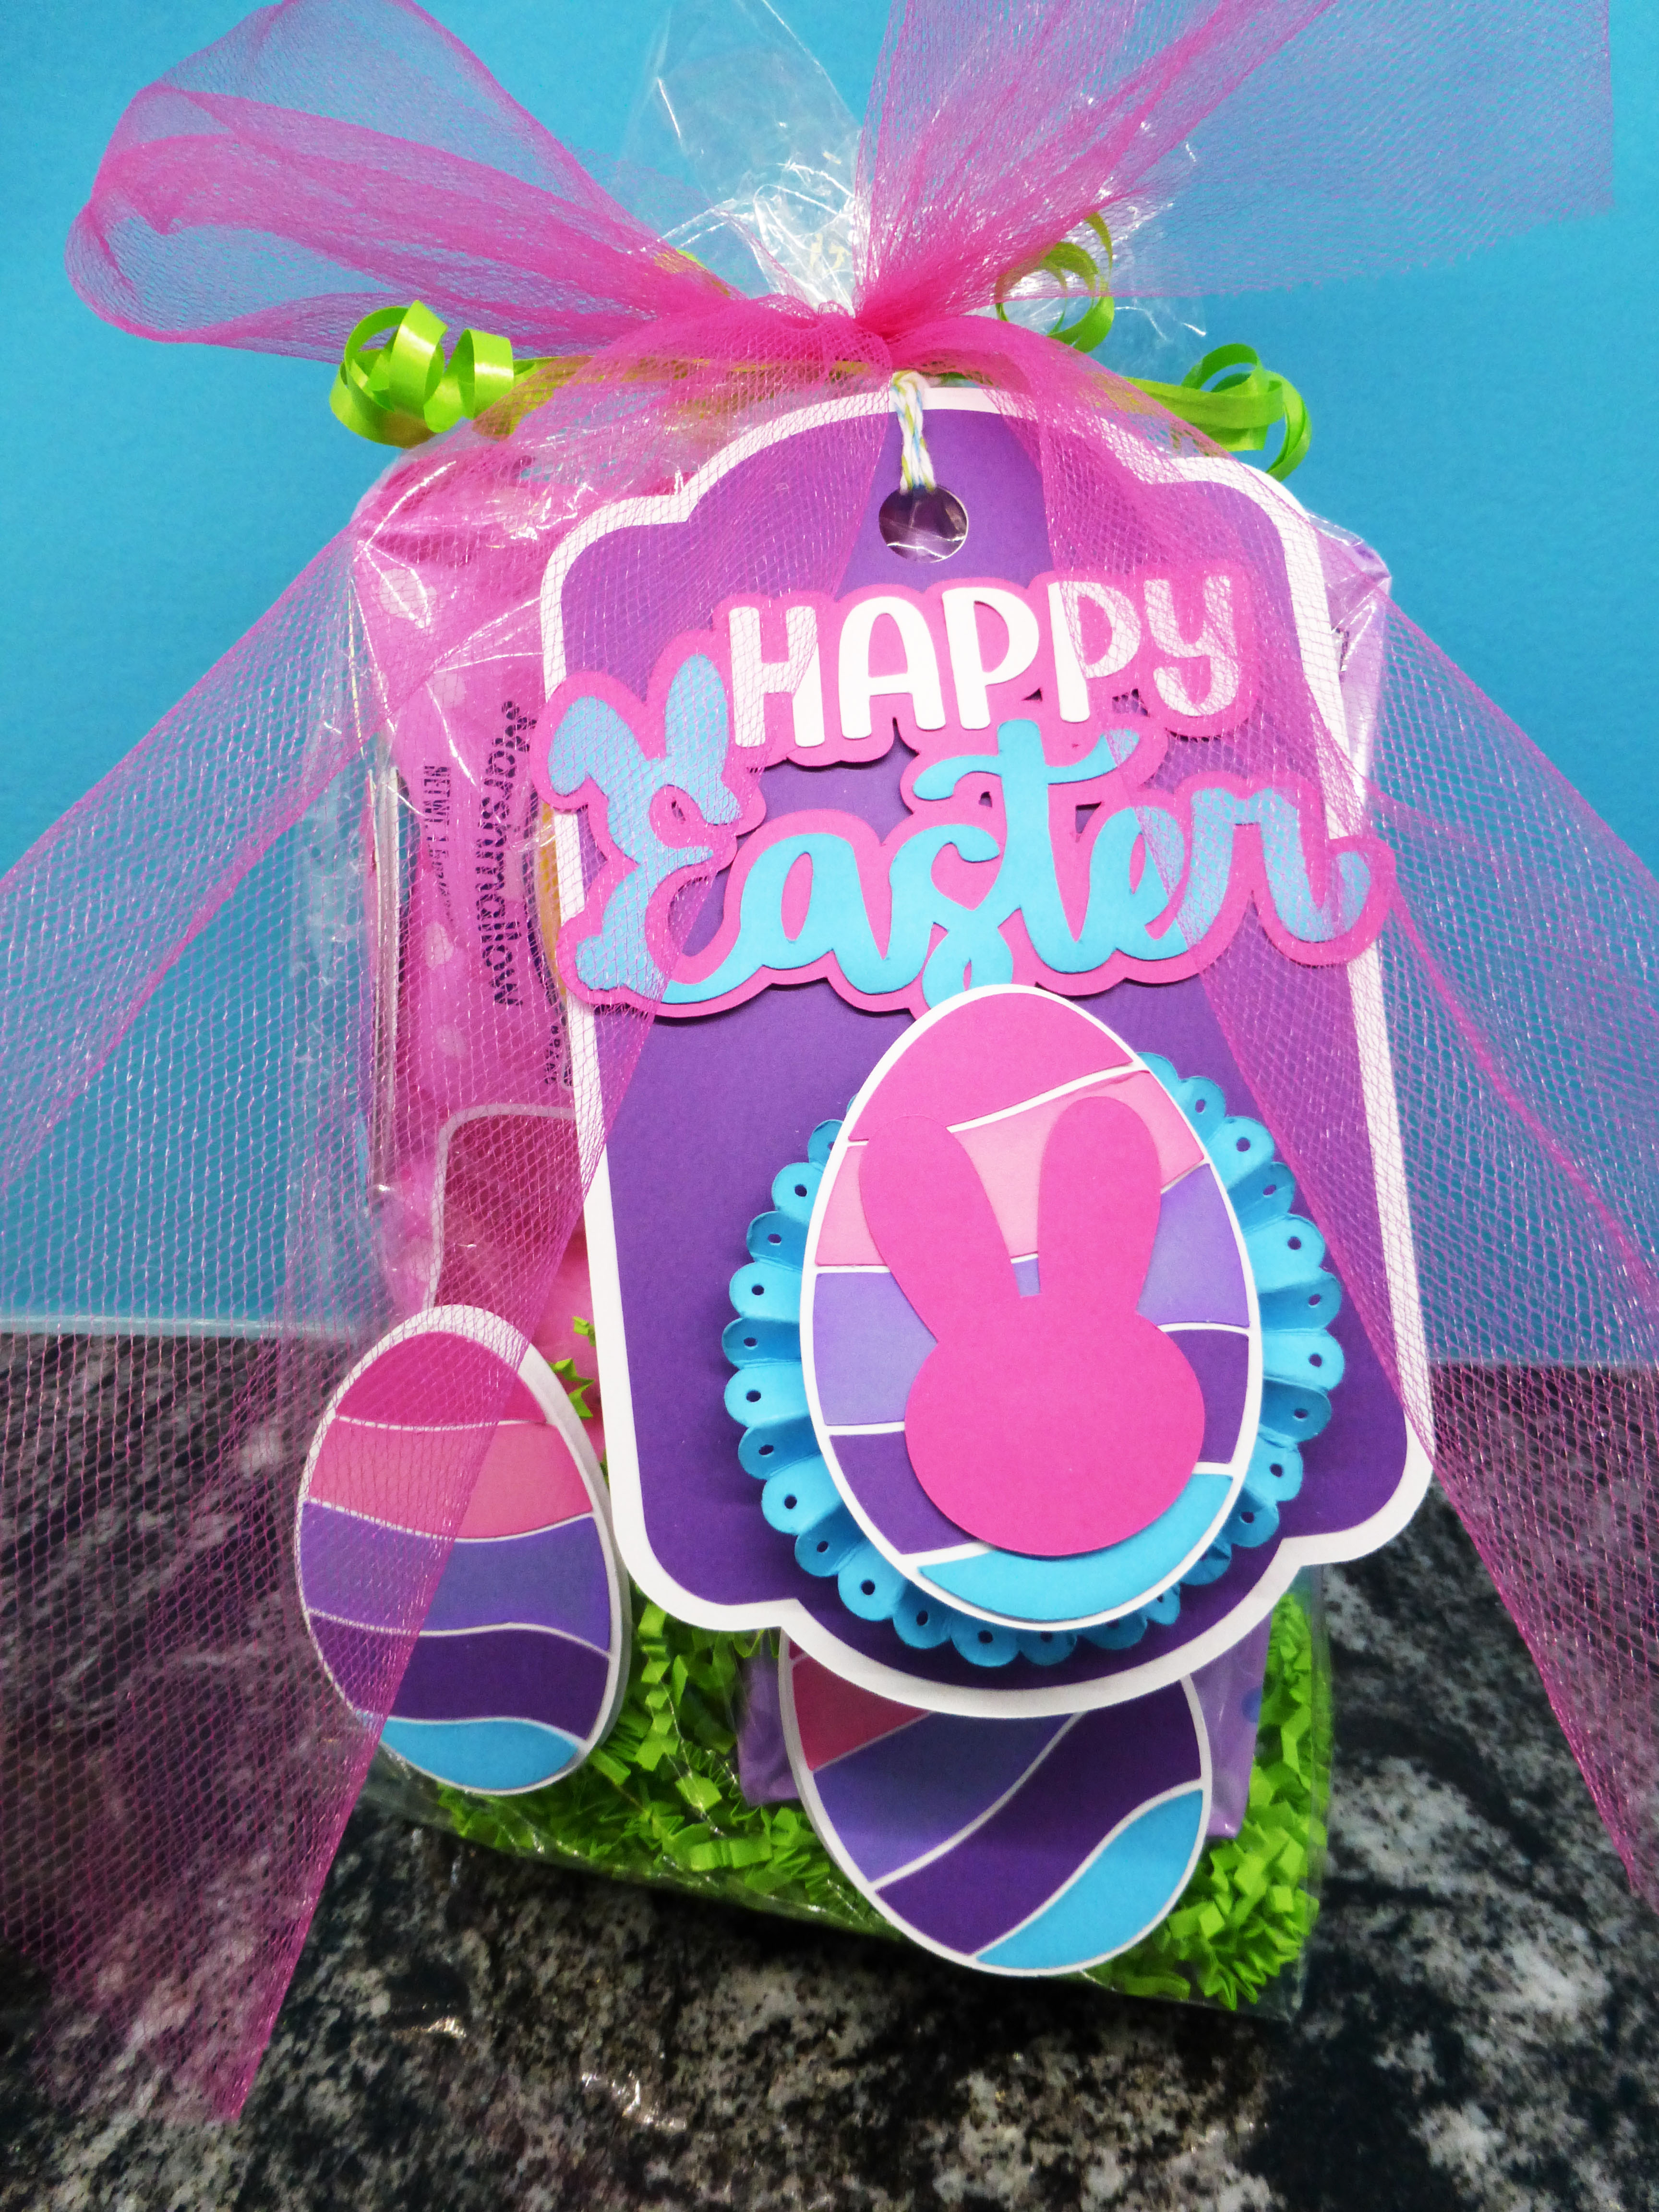
- Finally, stuff the pouch with your favorite sweet treats to complete your Easter-themed surprise pouch that everyone will be sure to love!
Optional Final Step: To create place cards, write each guest’s name on the outside of the egg pouch before placing the candy inside. For a non-candy gift, try stuffing the egg with nail polish, mini bubble containers, or cute shaped erasers!

My name is Samantha Taylor and I have a passion for combining crafting and creativity to beautify life. I live in a small town in rural Iowa with my husband and 2 boys (all 3 of whom you’ll see featured in my projects). I’m a paper crafting fanatic who also loves photography. I enjoy making lay outs, cards, mini albums and home decor items, party decorations, and crafting with my kids. My favorite thing about crafting is getting to connect with so many people all over the world who also love creating pretty things and preserving memories. You can find more from me at www.taylorstamped.blogspot.com. I am so excited to share with you my love for the many uses of Glue Dots®!


