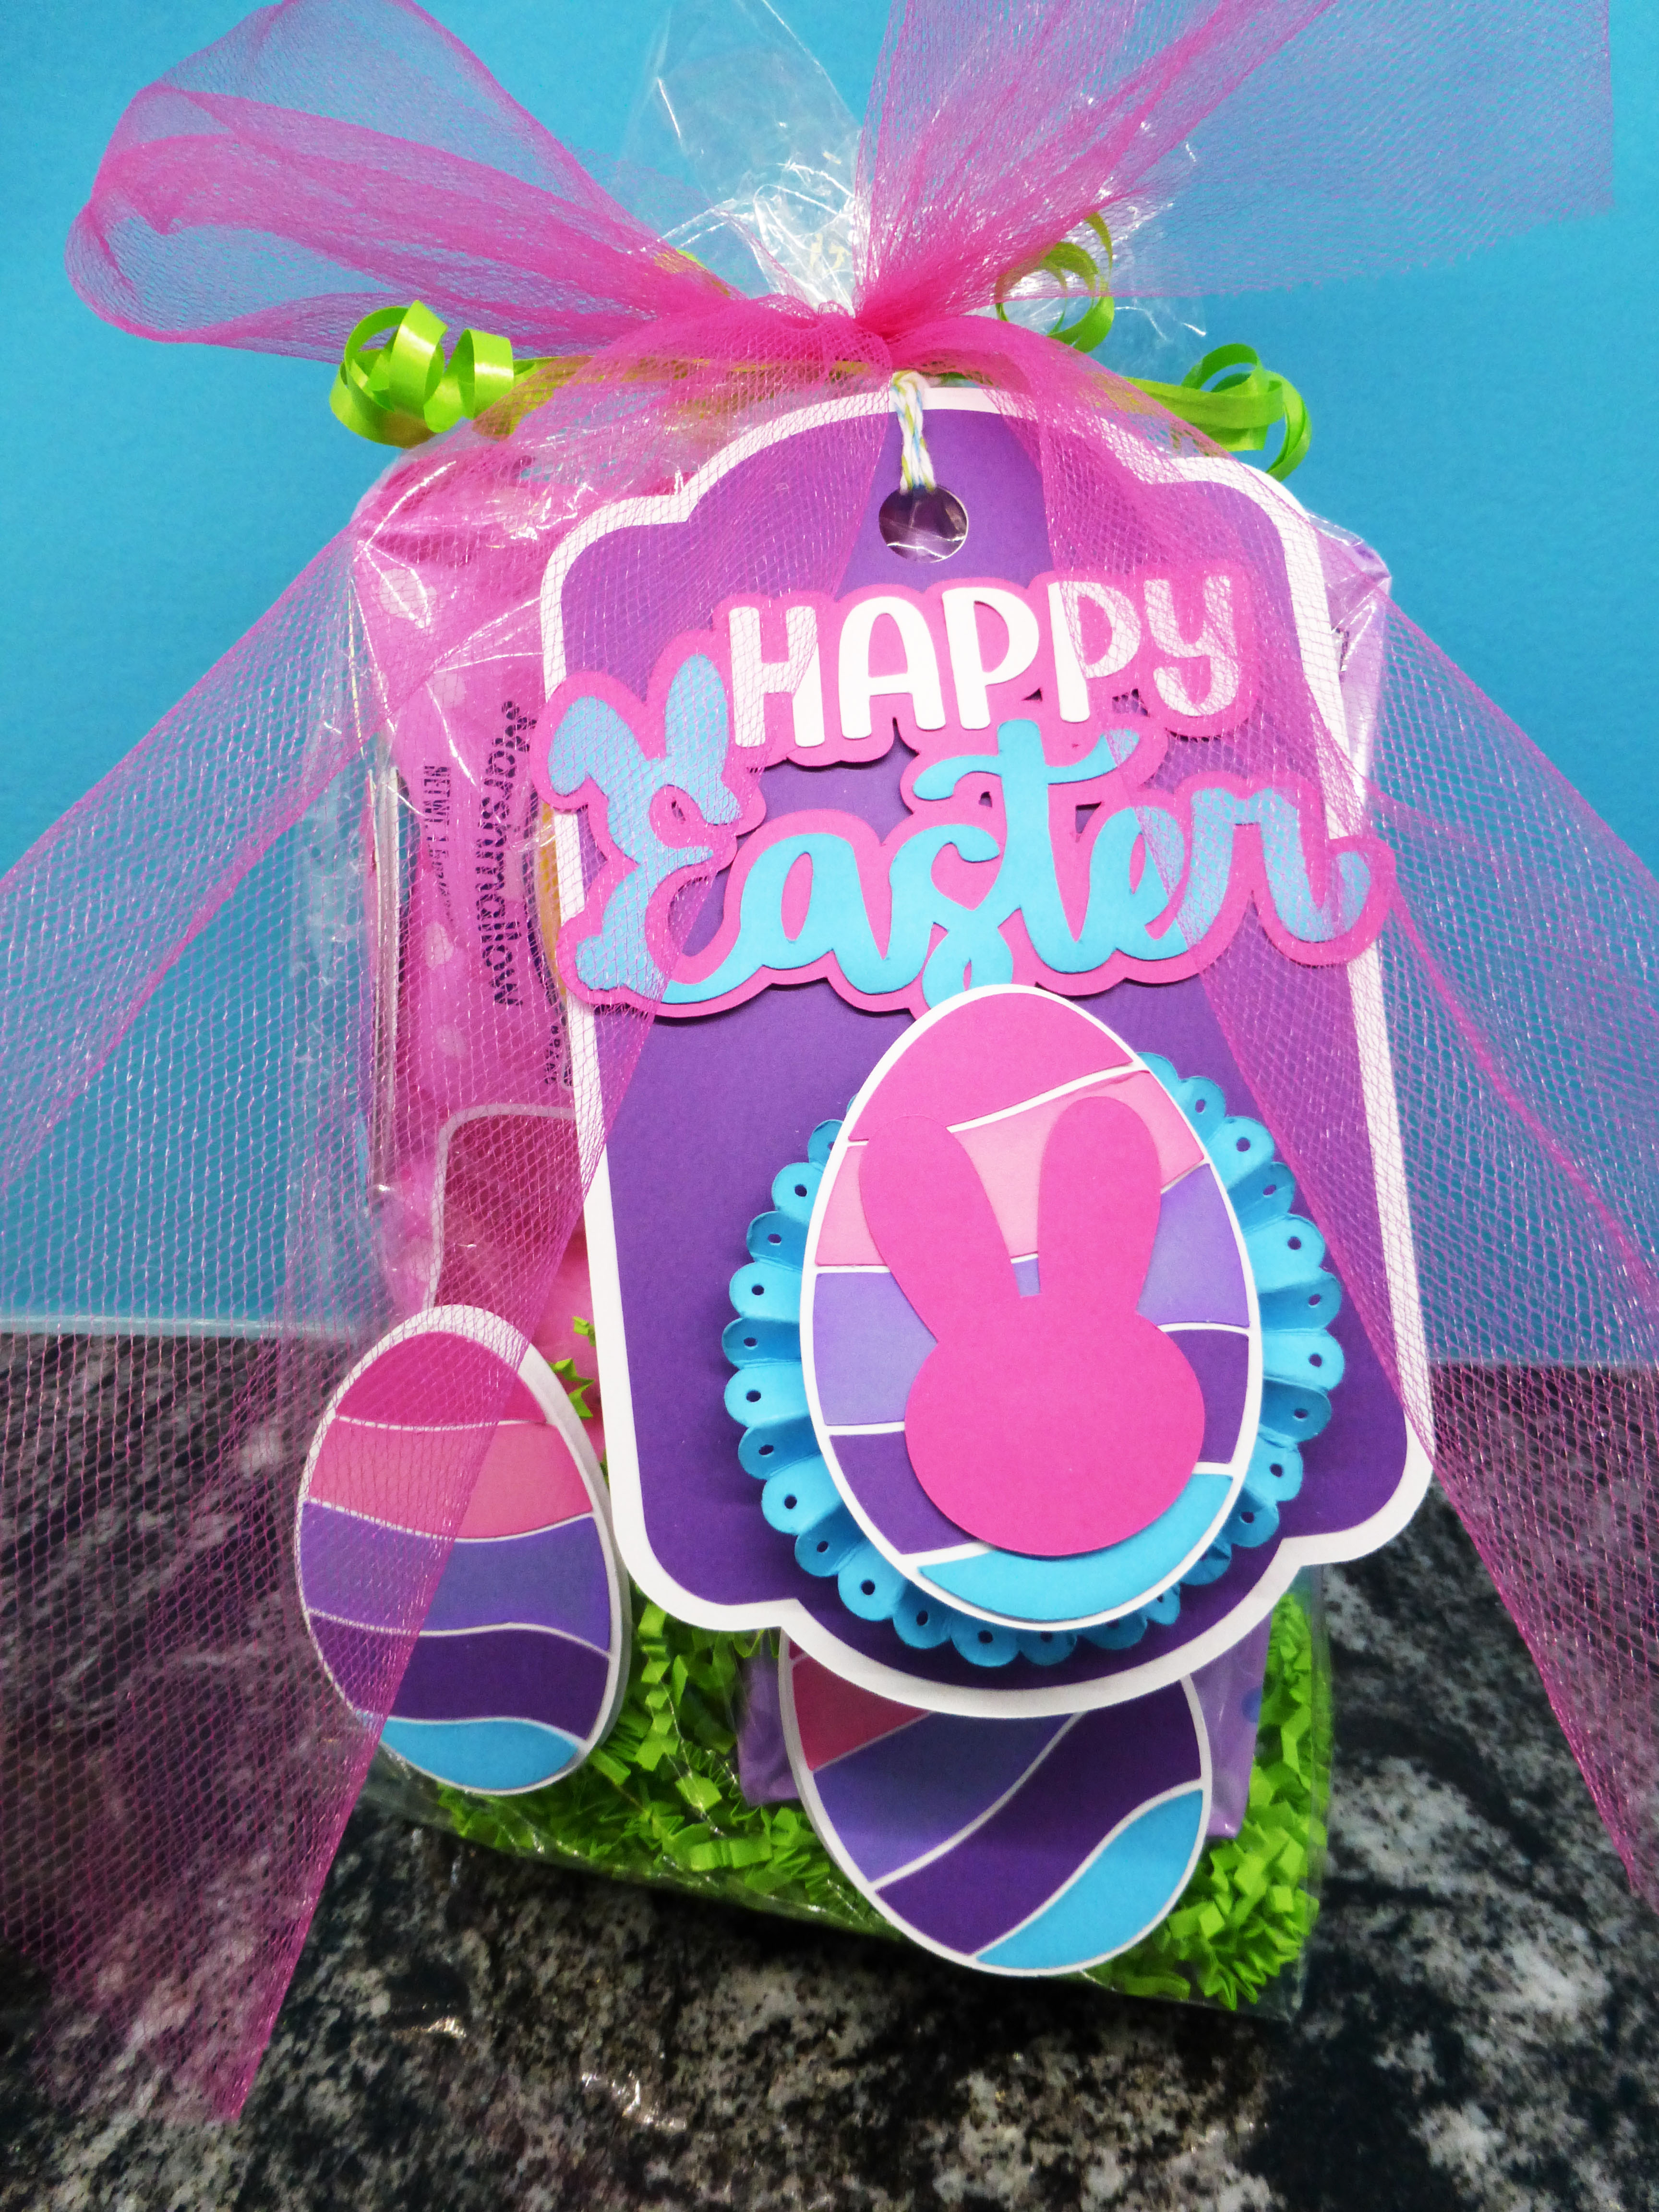
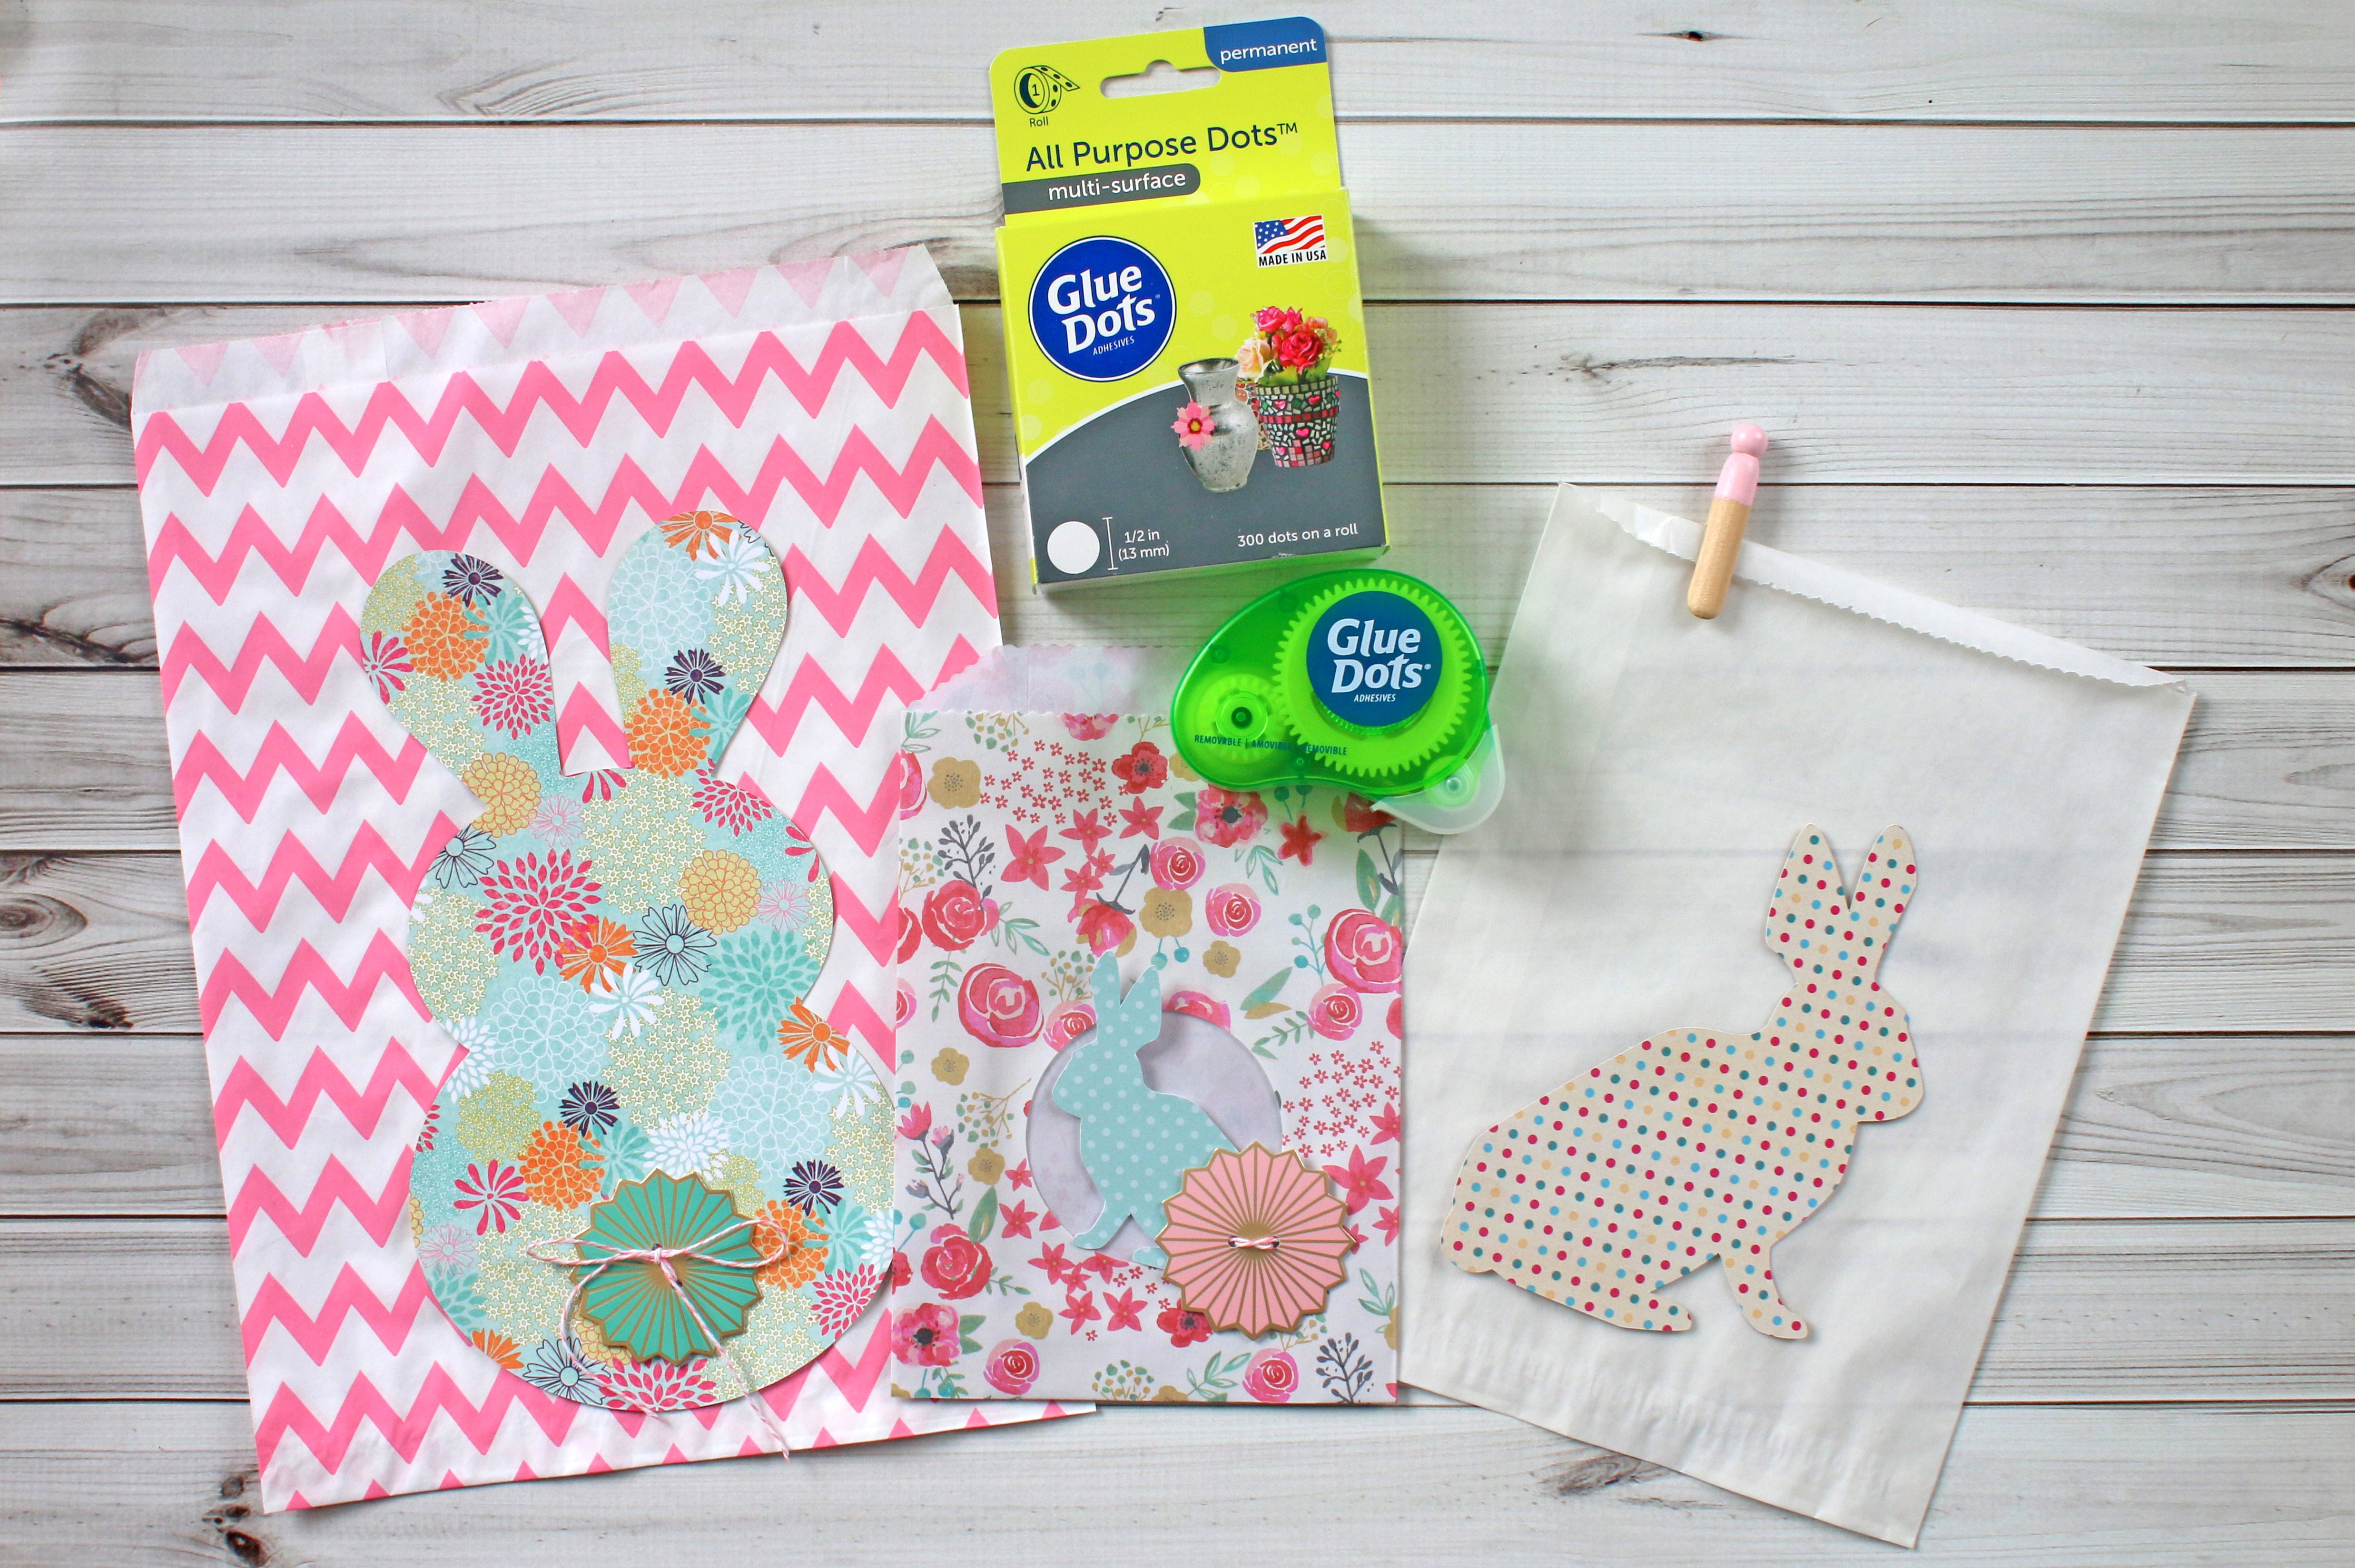
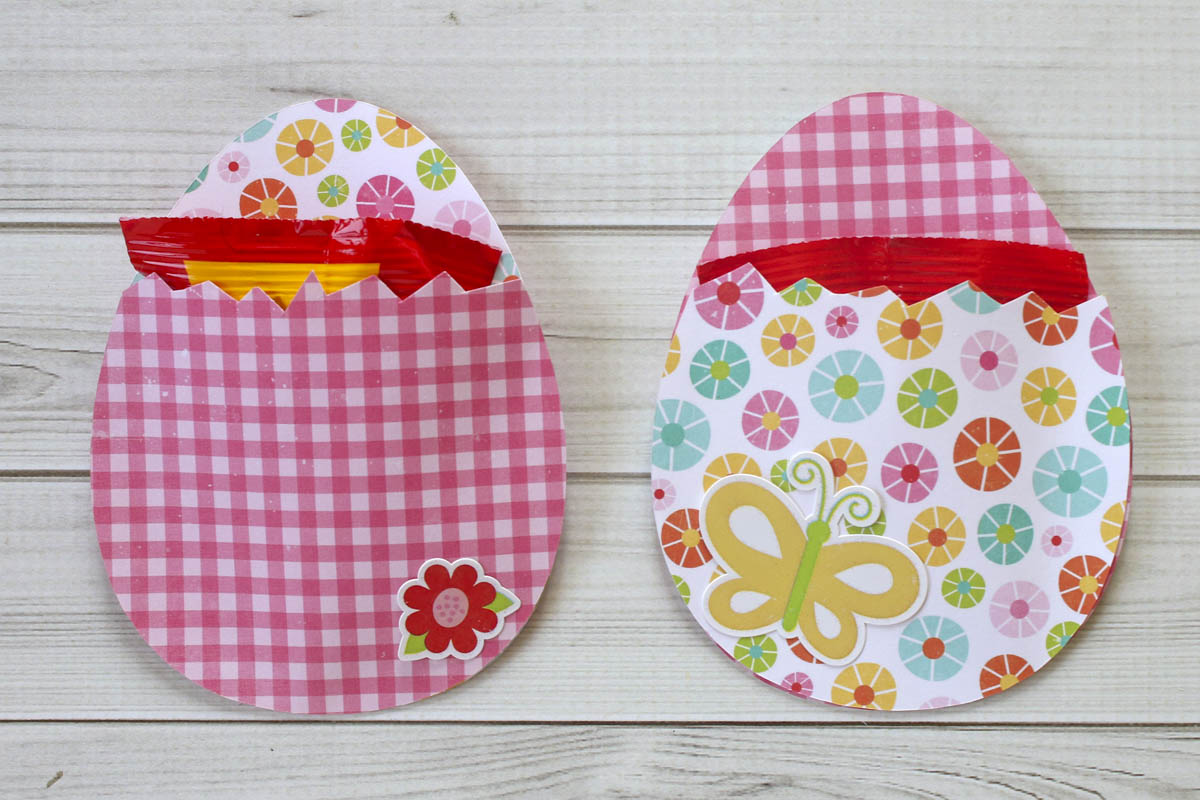
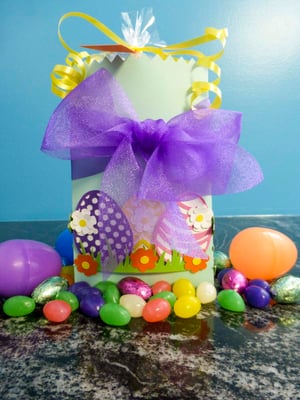
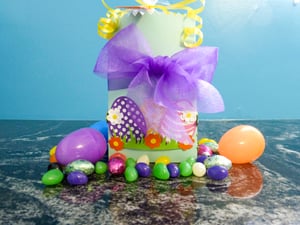
We’ve got just the thing for your Easter Sunday: this adorable treat bag! This little project is the perfect size to make for friends or family, and all you need to put it together is a mix of your favorite Glue Dots®, a few Die Cuts, and some sweet treats!
MADE BY: AMANDA TIBBITTS | TIME: 30 MINS
LEVEL: ADVANCED | SIZE: 6 ¼” x 4”
Supplies:
- Glue Dots® Mini Dots
- Glue Dots® Micro Dots
- Glue Dots® Pop-Up Dots
- Glue Dots® Permanent Glue Tape
- Bone Folder
- Curling Ribbon
- Gift Ribbon
- Easter Candy
- Plastic Eggs
- Easter Grass
- Happy Easter Tag cut at 2.25” Height
- Cellophane Bag 8” x 9 ½”
- Gift Bag cut at 7.75” Height
- Tulips cut at 2.5” Width
- Grass cut at 1.15” Height
- 6 Color Eggs cut at 2” Height
- 6 White Eggs cut at 2” Height
- 6 Orange Daisies cut at .75” Width
- 6 Yellow Centers cut at .25”
- 6 White Daisies cut at .75” Width
- 6 White Daisies cut at .5” Width
- 6 Yellow Centers cut at .2”
.jpg?width=300&name=P1090094%20(2).jpg)
Directions:
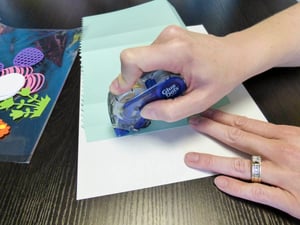
- Fold the gift bag along the score lines. Use the bone folder to crease the folds. Add Glue Dots® Permanent GlueTape along the side and bottom to glue the bag together.
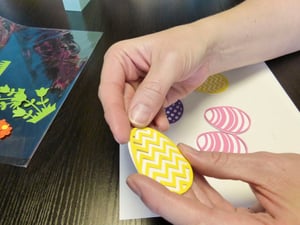
- Using the Glue Dots® Micro Dots, glue the color eggs to the white base.
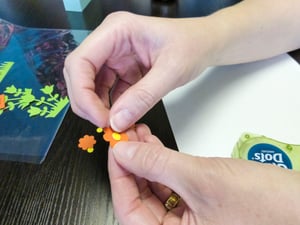
- Use a Glue Dots® Micro Dot to glue the yellow center on the White Daisies. Fluff the smaller daisy to give the flower a big of dimension. Then with the Glue Dots® Mini Dots, glue the yellow centers to the Orange Daisies. Use a Mini Dot to glue the White Daisy top layer, offsetting it a smidge to the bigger daisy.
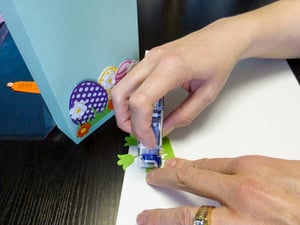
- Add Glue Dots® Pop-Up Dots to the eggs and adhere to the bag. With the Glue Dots® Mini Dots, glue the orange and white daisies along the eggs and grass. With the Permanent Tape, glue the tulips to the outer edges of the bag, leaving some of the flower to hang off. Use the Glue Dots® Permanent GlueTape to adhere the grass to the front of the bag, both sides.
- Put some Easter Grass in the cellophane bag. Place it inside the die cut bag. Add your candy until you’ve filled up the bag. Then, tie the top of the cellophane bag with the curling ribbon. Slide the tag on, tie it into a bow and curl the ends.
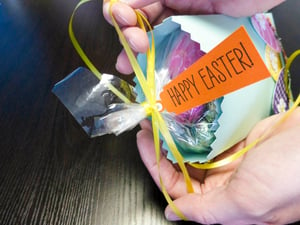
- Once your ribbon is tied, your bag is ready for gifting. Happy Easter!

I began crafting in 1996 and simply fell in love with making my own cards. Long live snail mail! Crafting isn’t just a hobby for me, but a way of life… Teacher gifts, posters, scrapbooks, wood crafts? Yes, please! I have been married to my cute husband for 16 years and he definitely inspires me to try new things and enjoy the little things. As a stay home Mom, my time is spent raising my two girls, and raising the bar for my gift giving!


