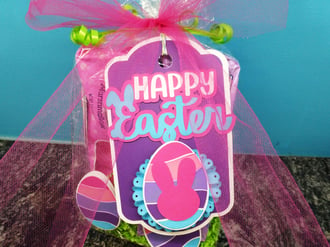
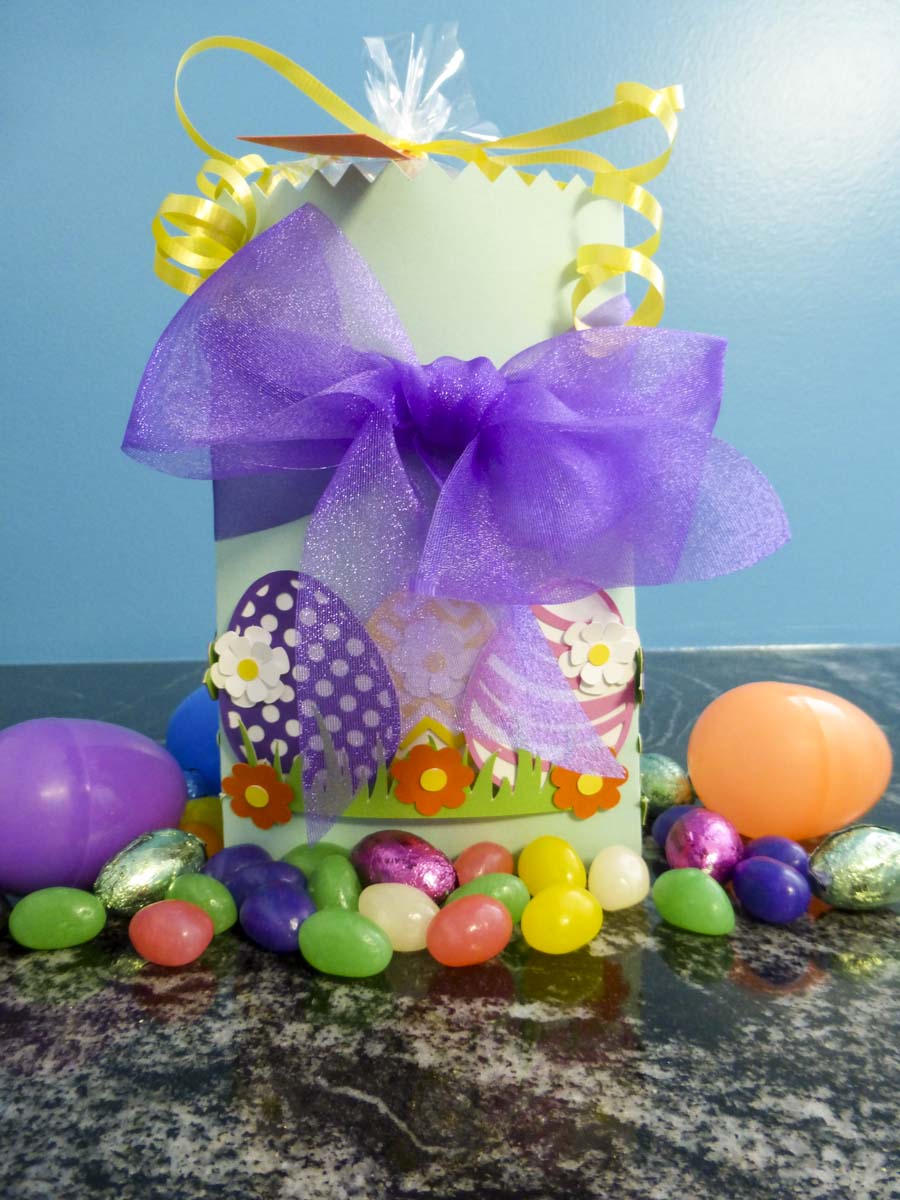
This cute tag for some Easter treats is fairly easy to put together with a few Die Cuts and some Glue Dots© All Purpose Dots! And it’s super fun, too!
MADE BY: AMANDA TIBBITTS | TIME: 45-60 MINUTES
LEVEL: INTERMEDIATE/ADVANCED | SIZE: 6" TALL
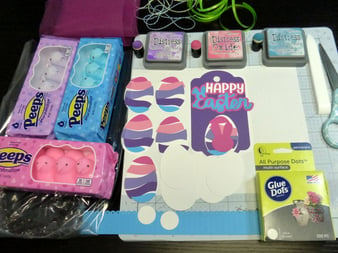
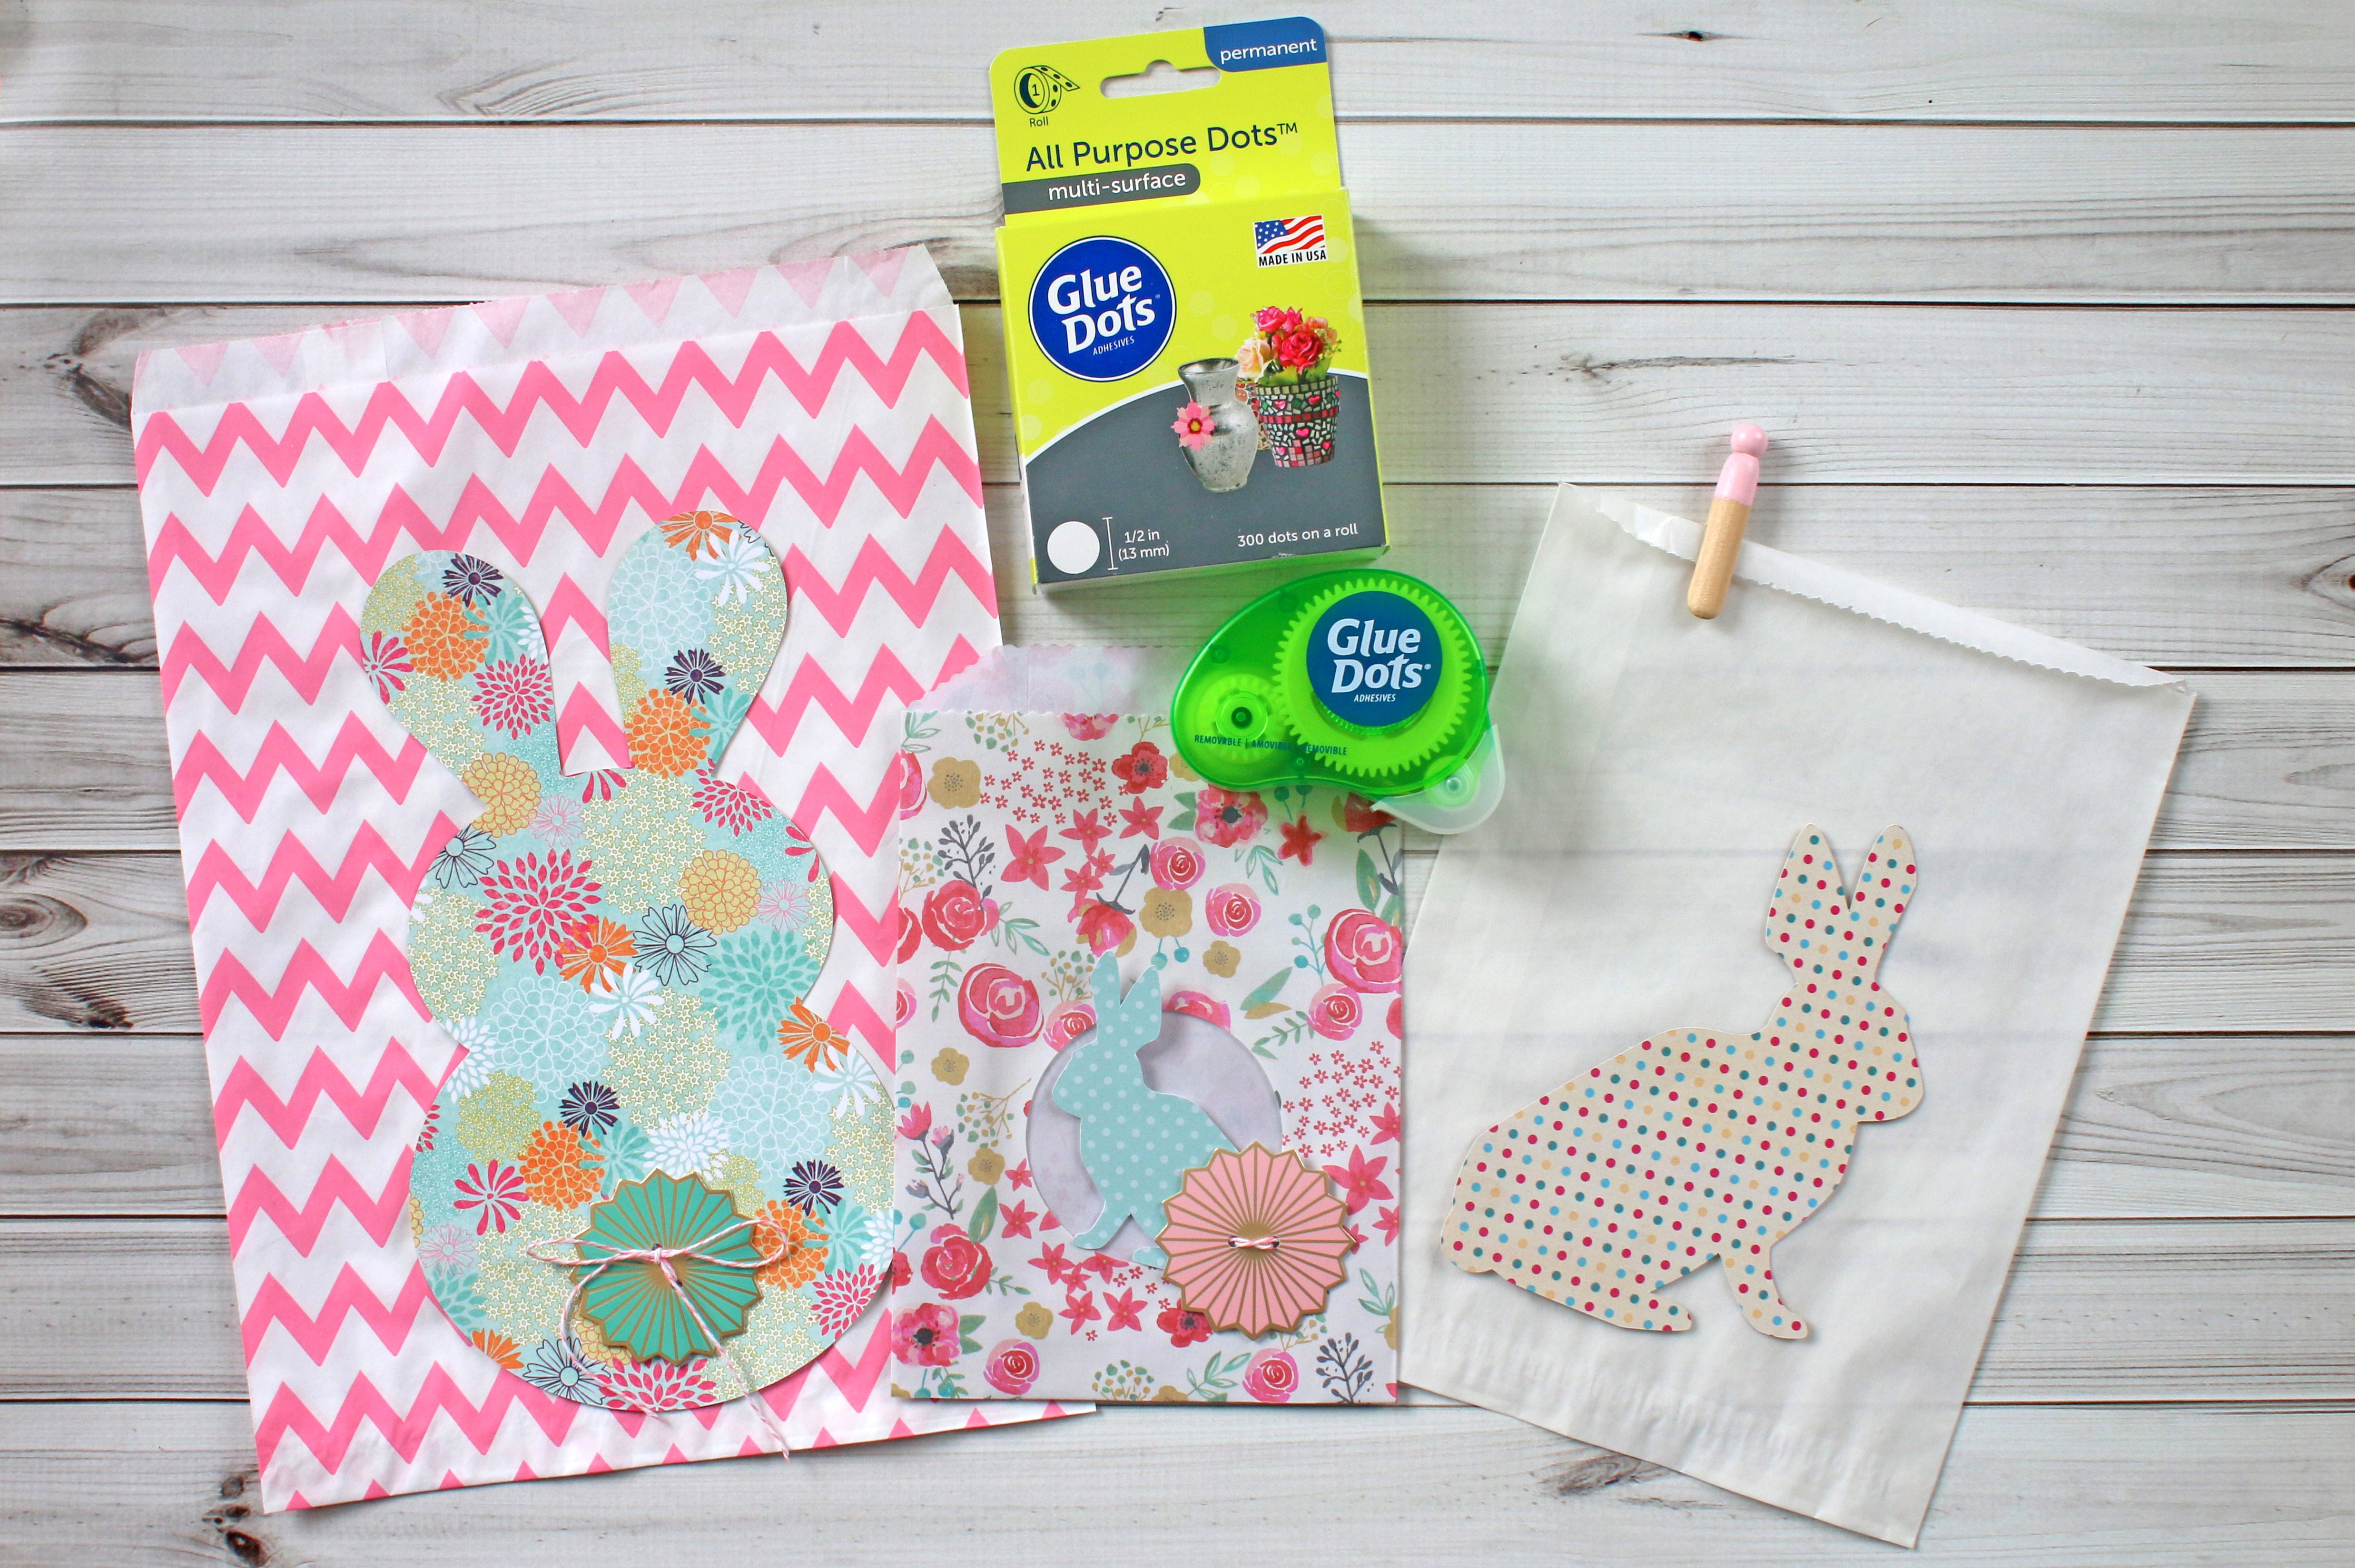
Supplies:
Adhesive:
Die Cuts:
- Happy Easter cut at 3.8” w
- Happy Easter Offset cut at 4” w
- Tag cut at 3.5” w
- Tag Offset cut at 3.75” w
- 6 Eggs with layers cut at 1.893” w by 2.65” h
- 5 Backer Pieces for eggs cut at 2” w by 2.75” h
- Rosette cut at 1.25” h by 9.6” w with score lines attached
- 2 Circles to help finish the rosette cut at 1”
Materials:
- Distress Oxide Inks and applicators in Picked Raspberry, Wilted Violet, and Broken China
- Curling Ribbon
- Twine
- Easter Candy (Peeps)
- Cellophane Bag
Tools:
- Scissors
- Bone Folder
*NOT PICTURED Crinkly Easter Grass
Directions:
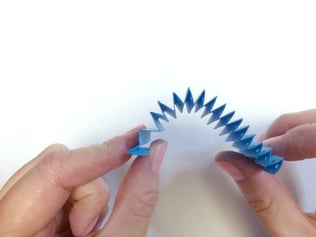
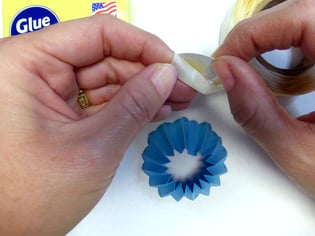
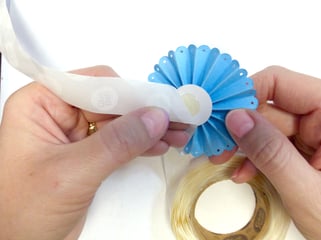
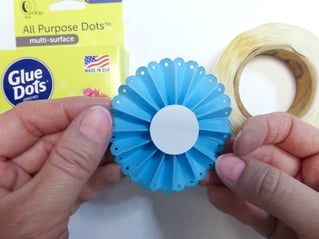
- Use the Broken China Distress Oxide to add some around the edge of the rosette. Then, begin folding the rosette. Do mountain and valley folds, and really crease them with the bone folder. Glue one end to the other. Flip the circle upside down and press into the middle to get the rosette shape. Once you’ve got the shape, use a Glue Dots© All Purpose Dot on one of the 1” circles to add to the front of the rosette shape to help all the creases and folds stay folded in the rosette. Use one more Glue Dots© All Purpose Dot on the remaining 1” circle and glue it along the back of the rosette shape. Once your circles are glued on, you can run a bit more Broken China along the folds.

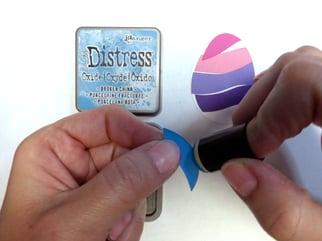
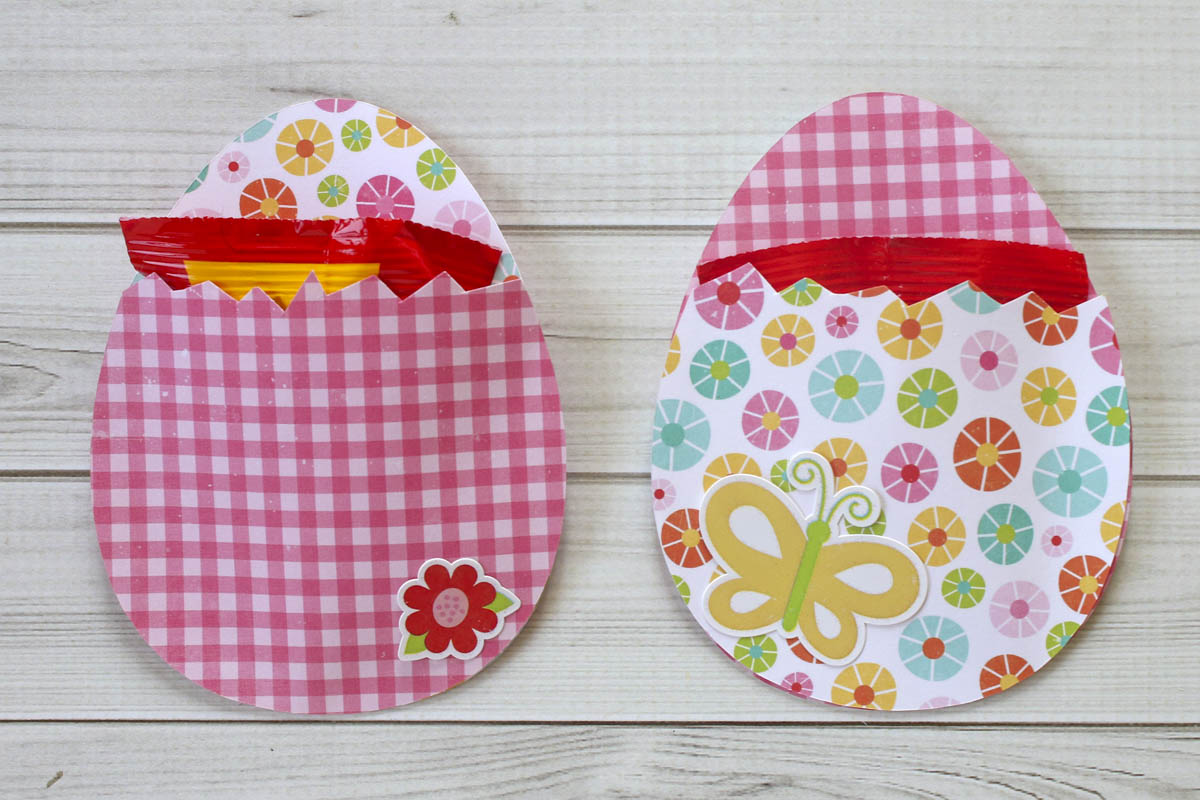
- Run some of each of the Distress Oxides around the edges of the lighter shades of colors used for the egg layers. Use the Glue Dots© Permanent Tape Runner to glue the layers of the eggs to each of the backer pieces. Watch which direction each piece goes to line up with the backer.
- With one Glue Dots© All Purpose Dot, glue the bunny to an egg. Add the egg to the rosette with one Glue Dots© All Purpose Dot. Once added, press the creases and make sure everything stays put.
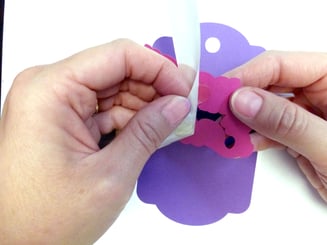
- Use the Glue Dots© All Purpose Dots to glue the tag together. Line up the hole and press down.
- With one Glue Dots© All Purpose Dots, glue the rosette along the bottom edge of the tag.
- Use a few Glue Dots© All Purpose Dots to glue the sentiment to the tag.
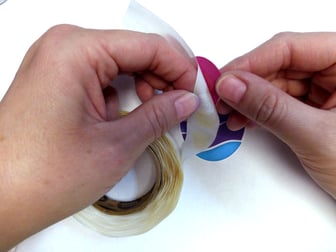
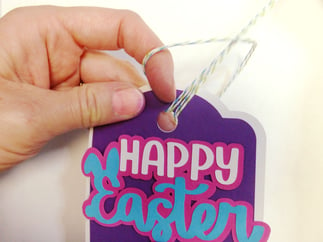
- Thread some twine through the tag opening and trim off the excess. Fill your cello bag with some Easter Grass and your treats. With the remaining eggs, use a Glue Dots© All Purpose Dot to add each of them randomly around the front of the bag. With the solid backer of each of the eggs, add one Glue Dots© All Purpose Dot to the front side, and slide it into the bag, being super careful to not touch the bag, the treats or the grass! This will finish off the egg on the front.
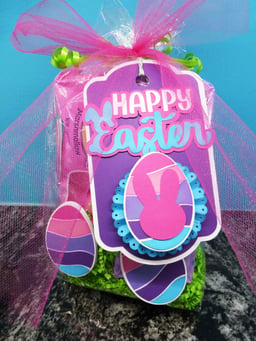
Tie off the bag with the curling ribbon. Curl it, then add your tag. Tie it around the back of the bag with the tag in the front. Trim off the excess twine. Tie the ribbon around the bag in a bow, trim off the ends and you’re all set to give a super cute Easter Treat to a special friend or family!

I began crafting in 1996 and simply fell in love with making my own cards. Long live snail mail! Crafting isn’t just a hobby for me, but a way of life… Teacher gifts, posters, scrapbooks, wood crafts? Yes, please! I have been married to my cute husband for 16 years and he definitely inspires me to try new things and enjoy the little things. As a stay home Mom, my time is spent raising my two girls, and raising the bar for my gift giving!


