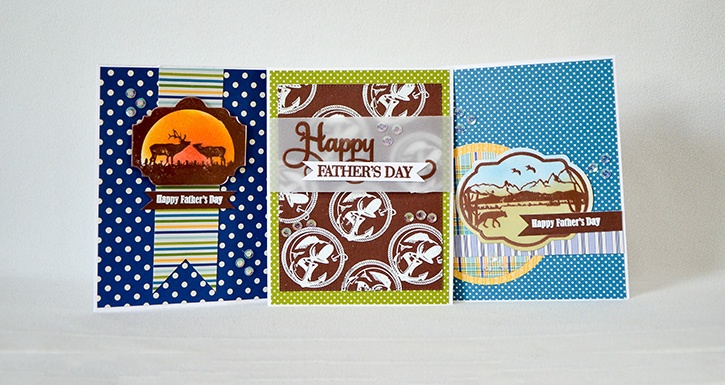
I rarely make masculine cards so when I got the assignment to make Father’s day cards, I jumped at the chance. I think that with any mass produced card making, an assembly line strategy makes the process go faster and more efficient. Add Glue Dots® to that process and you are bound to have a successful card making experience.
Made by: Grace Tolman
Time: Approximately 45 minutes
Level: Intermediate
Size: 4 ¼" x 5 ½" for each card
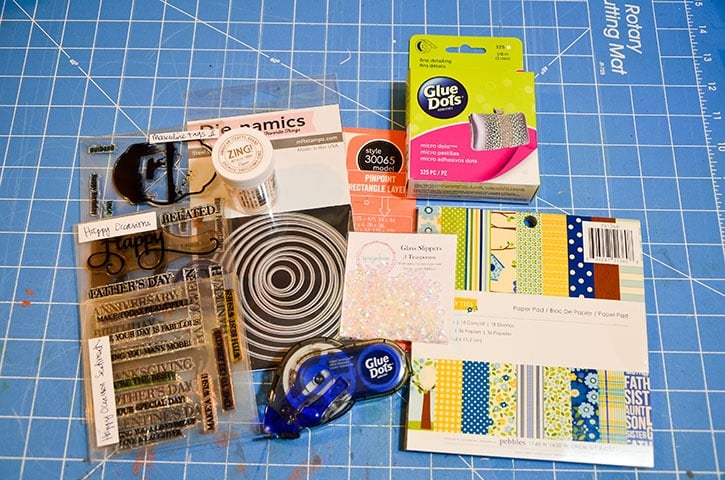
Here's what you need:
- Premium Permanent GlueTape™
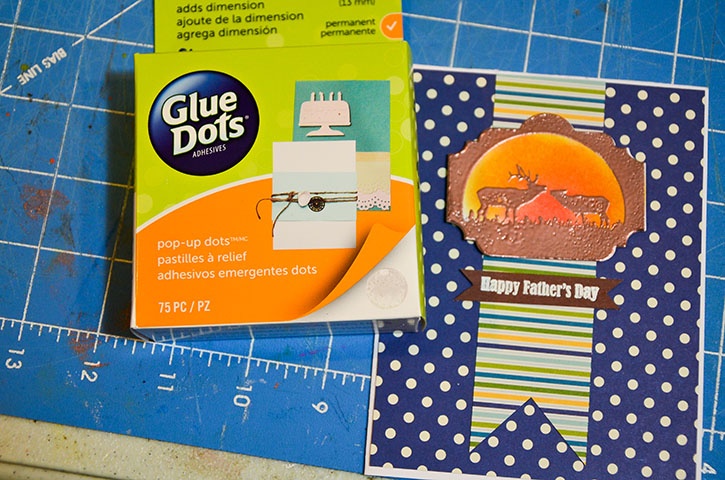
- Glue Dots® Pop Up Dots™
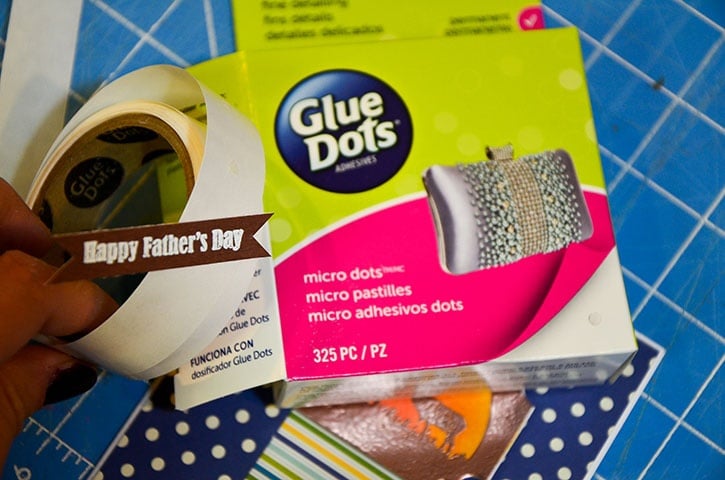
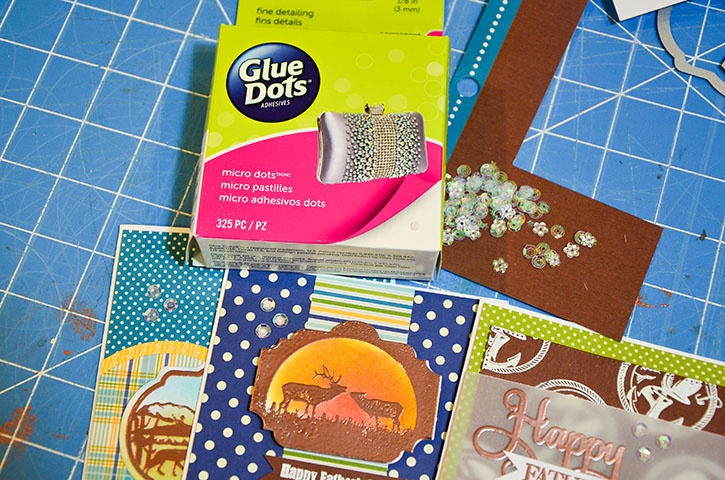
- Glue Dots® Micro Dots™
- Cardstock- White, Neenah Cardstock
- Pattern papers- Family ties, 6x6 paper pad, Pebbles
- Vellum- WorldWin Cardstock
- Sequins- Glass slippers, SpiegelMom Scraps
- Stamp- (Masculine Tags II and Happy Occasions) Inspired By Stamping
- Ink- (Versamark) Tsukineko, (Tumbled Glass, Mermaid Lagoon, Fossilized Amber, Ripe Persimmon) Distressed Ink, Ranger, (Soft Olive) Hero Arts
- Embossing Powder- (copper) American Crafts; (white) Hampton Arts
- Dies- Circle Stax Set 1, My Favorite Things Stamps; Pinpoint Rectangle Layers, Memory Box
- Heat gun- Stampin’Up
Here's what you do:
Create the card bases using white cardstock. Create side folding cards for all three of them.
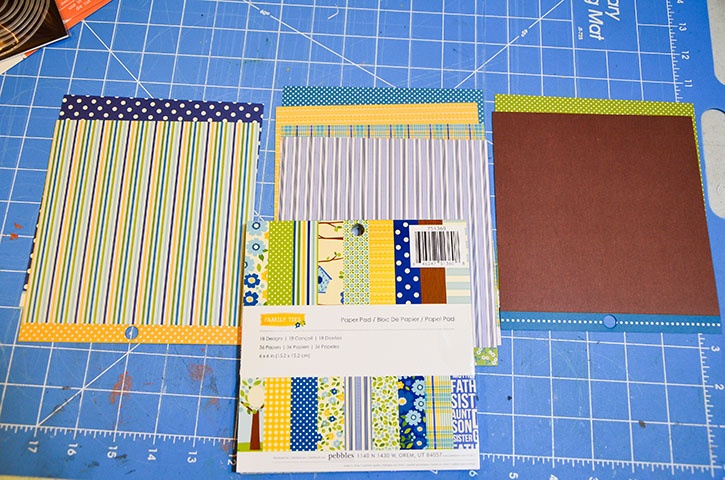
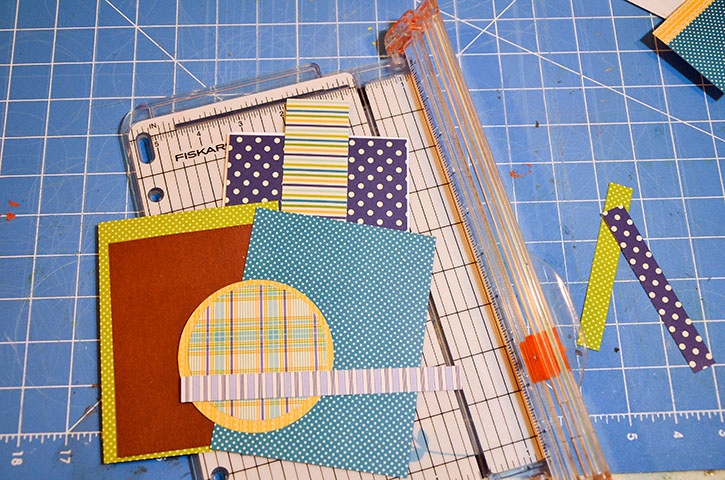
Start the assembly line style of card making by choosing the papers that you would like to use for each card. I like to put together patterns that do not compete with one another. For example, if I have a very bold strip, I will match that with a more subtle pattern or even with a solid.
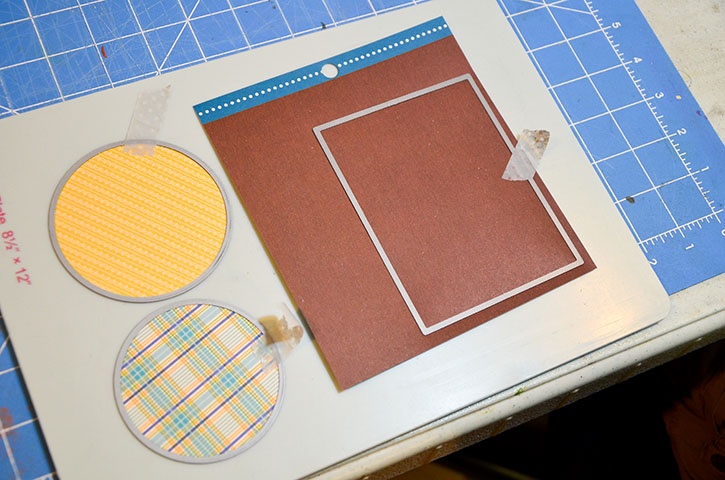
Next, run all the necessary papers through the die cut machine using the appropriate dies. I used two circle ones and one rectangle stitched one for these cards.
Then, cut out the rest of the papers according to the design you have planned for each card. You can even sketch out your designs before starting the assembly line so you can have something to refer to during the process.
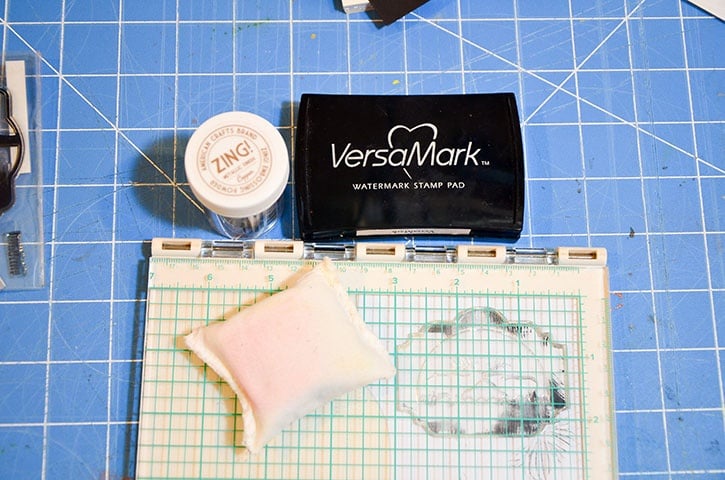
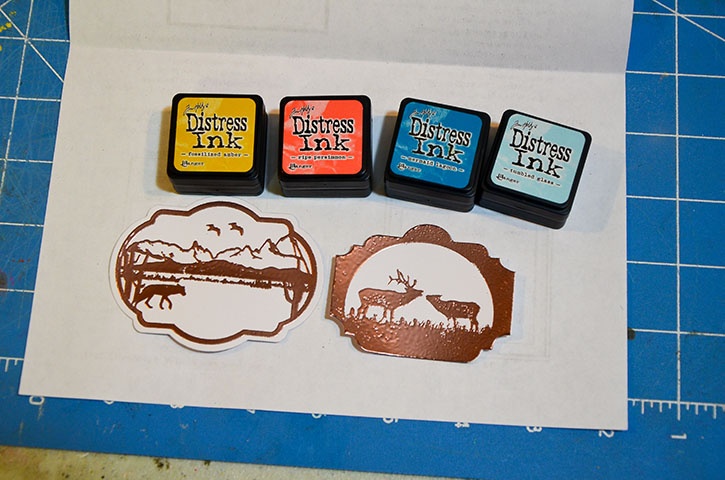
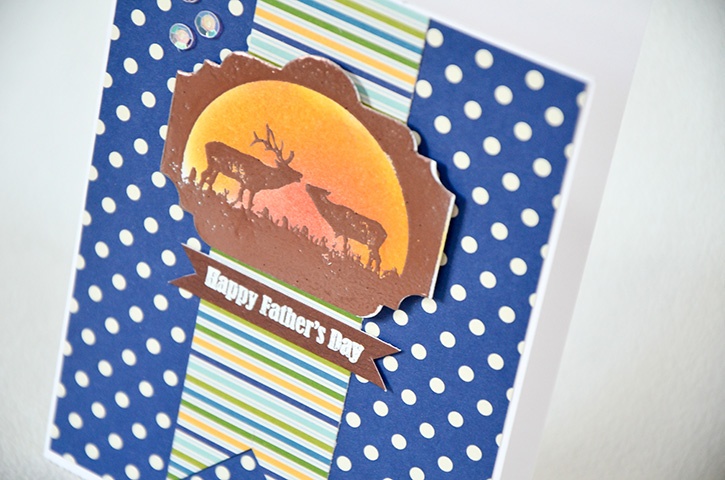
Next heat emboss the landscape design on white cardstock. I used a stamping positioned to make sure that I get a good impression on my paper. I used a copper embossing powder for these designs to give it a more authentic “nature” look. Use a heat gun to set the embossing powder onto the paper.
Cut out the image and then add some color within the design using some distress inks. I used a small dauber to rub the colors within the image.
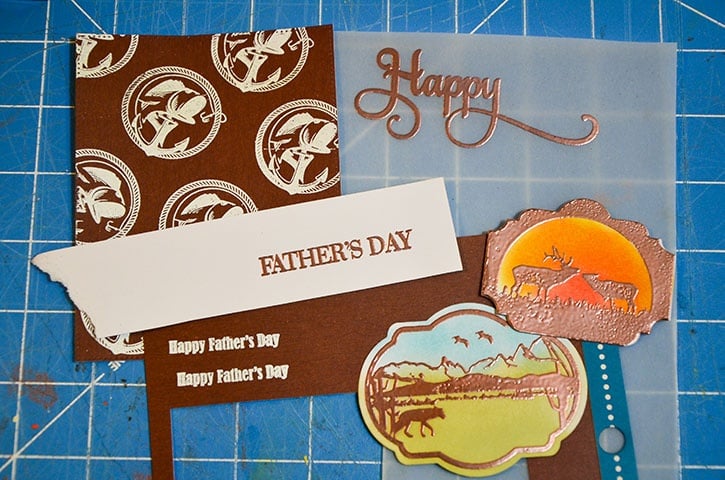
After that I also heat embossed the fish stamp all over the brown rectangle piece using white ink pad. This allowed me to create my own pattern paper.
I also heat embossed my sentiments using both white and copper embossing powder. I added the word “happy” onto vellum and the rest on white and brown papers.
Assemble your cards. For card #1, I added a piece of dotted paper 1/8” smaller than the card base on the center of the card front. I then cut a 1 ½” strip of striped paper, cut one end into a notch and added to the center of the card, vertically using Premium Permanent GlueTape. I then added one of the landscape embossed image onto the center of the striped paper using Pop Up Glue Dots.
I trimmed one of my sentiment and added that to the bottom of the landscape image using Micro Glue Dots.
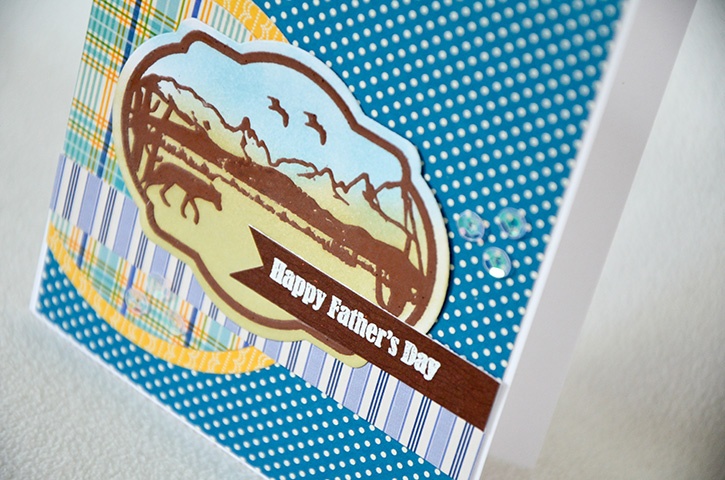
For card #2, I adhered a white dot/blue paper onto the card front using Premium Permanent GlueTape.
I then layered the two circle shaped papers onto each other adhesive and added that to the card onto the left bottom edge. I trimmed the excess and then added the ½” strip of lavender paper with more Premium Permanent GlueTape. I added the landscape stamped image with Pop Up Glue Dots and the sentiment with Micro Glue Dots.
For card #3, I adhered the brown piece onto green paper that is about 1/8" smaller than the card base. I trimmed the vellum piece to about 1 ½" wide and then laid it on top of the layered papers. I folded the excess behind the papers and placed Premium Permanent GlueTape on the ends to secure the vellum behind the layered papers.
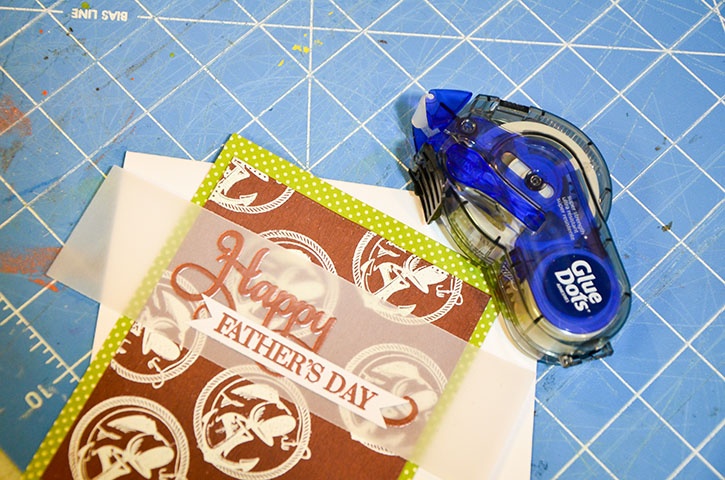
I then adhered all of the papers onto the card front using more Premium Permanent GlueTape. I had cut the rest of my card sentiment, trimming both ends into a notch and then adhering onto the vellum using Premium Permanent GlueTape.
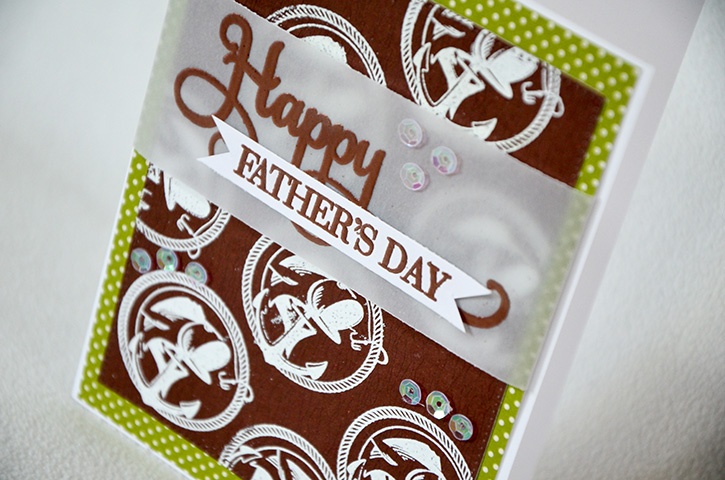
I added some “bling” on each of my cards using some sequins and Micro Glue Dots.
~Grace

I’m a mom to a 10 year old boy and an 8 year old girl. Therefore my life is usually filled with learning, new discovery, bribery and driving to and from all of our activities. I have a loving and very supportive husband of 11 years. When the kids have gone to bed at night, my time is spent crafting while catching up on my favorite shows and movies. I also enjoy reading, window shopping, knitting and perusing blogs for inspirations. Three years ago we moved to Colorado from California and we are enjoying our new environment. I feel very inspired with my new home, my new scrapbook space and the mountain views. Although I’ve been doing some type of scrapbooking since grade school, I only started to scrapbook seriously after my son was born. When he was born I knew I would be staying at home with him but coming from a fast paced sales job I was afraid I would ran out of things to do during the day. Little did I know that with newborns you won’t have any time to do anything else. Anyways, after going through a basic scrapbooking class I was hooked and haven’t stopped scrapping since.


