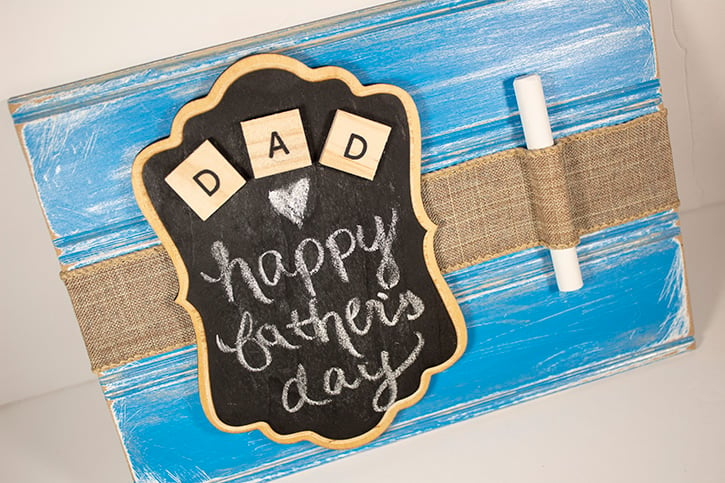
Dig into Dad’s supplies to create a gift he’ll be sure to love this Father’s Day! Learn how to turn a piece of wall paneling into a work of art.
Designed by: Danielle Hunter
Time: 1 hour
Level: Moderate Handiness
Size: 8½" x 6¼"
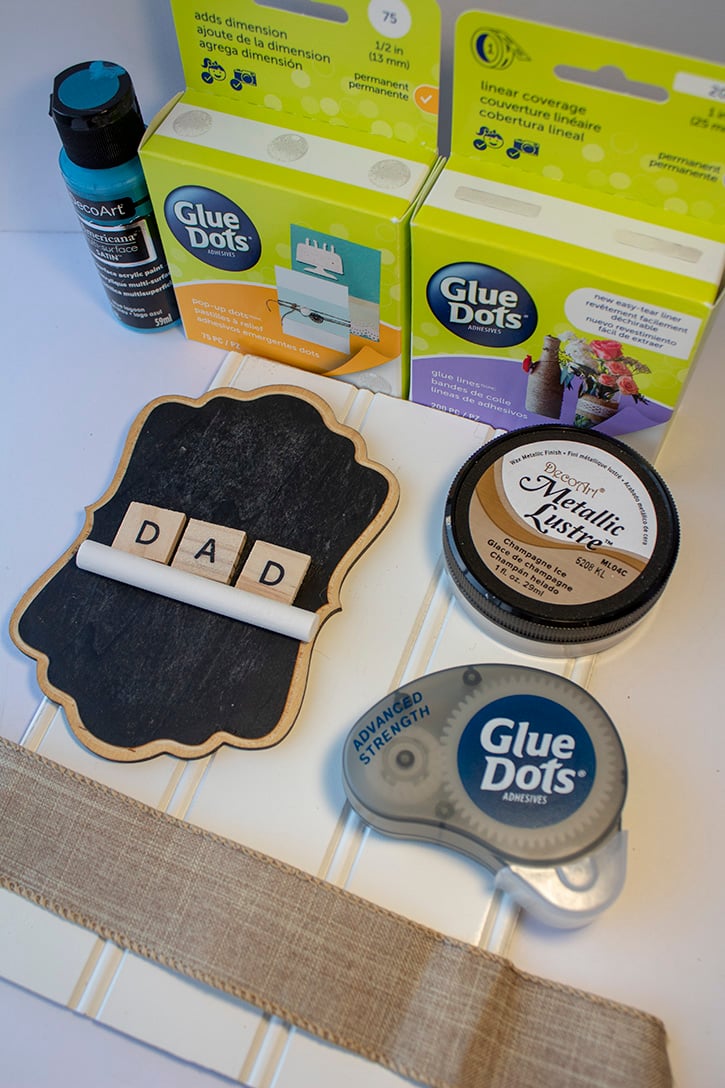
Materials:
- Pop-Up Dots™
- Advanced Strength Dots™
- Glue Lines®
- Cloth
- Sandpaper
- 8½" x 6¼" wall panel
- 6 x 4 inch chalkboard
- 9 inch burlap wired ribbon
- DecoArt satin acrylic paint (blue lagoon)
- DecoArt metallic lustre (champagne)
- Alphabet tiles (to spell DAD)
- Chalk
Directions:
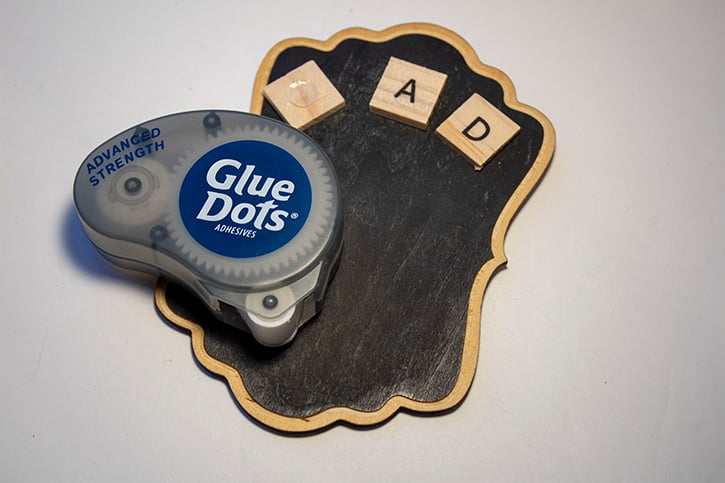
Lightly sand and clean wall panel before applying three coats of acrylic paint. Allow drying time in between coats. While waiting for the paint tor dry, use Advanced Strength Dots to attach alphabet tiles to chalkboard.
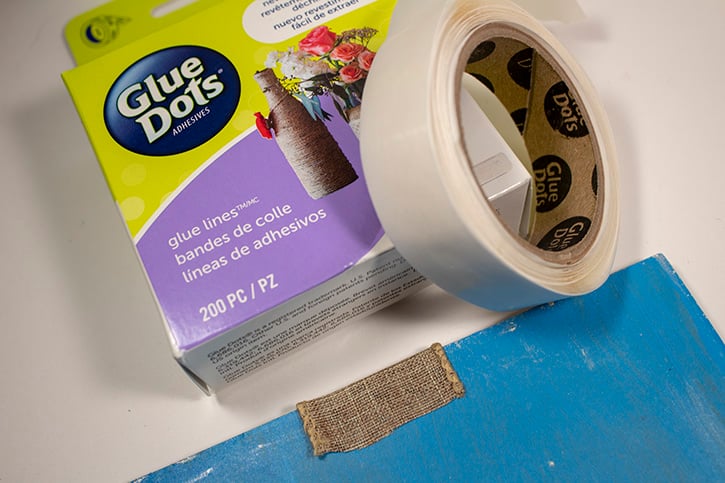
Apply metallic luster paint to the wall panel, let dry and then sand lightly. Attach one end of ribbon on backside of wood panel using a Glue Line.
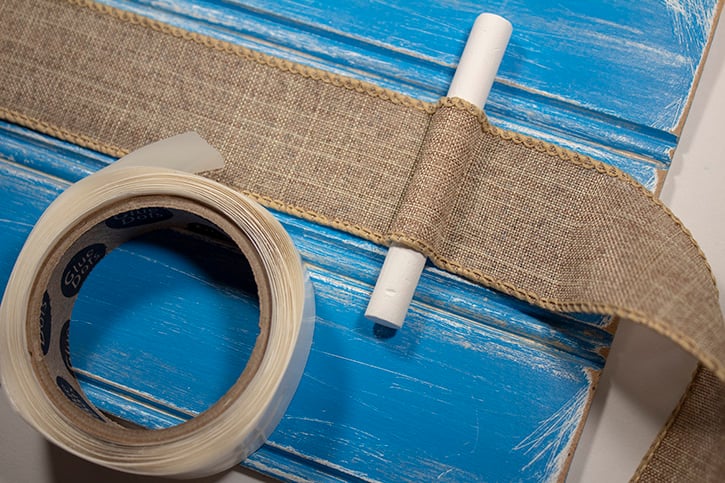
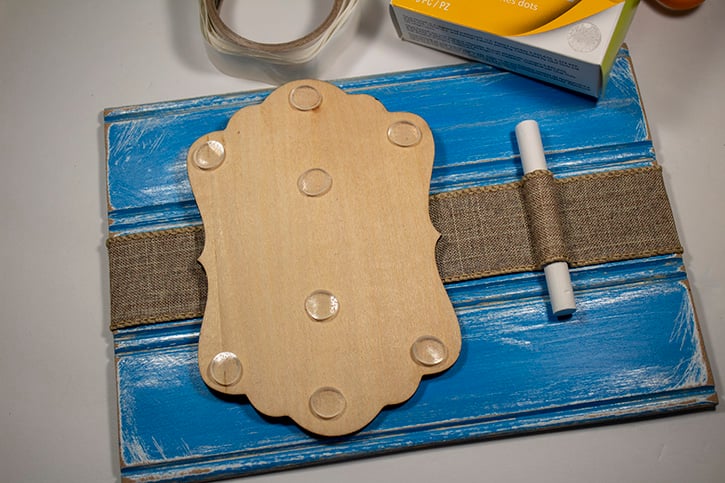
Wrap ribbon around to the front of your now painted wall panel and use a Glue Line to secure the ribbon about two-thirds away from left edge. Create a loop for a piece of chalk and attach another Glue Line to keep it in place.
Attach the rest of the ribbon to the back of panel using more Glue Lines. Adhere Pop-Up Dots to the back of the chalkboard and attach to the left side of the wall panel.
~ Danielle

Danielle Hunter is a multitasking mom of two creative girls. She works in human resources for a non-profit organization and is a yoga teacher in training. She lives in Northeast Ohio and has been dedicated to crafting since childhood. Danielle completed her first scrapbook at the age of four, was a scrapbooker-for-hire for several years, and has shared her knowledge in a classroom setting. She enjoys turning trash to treasure, making crafts for kids, and creating artistic projects with bold colors and fun designs. Danielle joined the very first design team for Glue Dots in 2010. Her projects have been featured in Craft Ideas and CardMaker magazines, as well as websites such as Reader’s Digest, HGTV, and Crafting a Green World.


