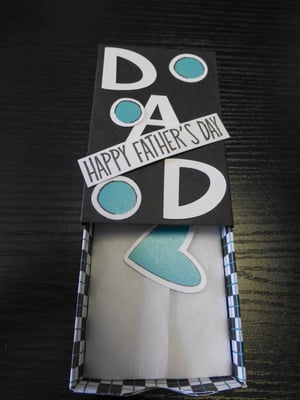
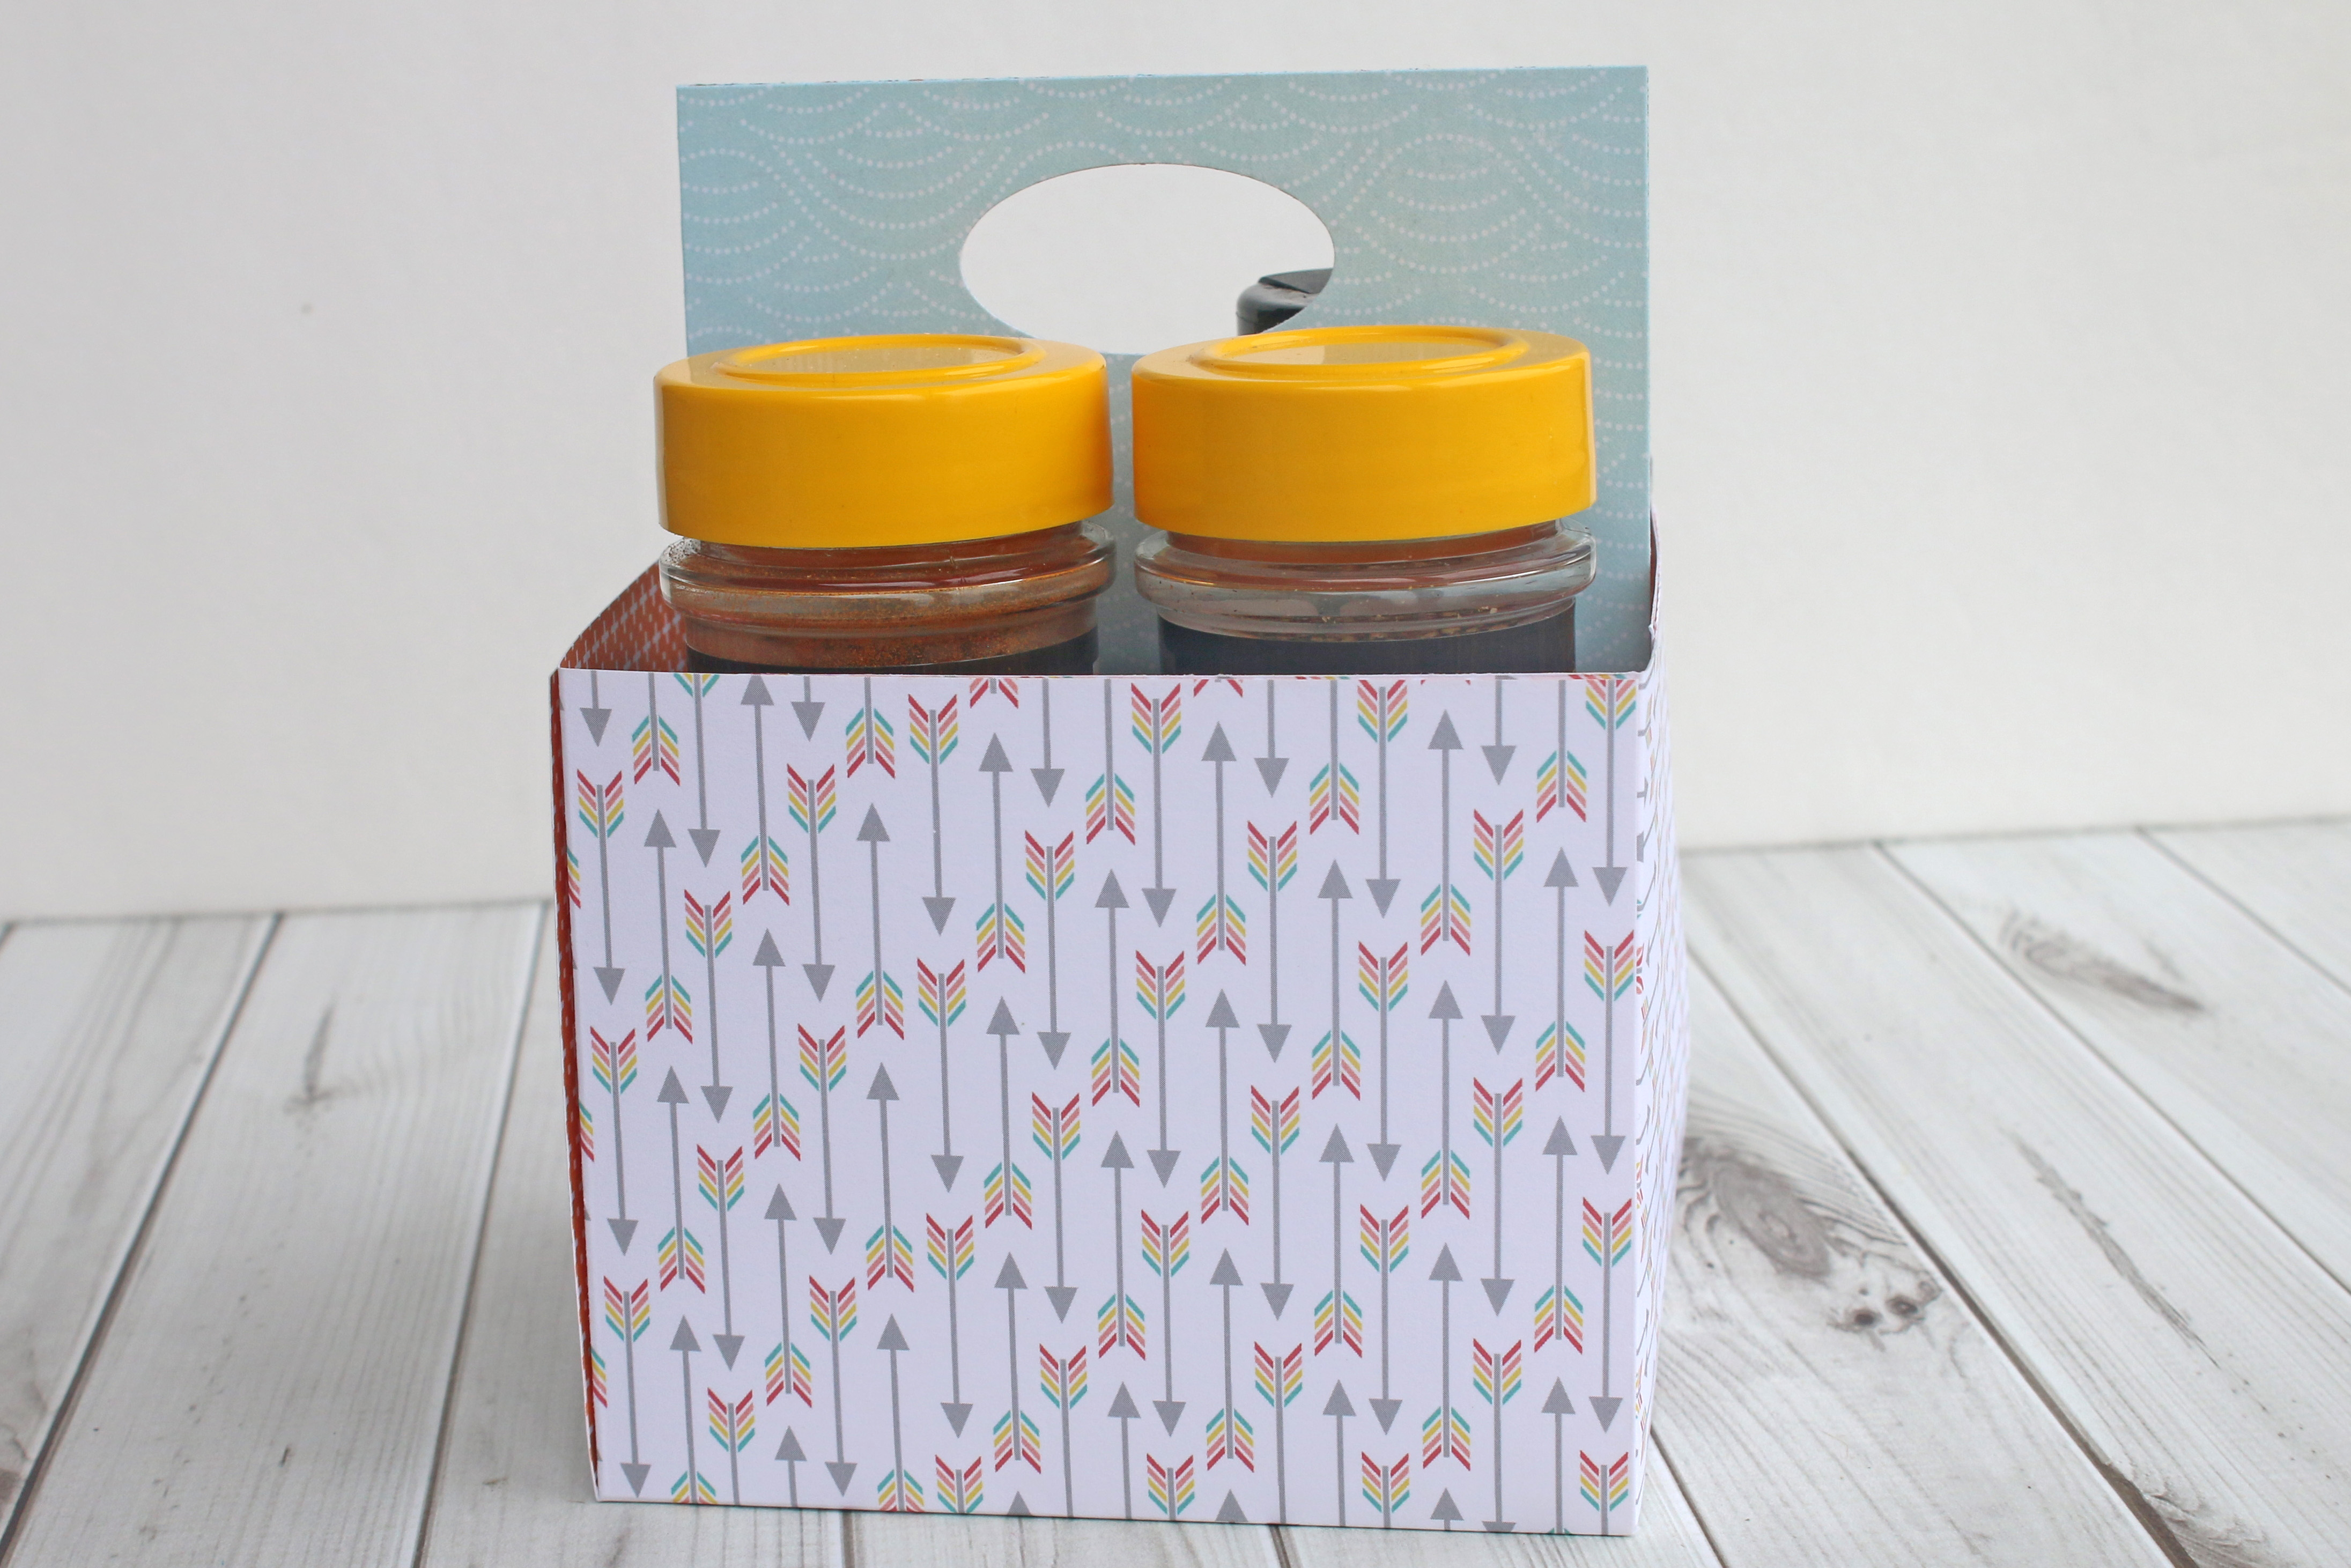
This little box comes together fairly quick and is the perfect holder for a gift card or some little treats for Dad. You can decorate it to the nines, or just a little bit—either way, it’s the perfect way to say thanks!
MADE BY: AMANDA TIBBITTS | TIME: 45-60 MINS
LEVEL: INTERMEDIATE/ADVANCED | SIZE: 2 3/8" x 3 3/4"
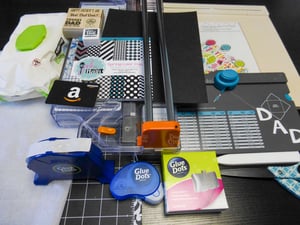
Supplies:
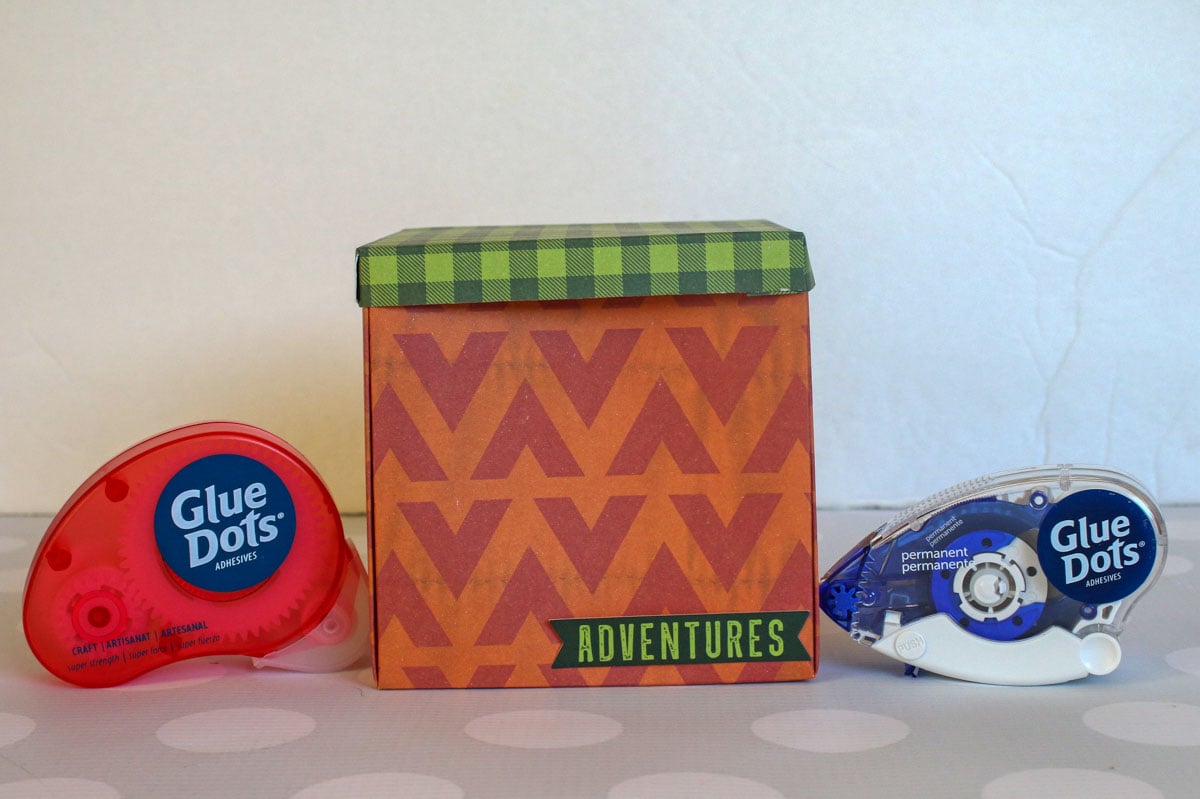
- Glue Dots® Glue Squares
- Glue Dots® Micro Dots
- Glue Dots® Pop-Up Dots
- ‘We R Memory Keepers’ envelope punch board
- Paper trimmer
- Score board
- Bone folder
- Scissors
- Pink & Main 6” x 6” cardstock pack - spring color pop
- One sheet of black cardstock
- Scrap of white cardstock for stamping
- Die cut “DAD” at 1” tall
- Father’s Day stamp set from Hero Arts
- Pink & Main surface ink in 'Asphalt'
- Baby wipes or stamp cleaner
- Miss Kate’s Cuttables ‘Party Time’ die cut pack
- Gift tissue
- Gift card for Dad’s favorite store (optional)
Directions:
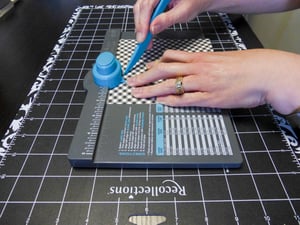
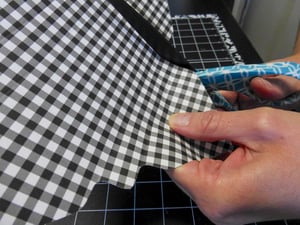
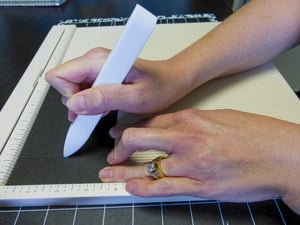
- From the 6” x 6” cardstock stack, chose which paper you want as the drawer to your matchbox. Use the envelope punch board and line up the top edge of the paper to 2” punch, score. Rotate, line up to 3”, punch and score. Rotate again, to 2”, punch and score, rotate once again, line up to 3” punch and score.
- With the first side of the paper you punched and scored, line up the foot of the punch tool with the score line on the diagonal. Punch and score on the opposite side. This will make a notch next to the first notch you made. Rotate the paper, line up the foot of the punch with the next score line, punch and score along the opposite side. Follow for the other two sides.
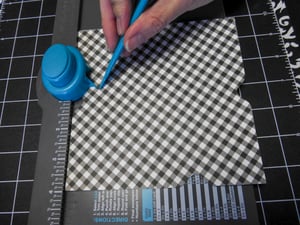
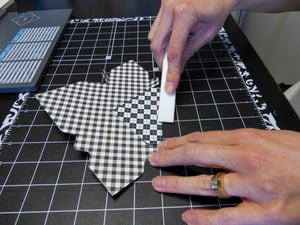
- Once the punching and scoring has been done, along on the bigger flaps, cut up the score line to make a tab. Do this on both sides of each big flap.
- Once your tabs are made, fold all the score lines and press them with the bone folder to make them crisp. On one of the smaller sides, fold along the top score line and put it in the punch board to make a pull notch for the tray. Center this punch as best you can.
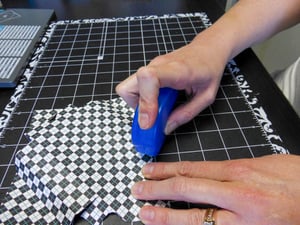
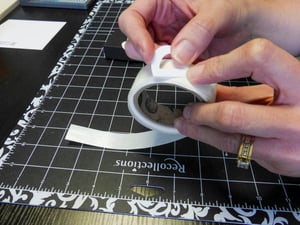
- Run two Glue Dots® Glue Squares along the outside of each tab. Line up each edge as close as you can and stick the sides together. Add two more on the inside of each of the flaps and press them down into the bottom of the tray. Press the score line as you add each flap to really crisp up the edges.
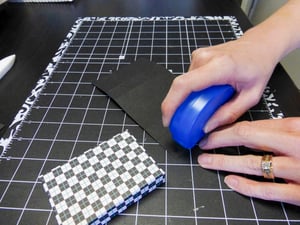
- With the black cardstock, cut a liner for the tray. Cut it at 3 5/8” by 2 1/8”. While you’re cutting the black, you can also cut the cover for the tray. This needs to be cut to 6 ¾” by 3 ¾”, then scored on the score board at 1 ¼”, 2”, 4 3/8” and 5 1/8”. Glue the liner in to the tray with a few Glue Dots® Glue Squares. Set it in as straight as you can to finish off the inside.
- With the bone folder, fold up the cover and crease all the edges. Set the tray upside down on the cover and fold it up and around it and figure out which edge you want to add some Glue Dots® Glue Squares and glue it around the tray. It doesn’t need to be super snug; you want the tray to be able to slide out freely.
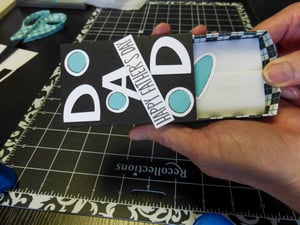
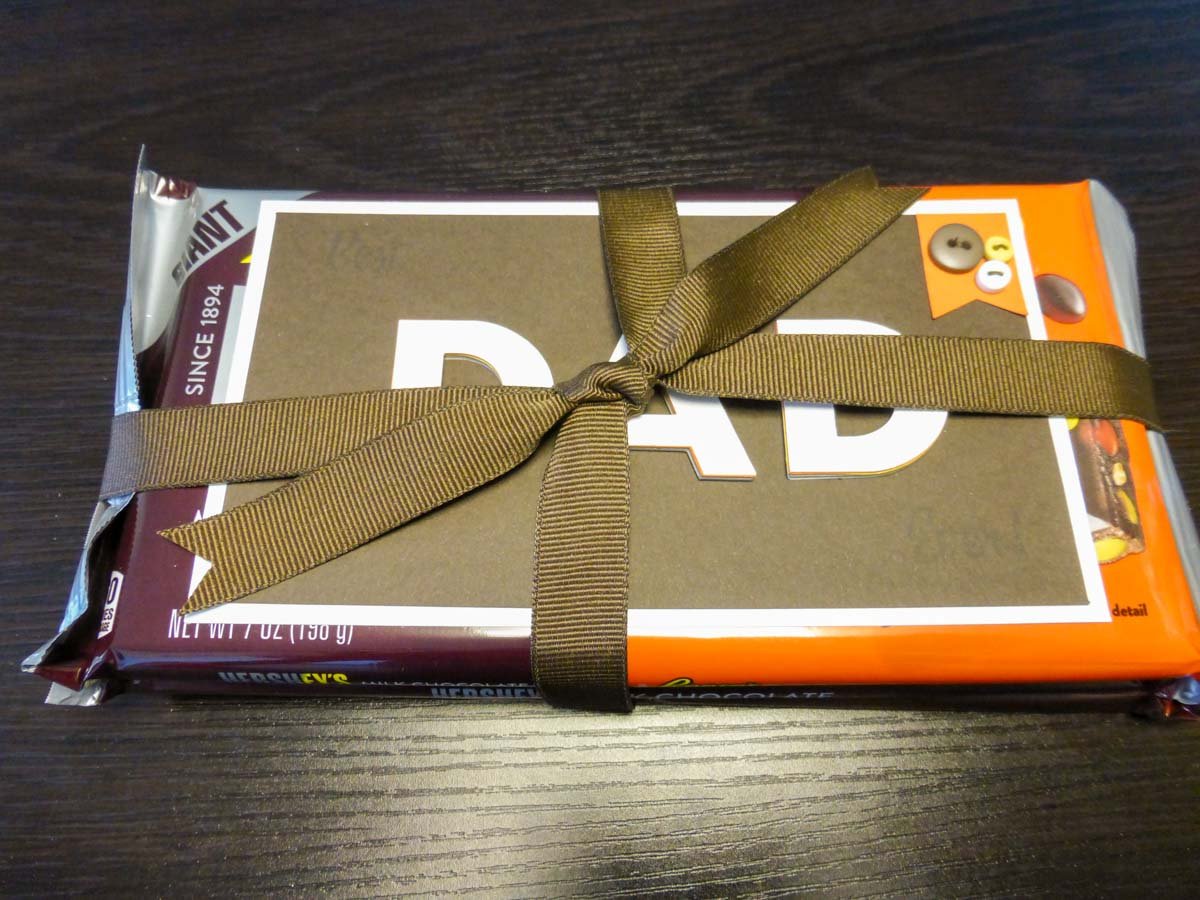
- With the Glue Dots® Micro Dots, decorate the front of the cover with the Die Cut “Dad” and some of the Miss Kate’s Die Cuts.
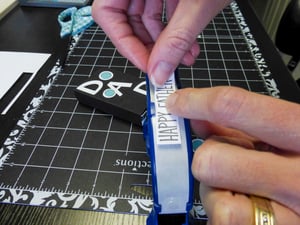
- Using the Pink & Main Asphalt ink, stamp the” Happy Father’s Day” sentiment along the bottom of the scrap white cardstock. Cut it out close to the letters, so there's just a tiny edge around them. Add one Glue Dots® Pop-Up Dot, in the middle of the “Happy Father’s Day” strip. Add one Glue Dots® Micro Dot to each edge of the strip and offset it a smidge over the A in the DAD.
- With the tissue, cut it in half, and wrap it around the gift card. Once you have enough tissue around it, add one Glue Dots® Glue Squares to the middle and then one more Miss Kate’s Die Cuts. Slide it in the tray, slide the cover over and you’re done!
Once you’ve got the technique down, you could make a bunch of these with all those stacks of pretty patterned craft paper you have lying around!

I began crafting in 1996 and simply fell in love with making my own cards. Long live snail mail! Crafting isn’t just a hobby for me, but a way of life… Teacher gifts, posters, scrapbooks, wood crafts? Yes, please! I have been married to my cute husband for 16 years and he definitely inspires me to try new things and enjoy the little things. As a stay home Mom, my time is spent raising my two girls, and raising the bar for my gift giving!


