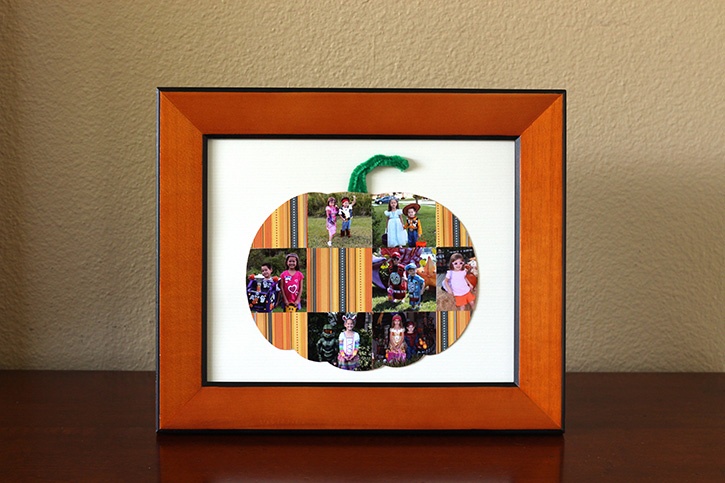
My children love dressing up for Halloween. We always let them choose or make their own costumes. This Halloween pumpkin photo collage is great for décor and a fun way to remember all those costumes.
Made By: Kelly Hedgespeth
Time: 25 minutes
Level: Beginner
Size: 8 inch x 10 inch
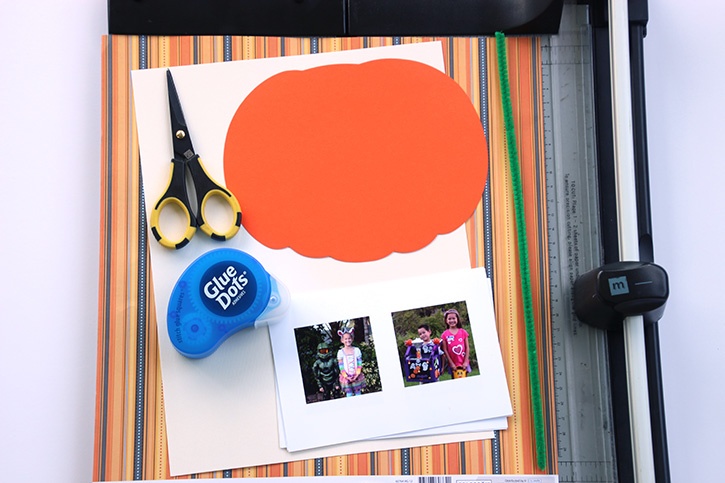
Here's what you need:
- Glue Dots® Permanent Glue Squares®
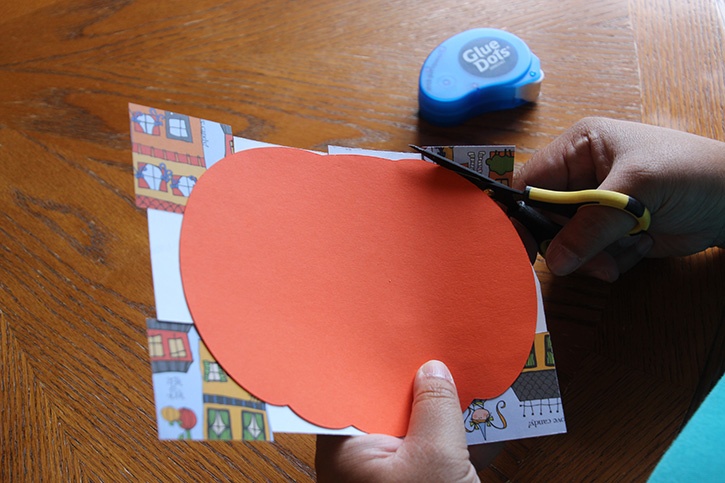
- Orange pumpkin die cut approximately 7.25 x 5.5 inches
- NOTE: draw your own pumpkin shape and cut if out if you don’t have a die cut
- 8 inch x 10 inch beige cardstock
- 1 dark green pipe cleaner
- Making Memories paper trimmer
- 12 inch x 12 inch Halloween patterned paper by Colorbok
- Photos
- Scissors
Here's what you do:
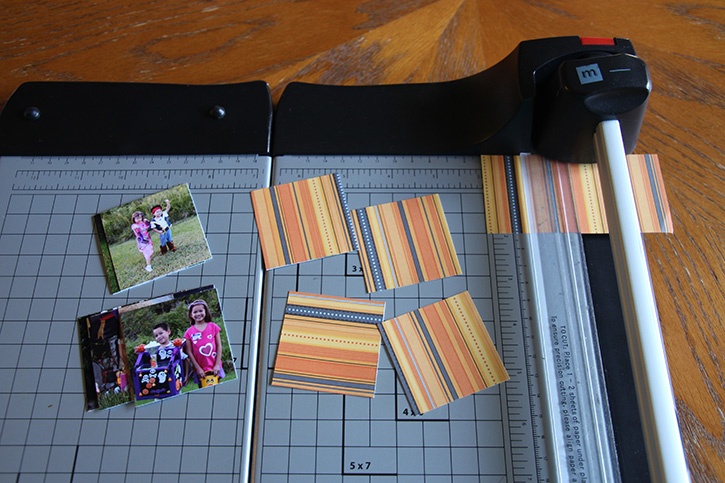
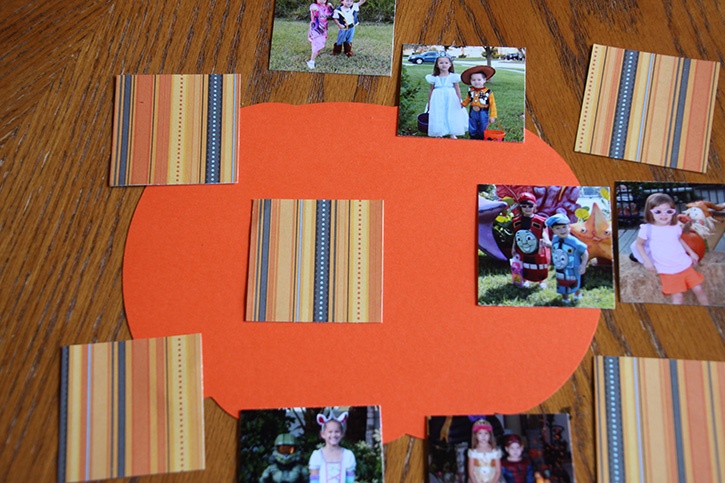
Use the paper trimmer to cut the cardstock and photo into 2 inch x 2 inch squares.
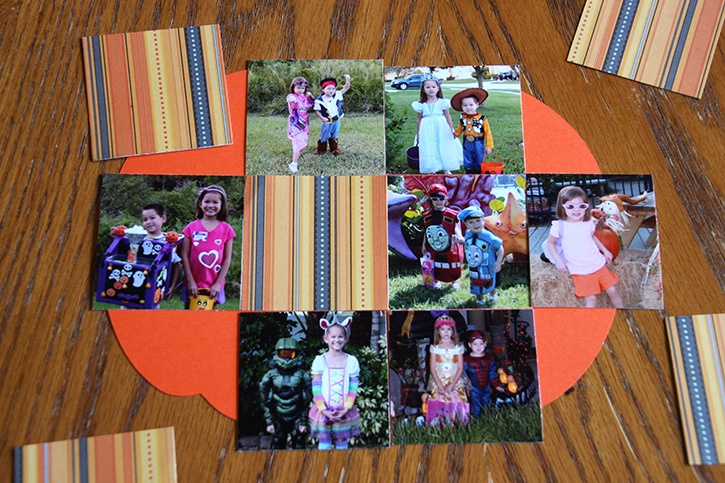
Arrange the square photos on the pumpkin die cut into three rows. Take note of photos that can be trimmed a bit further to fit on the top, bottom or sides of the pumpkin.
Use Permanent Glue Squares to adhere one of the squares in the second row to be used as a guide to place all the other photos later.
Add Permanent Glue Squares around the perimeter of the front of the die cut so the photos will stick well to the die cut after trimming.

Adhere the remaining photos to the die cut by adding adhesive to the die cut and then placing the photos on top.
Turn the die cut over and cut along the edge of the die cut to remove the excess portions of the paper and photo squares.
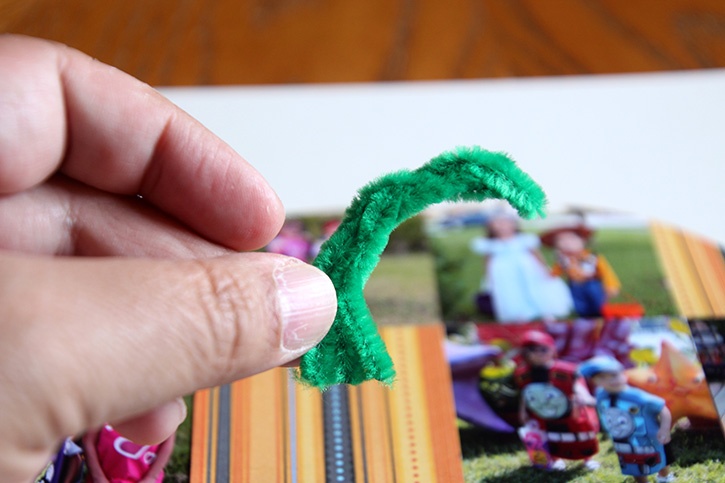
Cut the pipe cleaner into four equal pieces. Braid three of the pieces into a simple braid leaving the ends spread out. Bend the top portion of the braided pipe cleanser to form the stem of the pumpkin.
Trim the bottom of the wider portion of the stem so that it is straight across.
Adhere the pumpkin to the beige cardstock with the Permanent Glue Squares.
Add Permanent Glue Squares to the backside of the pipe cleaners. Tuck the straight sides of the pumpkin just underneath the top of the pumpkin and adhere to the beige cardstock.
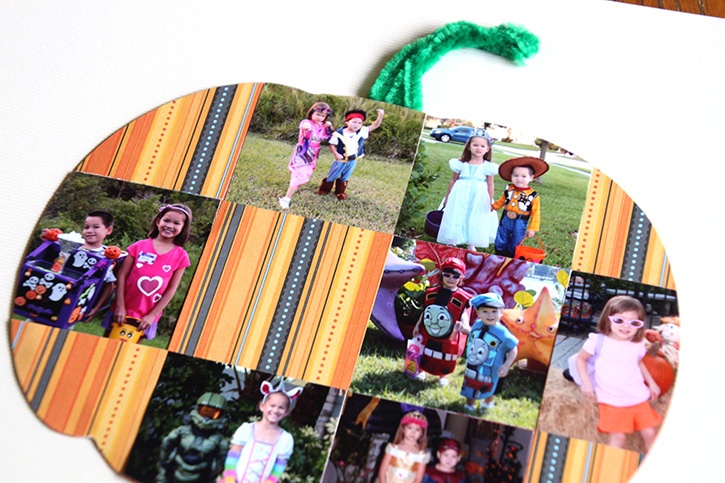
The same method of using a die cut to create a photo collage can be adapted to any holiday or decorating theme. This photo collage would also look great on a scrapbook page. I chose to have the squares be in a grid but the squares may be offset for a different look.
~Kelly

Hi! I’m Kelly of Simply Kelly Designs. I began scrapbooking soon after my wedding. After I had children, I decided to switch over to digital scrapbooking so I could stay caught up on my layouts. I loved digital so much that I have been designing and selling digital scrapbook kits and templates for six years. The love of papercrafting has remained with me from my scrapbooking days so most of my crafts involve paper. My design and crafting style is clean and simple. I create with a busy lifestyle in mind so my projects can be completed quickly.


