"Incredibly Grateful For You" Rainbow Card Set
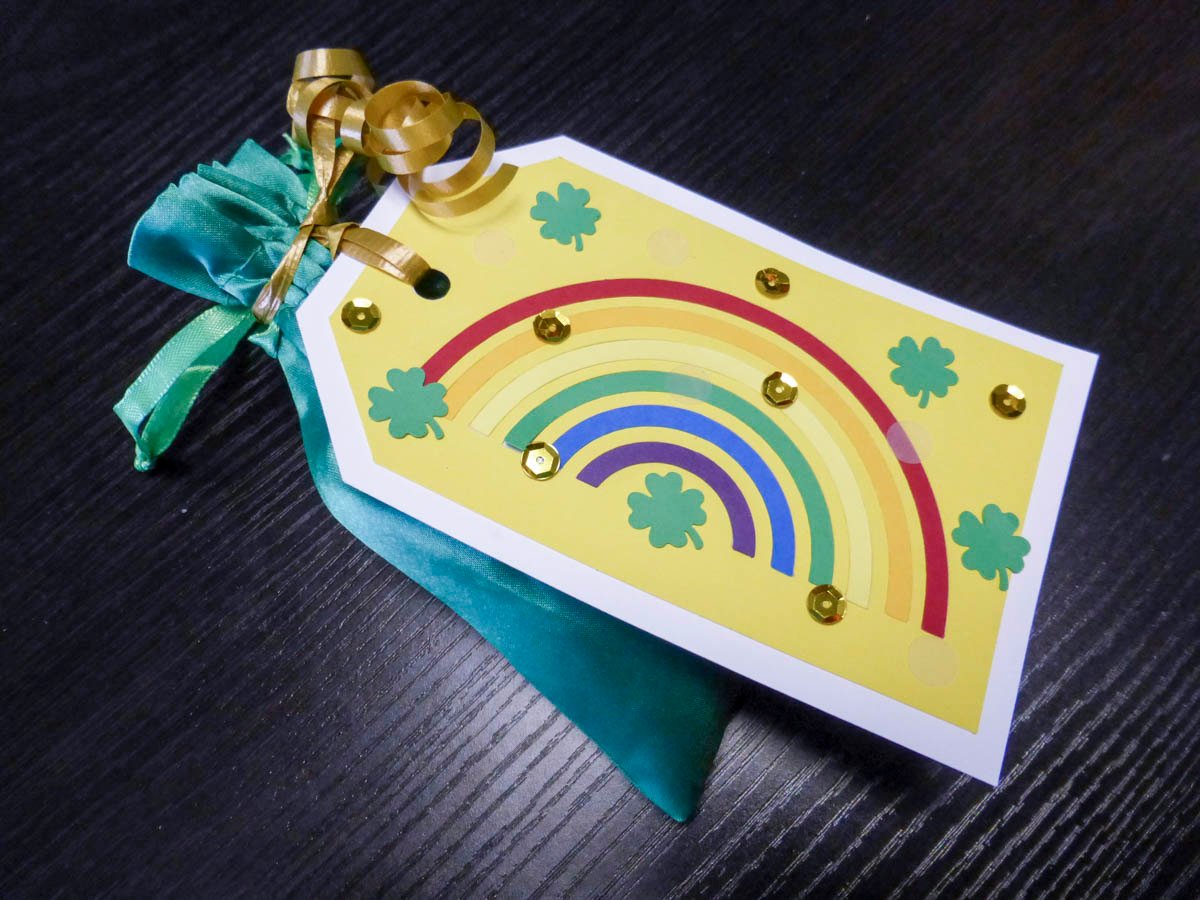
Posted on Feb 1, 2017 2:13:39 PM by Grace TolmanWhen I think of St. Patrick’s Day, I always think about the rainbow. That was the inspiration to my card. But I also wanted to see if I can stretch my existing supplies so I used a stacked circle die to create my own rainbow with various cardstock colors.
Designed by: Grace Tolman
Time: Approximately 45 minutes (for all the cards)
Level: Intermediate
Size: 4 ¼" x 5 ½" per card
Mini Glue Dots® adhesive were the perfect product to use in adhering the circles under each other. This was a fun project and because the supplies are easily accessible, you can make as many of these sets as you want.
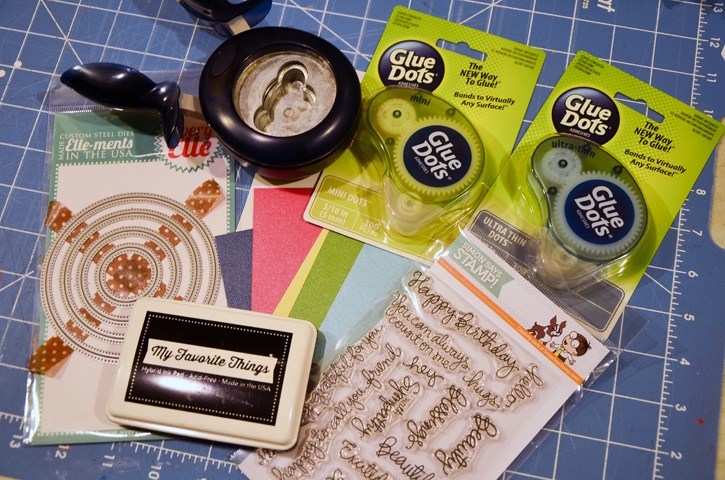
Here's what you need:
- Ultra-Thin Glue Dots®
- Mini Glue Dots®
- Pop Up Glue Dots®
- Card base- Pastel card box, Die Cuts with a View
- Cardstocks- WorldWin papers
- Sequins- Summer Sunset, SpiegelMom Scraps
- Circle die- Double Pierced Circle, Avery Elle
- Rectangle die- Pinpoint Rectangle layers, Memory Box
- Cloud punch- Fiskars
- Stamp- SSS09122, Simon Says Stamp
- Inks- (Black) Hybrid, My Favorite Things; (Aqua) ColorBox
Here's what you do:
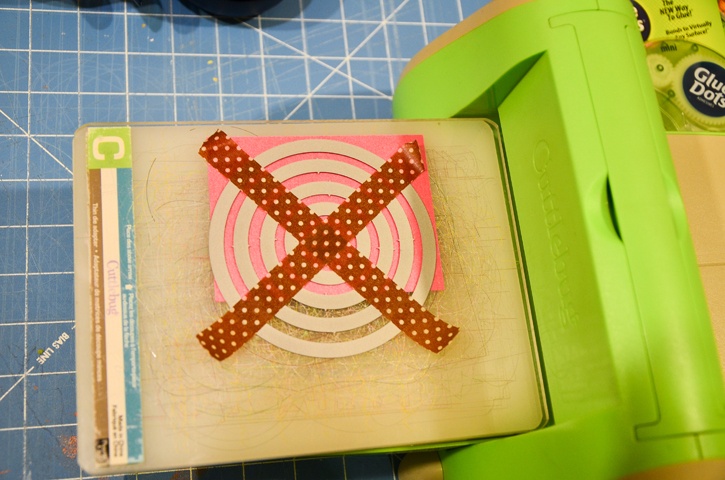
Create the “rainbow” arches using multiple colors of cardstock and the double pierced circle die. I taped mine together so that I can create the circles all at once from one paper and that they are all equal in size. Set aside.
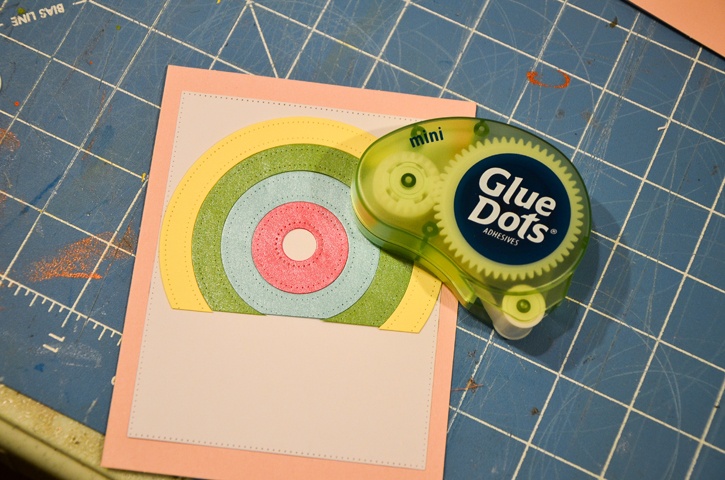
Cut the rectangle pierced piece from white cardstock using the biggest die in the stack set (3 ½" x 5"). Adhere the white rectangle piece of paper onto the center of a card base with Ultra-Thin Glue Dots® adhesive. Adhere the circle accents onto the top of the white paper using Mini Glue Dots®. Create a rainbow accent by combining multiple colors of circles together.
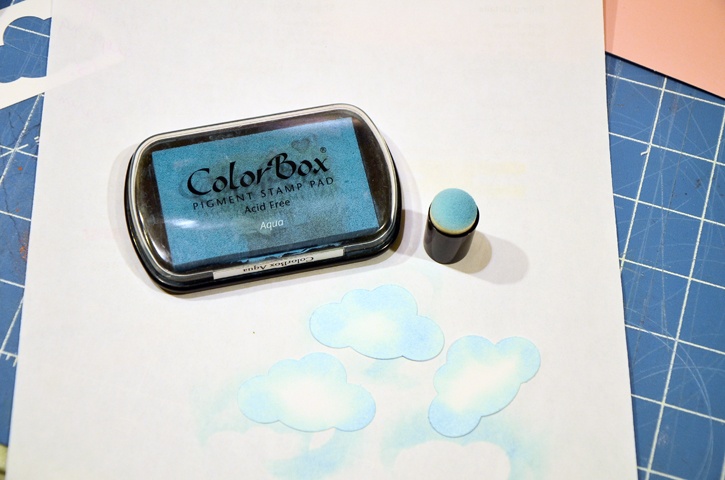
Punch out three clouds from another white piece of cardstock. Add some ink to the paper to mimic clouds by blending some aqua colored ink pad to the pieces.
Adhere two to the bottom of the “rainbow” with Ultra-Thin Glue Dots®. Adhere the third one, overlapping the two clouds using Pop Up Glue Dots®. Stamp the sentiment on the bottom of the white paper.
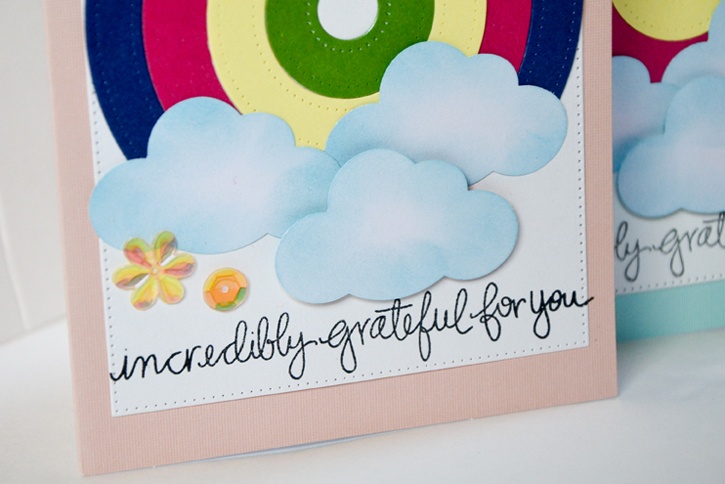
Add some sequins to the card with Mini Glue Dots®.
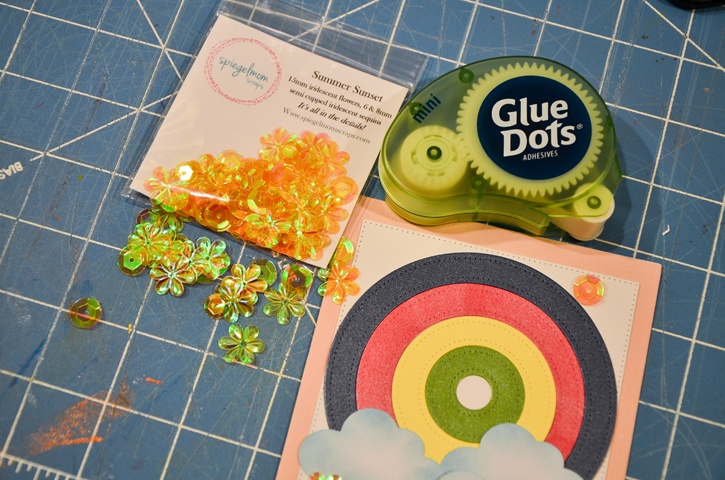
Repeat the steps to create as many cards as you need.

I’m a mom to a 10 year old boy and an 8 year old girl. Therefore my life is usually filled with learning, new discovery, bribery and driving to and from all of our activities. I have a loving and very supportive husband of 11 years. When the kids have gone to bed at night, my time is spent crafting while catching up on my favorite shows and movies. I also enjoy reading, window shopping, knitting and perusing blogs for inspirations. Three years ago we moved to Colorado from California and we are enjoying our new environment. I feel very inspired with my new home, my new scrapbook space and the mountain views. Although I’ve been doing some type of scrapbooking since grade school, I only started to scrapbook seriously after my son was born. When he was born I knew I would be staying at home with him but coming from a fast paced sales job I was afraid I would ran out of things to do during the day. Little did I know that with newborns you won’t have any time to do anything else. Anyways, after going through a basic scrapbooking class I was hooked and haven’t stopped scrapping since.


