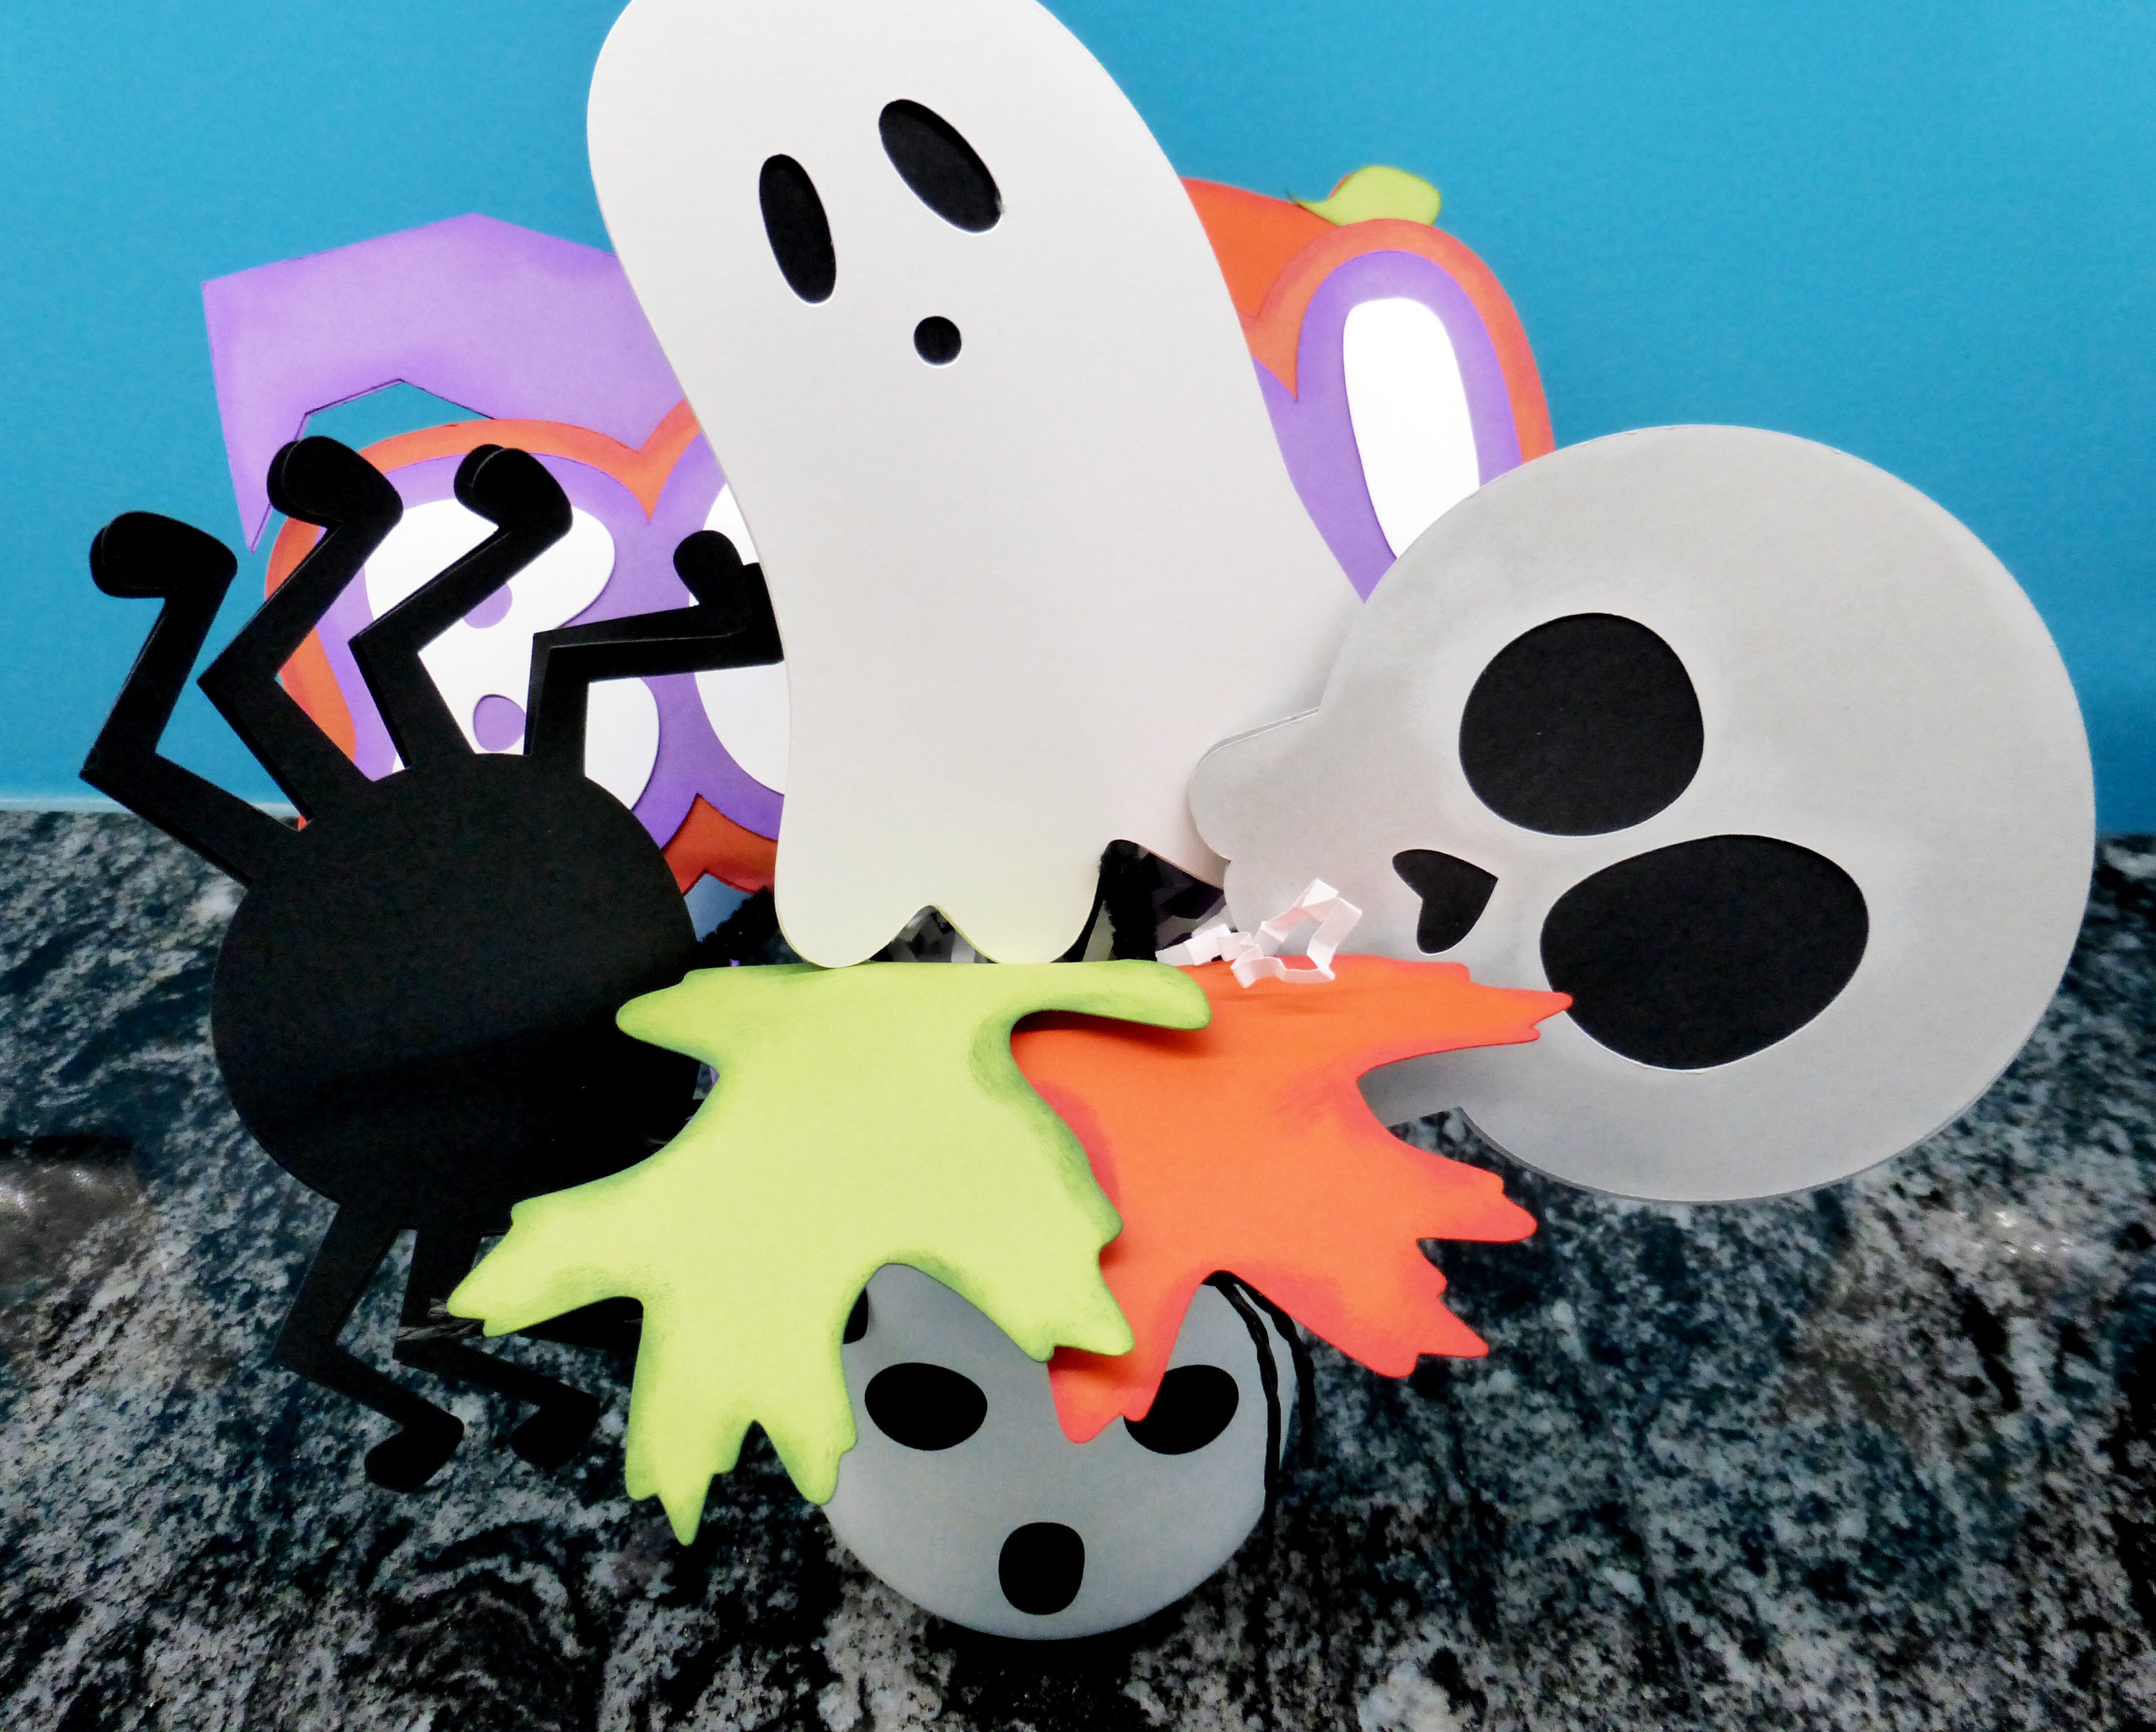
Glittered card stock, 6 x 6 Halloween patterned paper and Glue Dots® is all you need to add some “spooky” fun to your Halloween decorations this year.
%20copy.jpg?width=725&name=spooky%20banner%20(10)%20copy.jpg)
Designed by: Grace Tolman
Time: About 1 hour
Level: Moderate Handiness
Size: 32” x 5” x 1/8”
%20copy.jpg?width=725&name=spooky%20banner%20(1)%20copy.jpg)
Here's what you need:
- Premium Permanent GlueTape
- Pop-Up Dots™
- Cocoa ink pad
- Whimsy Stamps- Card Builder Window Set
- Manual die cut machine- CuttleBug
- Electronic die cut machine - Silhouette Cameo
- Edge Distresser
- Hole punch
- Paper Trimmer
- Scissors
- Glitter cardstock
- Pattern papers
- Ephemera pieces
- Orange Ribbon
Here's what you do:
Cut six panels using the largest die from the Card Builder die cut set. Cut another six panels using the slightly smaller rectangle from the same set.
%20copy.jpg?width=725&name=spooky%20banner%20(2)%20copy.jpg)
Distress all of the papers using the edge distresser tool and ink the edges.
%20copy.jpg?width=725&name=spooky%20banner%20(3)%20copy.jpg)
Open up the Silhouette design studio software. Type up the word “SPOOKY” and pick a serif font.
%20copy.jpg?width=725&name=spooky%20banner%20(5)%20copy.jpg) Lay your choice of glittered card stock onto the Silhouette mat and cut out the letters.
Lay your choice of glittered card stock onto the Silhouette mat and cut out the letters.
%20copy.jpg?width=725&name=spooky%20banner%20(6)%20copy.jpg)
Cut some of the ephemera pieces into triangles and adhere on the back of the smaller rectangles to add a layering effect on the banner panels. Adhere all of the blocks onto the larger rectangle panel pieces using Premium Permanent GlueTape.
%20copy.jpg?width=725&name=spooky%20banner%20(4)%20copy.jpg) Place the “SPOOKY” letters on each rectangle panel using Pop Up Dots.
Place the “SPOOKY” letters on each rectangle panel using Pop Up Dots.
Adhere the smaller ephemera pieces around the glittered letters using some Premium Permanent GlueTape.
%20copy.jpg?width=725&name=spooky%20banner%20(7)%20copy.jpg)
Punch out holes on the top edges of each rectangle block. Thread the ribbon through two panels, connecting them together. Tie the ribbon into a bow to secure. Cut the excess. Repeat the process until all panels are connected.
%20copy.jpg?width=725&name=spooky%20banner%20(8)%20copy.jpg)
Cut two 12” ribbon pieces. Thread one piece through one end of your first square and tie the ends together to create a loop. Repeat the process with the last letter square using the other ribbon. Now your banner is ready to be hung.
%20copy.jpg?width=725&name=spooky%20banner%20(13)%20copy.jpg)
~Grace

I’m a mom to a 10 year old boy and an 8 year old girl. Therefore my life is usually filled with learning, new discovery, bribery and driving to and from all of our activities. I have a loving and very supportive husband of 11 years. When the kids have gone to bed at night, my time is spent crafting while catching up on my favorite shows and movies. I also enjoy reading, window shopping, knitting and perusing blogs for inspirations. Three years ago we moved to Colorado from California and we are enjoying our new environment. I feel very inspired with my new home, my new scrapbook space and the mountain views. Although I’ve been doing some type of scrapbooking since grade school, I only started to scrapbook seriously after my son was born. When he was born I knew I would be staying at home with him but coming from a fast paced sales job I was afraid I would ran out of things to do during the day. Little did I know that with newborns you won’t have any time to do anything else. Anyways, after going through a basic scrapbooking class I was hooked and haven’t stopped scrapping since.


