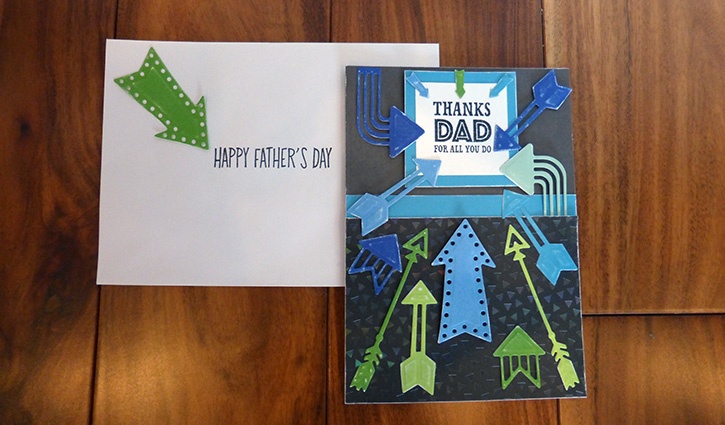
This card for Dad is thoughtful and colorful and not too girlie, either! It’s sure to make him smile on Father’s Day. Mix and match your colors and sentiments to make a whole bunch for all those cute men in your life!
Made By: Amanda Tibbitts
Time: 40 Minutes
Size: 5”x 7” Card with matching envelope
Level: Intermediate
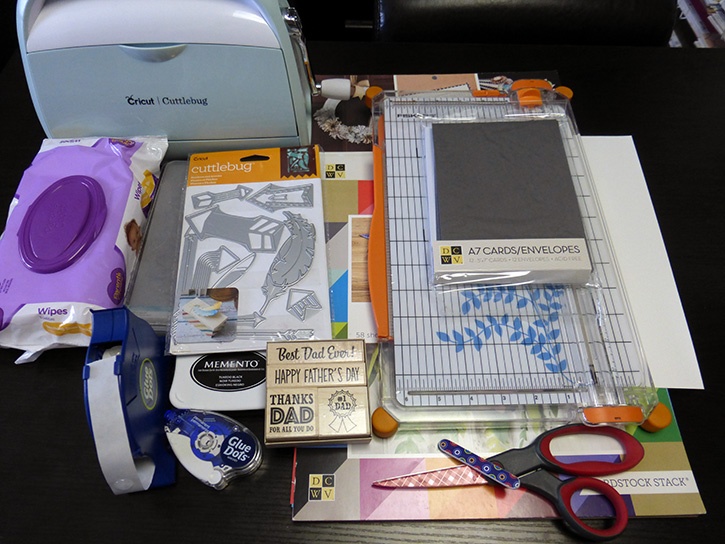
Here's what you need:
- Glue Dots® Permanent GlueTape™
- Glue Dots® Pop Up Dots™
- Die Cuts with a View A7 Cards and Envelopes
- Die Cuts with a View Minty Lace Cardstock Stack
- Die Cuts with a View Flipside Cardstock Stack
- One sheet white cardstock
- Hero Arts Father’s Day wood mounted stamp set
- Stamping ink
- Baby Wipes to clean stamps
- Cuttlebug Die Cut machine (or other) and arrow dies
- Paper Trimmer
- Scissors
- Sanding file
Here's what you do:
Choose a paper from the Die Cuts with a View Minty Lace stack that has some subtle personality.
Use your paper trimmer to trim it down to 5" x 3 ¾" to fit along the bottom of your card.
From the Die Cuts with a View Flipside stack, pick three colors that go with your Minty Lace paper. Since these are 2 sided, you get 6 colors! Yay! Trim these down to 3" x 6" to fit through your die cut machine. Use one of the colors to trim a ½" strip to place on the card.
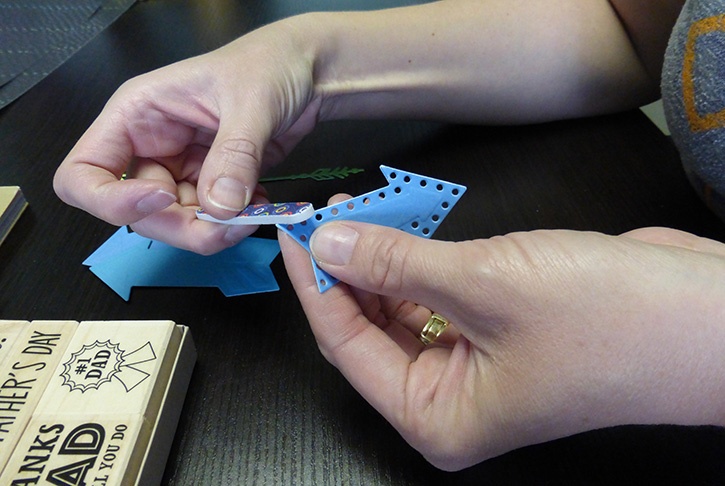
With your Flipside papers, pick a variety of arrows from your die set. Run each of them through two or three times per paper to get a large stash. You may not need all of them, but it’s good to have more than enough.
Use your sanding file and distress the edges or each arrow slightly and do the same to the Flipside paper.
Pick a sentiment from the wood mounted stamps and stamp it on your white cardstock. Trim this down to fit in the top part of your card. With one of the colors of Flipside paper make a mat by trimming it down a bit bigger than your sentiment. I also stamped on the envelope too. Clean your stamps with the baby wipes.
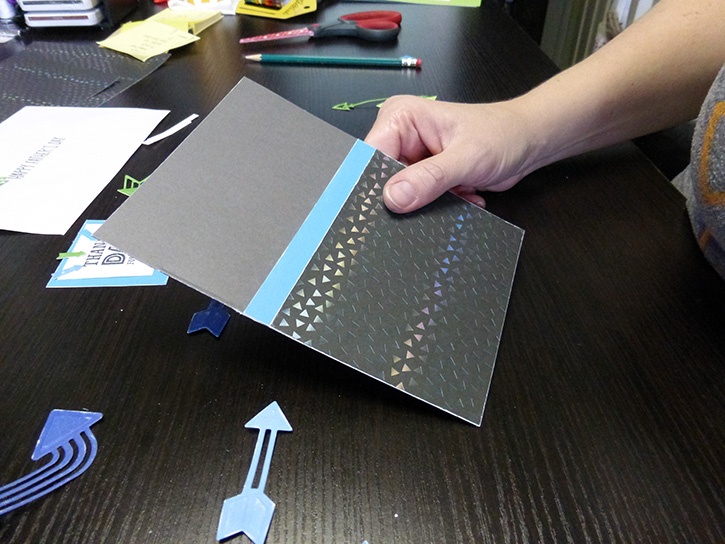
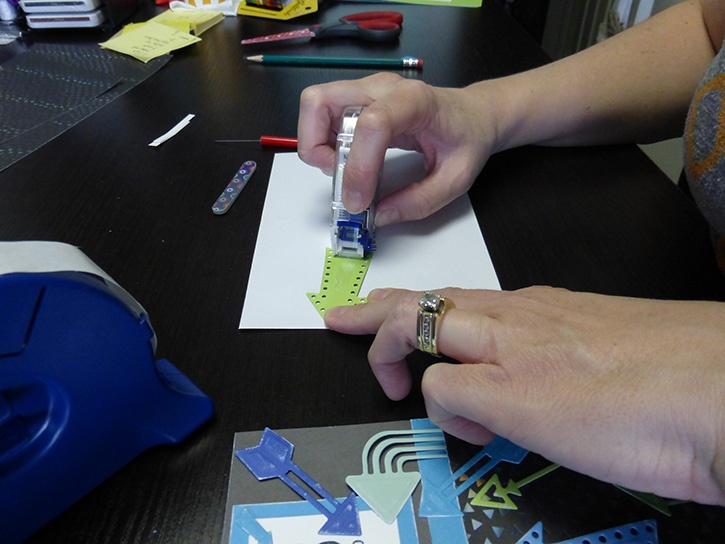
Using Permanent GlueTape adhere the ½" piece just a hair above the middle of the card.
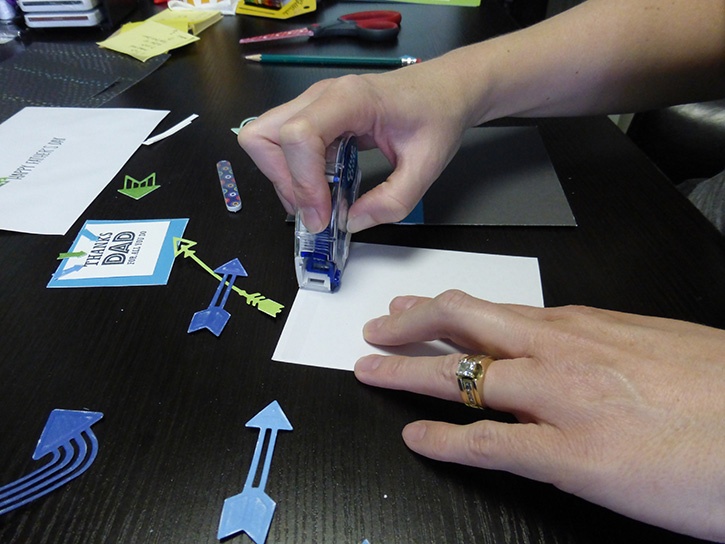
Glue the Minty Lace piece on the card lining it up to the bottom of the card, and over the ½" strip.
Use Permanent GlueTape to glue your sentiment to the mat and then place it on your card using Pop Up Dots.
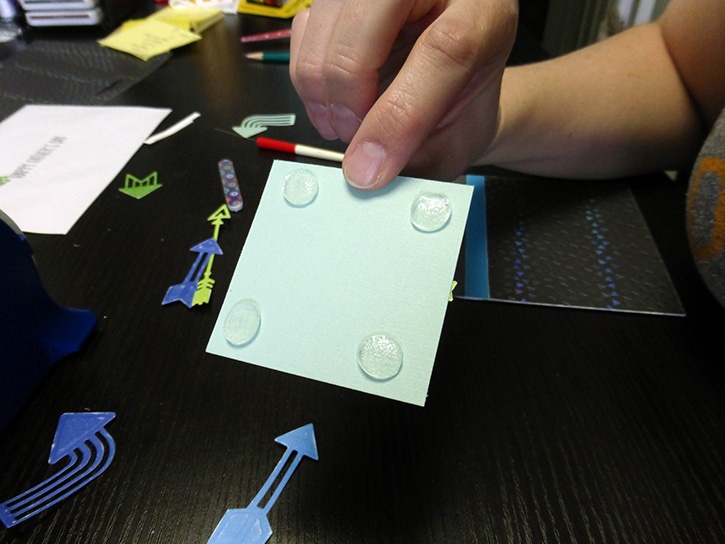
Continue with adding arrows to the card with the Permanent GlueTape and the Pop Up Dots until you’ve got the card filled in to your liking.
Then, you’re done! Write your note to your Dad and you’re all set for June 18th!
~Amanda

I began crafting in 1996 and simply fell in love with making my own cards. Long live snail mail! Crafting isn’t just a hobby for me, but a way of life… Teacher gifts, posters, scrapbooks, wood crafts? Yes, please! I have been married to my cute husband for 16 years and he definitely inspires me to try new things and enjoy the little things. As a stay home Mom, my time is spent raising my two girls, and raising the bar for my gift giving!


