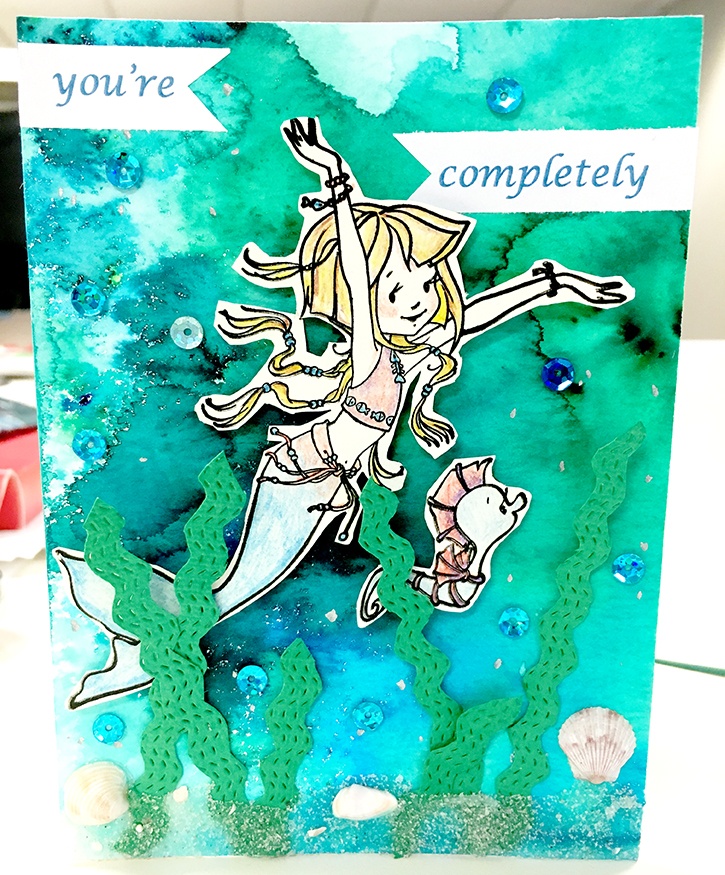
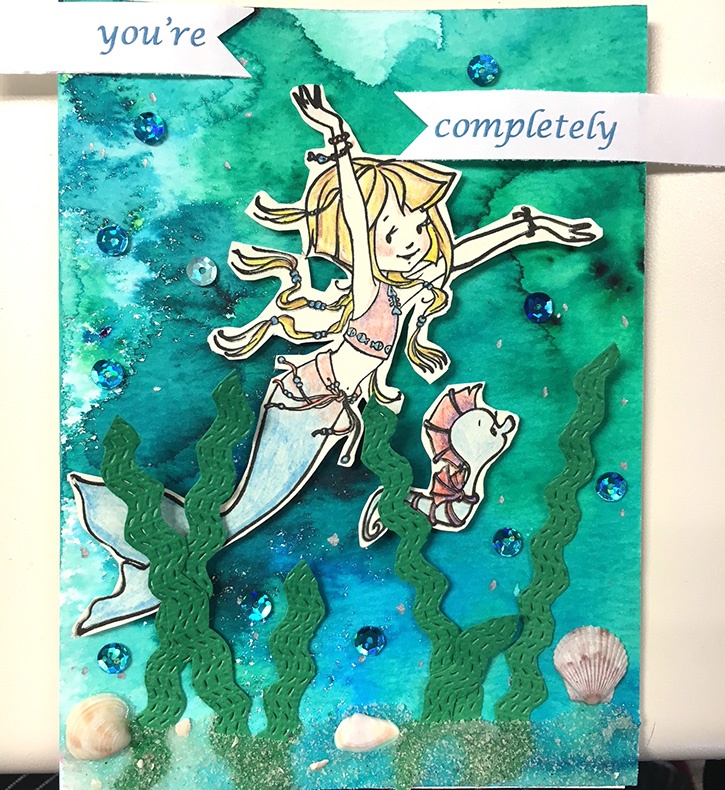
Let that someone special in your life know that they are completely "Fintastic!"
Made By: Jen Libert
Time: 60 Minutes - More with drying time
Level: Moderate handiness
Size: Approx. 5.5" X 4"
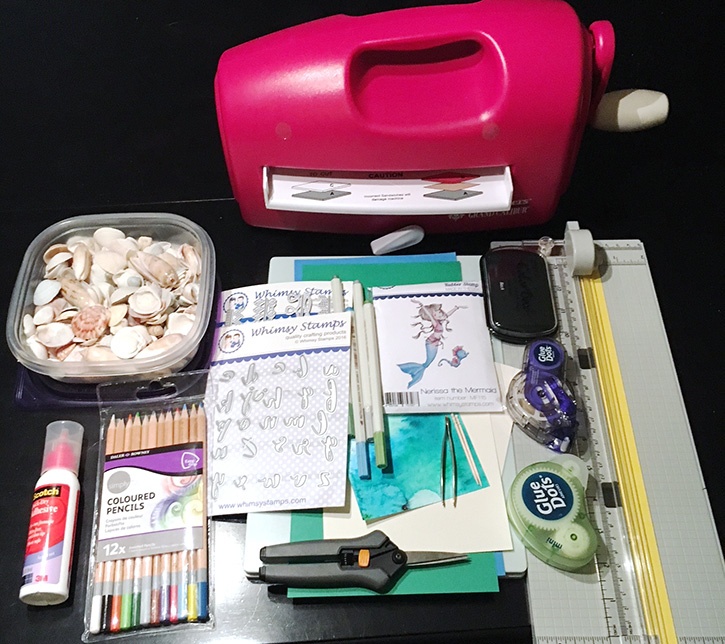
Here's what you need:
- Whimsy Stamps® Nerissa the Mermaid stamp
- Whimsy Stamps® Straight Edgers Die Set
- Whimsy Stamps® Brush Script Lowercase Alphabet Dies
- Colored pencils
- Metalic brush markers
- Glue Dots Premium Permanent GlueTape
- Glue Dots Pop-up Dots™
- Glue Dots Mini Dots™
- Glue Dots Micro Dots™
- Quick drying liquid adhesive - one that dries clear (I used a Scotch product)
- Tweezer
- Tooth Picks
- Permanent black ink pad
- Seashells and sand
- Ken Oliver watercolor powders
- Watercolor paper (I used Ken Oliver's)
- Spray bottle with water
- Paper Trimmer
- Die cutting machine of choice
- Pre-made small card and envelope
- Blue/sea-colored sequins
Here's what you do:
Start by building your watercolor background. I used Ken Oliver's watercolors to accomplish this. It's really easy to do. Simply sprinkle the watercolor powder onto your watercolor paper, and use your spray bottle to activate the colors. You can create some great backgrounds by following this tutorial. I used blues and greens to make my background and completed it in under 10 minutes. Once you have it made, be sure to let the paper dry completely before building the rest of your card.
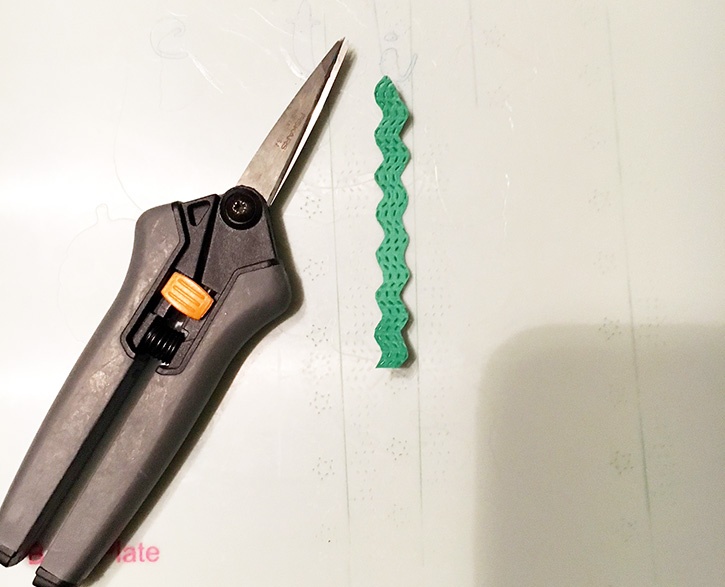
Next, create your "seaweed" by using the Wimsy Stamps Straight Edgers Dies Set and your die cutting machine. See below for the pattern that I used.
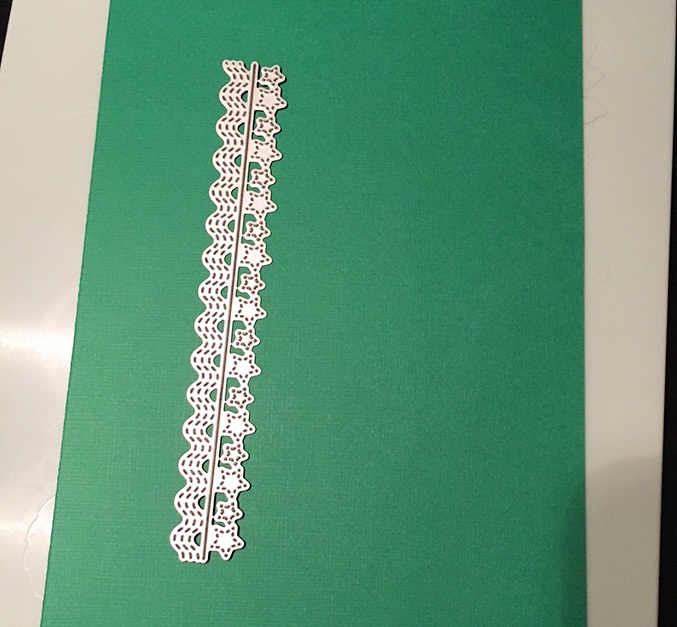
Once you have three sets made on your paper, cut out and trim the waves down to look like your seaweed.
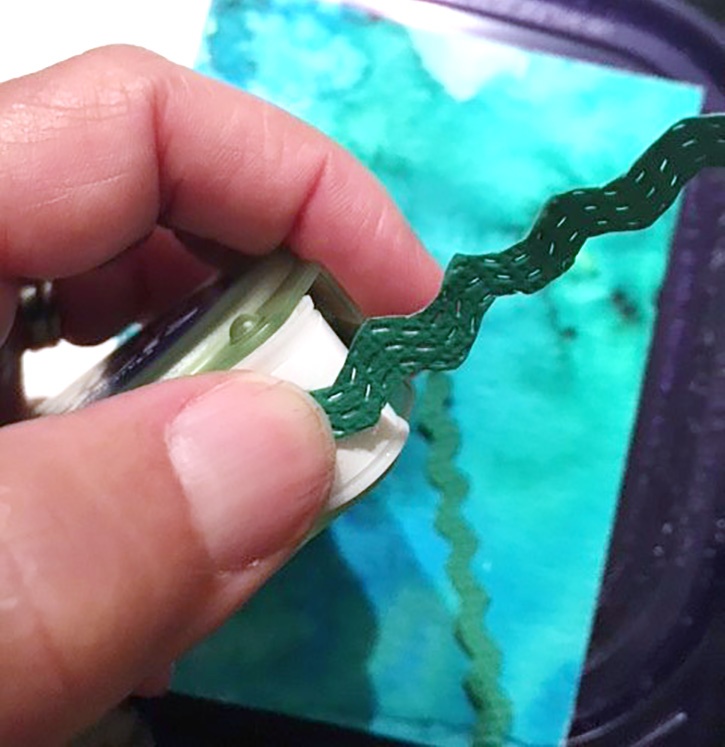
Using the Mini Dots, attach your trimmed seaweed to the watercolor card base that you created. Make sure that you only place two or three dots on the bottom portion of the seaweed. This will allow the top parts to "float" and be three-dimensional.
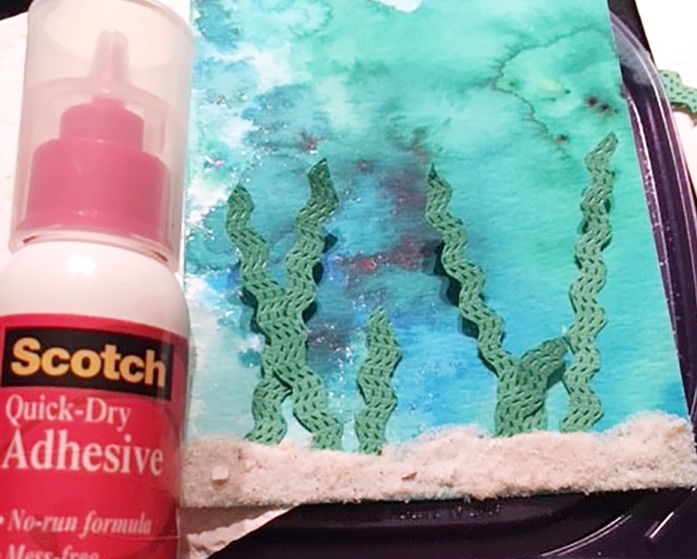
Once all of your seaweed pieces have been attached, layer some sand at the bottom of the card. Use your quick dry adhesive to smear a lot of glue to the bottom of the card and working quickly, dump some of your sand onto the wet glue and add a few small seashells. Set this aside.
While your letting the sand dry, use the Nerissa the Mermaid stamp to create your mermaid. Stamp the image, color with your colored pencils, and then trim out Nerissa and her seahorse.

I left a little bit of an edge, as there are some very fine details in Nerissa's hair. If you like, and you have the dexterity, you can trim all of the edges.
Now that Nerissa is colored add some Pop-up Dots to the back of her image. (I ended up using a total of three to get that extra dimension that I wanted.)
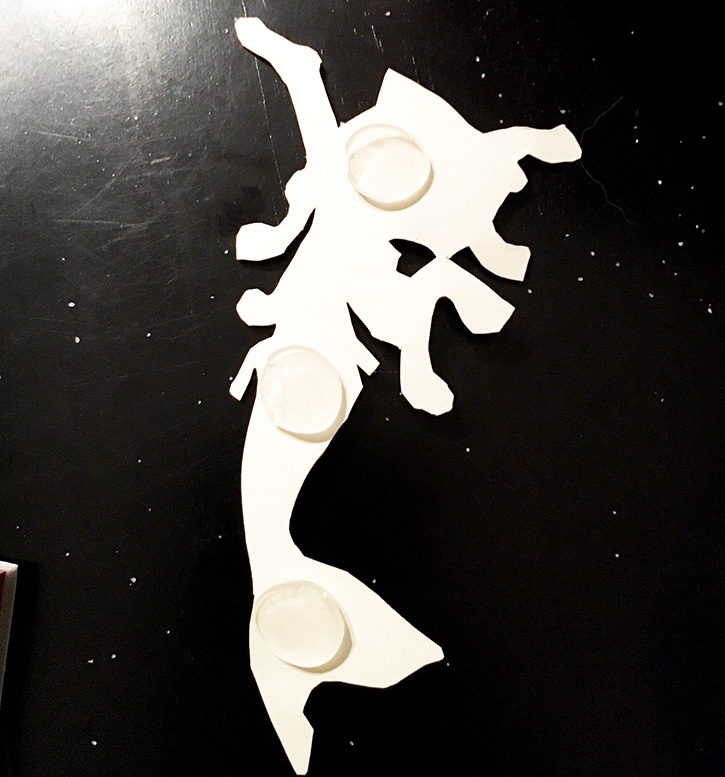
Now attach her to the watercolor background, making sure that you weave her behind the free-floating portions of the seaweed.
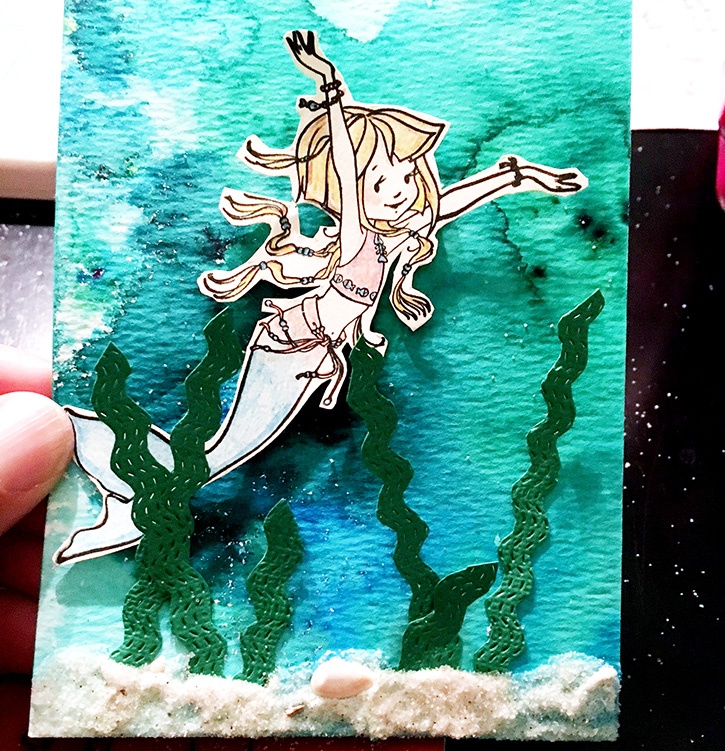
Using another Pop-up Dot, attach Nerissa's seahorse. Be sure to also place him a little behind the seaweed, this really helps the 3D effect of the card.

Using the Micro Dots, add some sequins to the front of the card, leaving some space for your sentiments that you will attach to the front at the end.

Set this all aside to provide some additional time for the sand to dry on the front of the card. Using Wimsy Stamps lower case alphabet die cut set, cut out the word "fintastic."
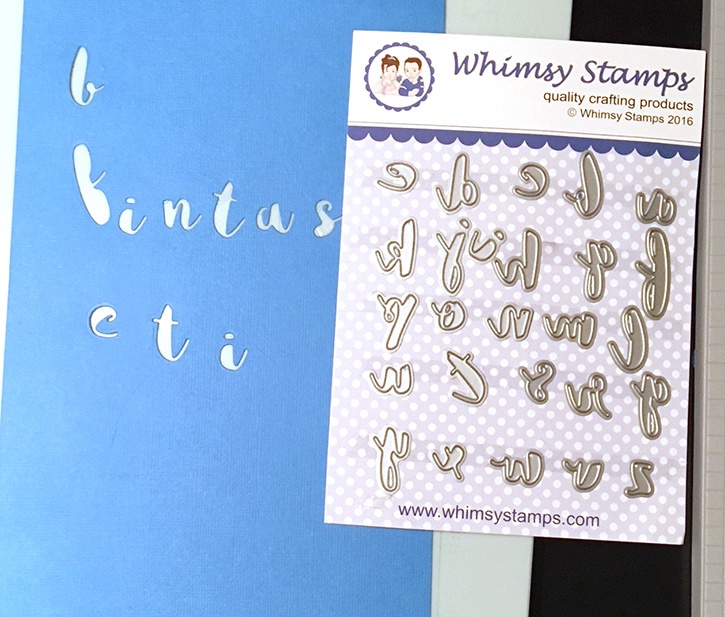
Once your letters have gone through the die cutting machine, use your tooth pick to poke the back side of the die cut to get the letters out. This is a fantastic feature, that allows you to easily get to those delicate letters!
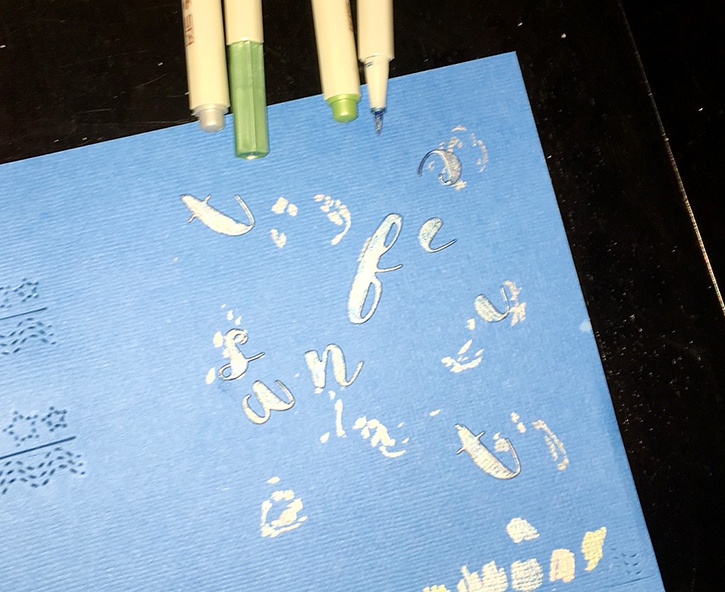
Place your newly cut out letters onto some scrap paper and color over them with your metallic brush marker.
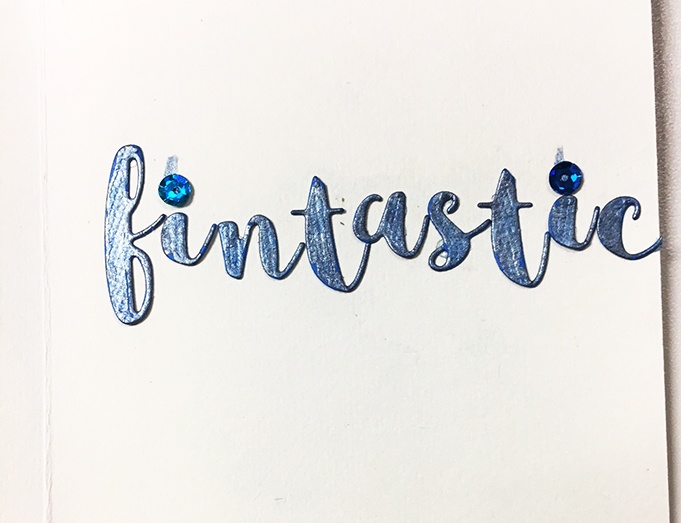
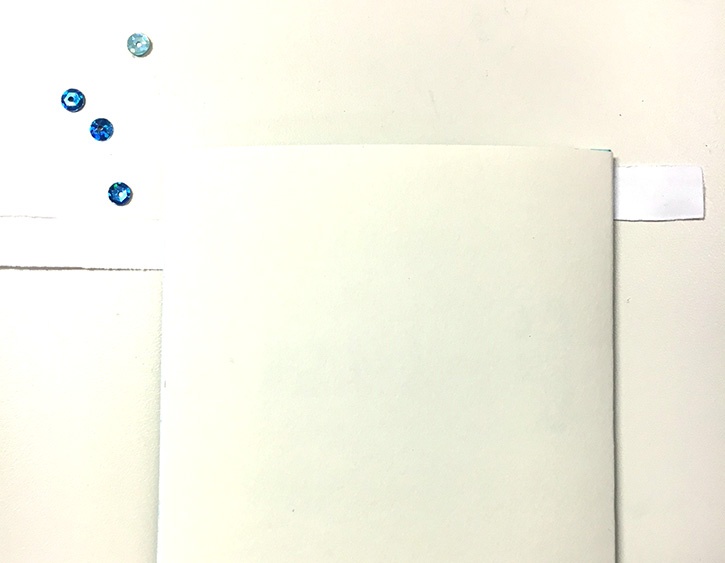
Let your letters dry. Then attach them to the inside of your card. Use some Micro Dots and sequins to make the dots on the "i."
Set the card aside for now. Your cover's sand should be dry. (If not, then set the project aside until the sand on the cover is completely dry.)
Using a computer, create your cover sentiment - "you're, completely." Place the words on a paper trimmer and cut them out. (I added little v-cuts to make them look like flags.) Lay them onto your cover until you find the placement that you like.
With the Permanent GlueTape, attach the sentiments down. **TIP - I found it easier to place them onto the card stock and then trim them to the card size by flipping it over, and then trimming (see below).
Now that your card cover is complete, use the Permanent GlueTape to attach it to the front of the card.
Voila! Your Fintastic, mixed-media card is ready to be given to that special someone.
~Jen Libert
Now for the fun part!
Join us from August 27th through August 31st for a fun joint blog hop between Whimsy Stamps and Glue Dots. Our teams will be sharing lots of beautiful projects featuring products from both of these companies. And we will have lots of prizes hidden along the hop as well as a grand prize valued at $100!
To enter into the giveaways, you just need to comment on EACH blog throughout the hop. Then, for the grand prize, after you have commented on all stops along the hop, enter your name and email in the linky tool at the last stop. Winners will be randomly selected and announced on Monday, September 3rd. Good luck and have fun!
Blog Hop Link List: