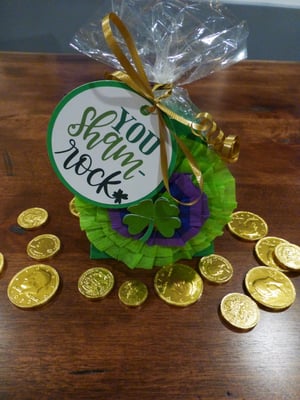
With the new Glue Dots® Adhesive Sheets and some GlueTape, this sweet box comes together quickly and looks so cute to boot!
MADE BY: AMANDA TIBBITTS | TIME: 30 MINUTES
LEVEL: INTERMEDIATE | SIZE: 4.25” x 4.75”
Supplies:
- Glue Dots® Adhesive Sheets for Die Cuts
- Glue Dots® Permanent GlueTape
- Scissors
- Bone Folder
- Cricut Maker or other Die Cut Machine
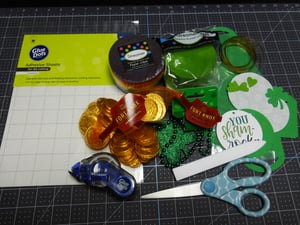
Materials:
- 2 Circles cut at 3.25” with green cardstock
- Shamrock cut at 1.80” tall (I layered them, two shades of green)
- A printable tag cut at 3” on 110 lb. cardstock
- 2 Tag Reinforcements cut at 0.25”
- Box cut at 11.25” tall from green cardstock
- *On the circles, shamrock layers, printable and tag reinforcements, use the Glue Dots® Adhesive Sheets on your cardstock before cutting
- Crepe Paper Streamers in rainbow and a solid green
- Cellophane bag sized 4” x 10”
- Gold Curling Ribbon
- Shamrock Necklace
- Gold Coins
Directions:
Step 1: Once your dies have been cut, begin assembling the tag with one of the 3.25” circles and the shamrock. With the Glue Dots® Adhesive Sheets, it literally takes seconds to take off the backing and glue together your layers.
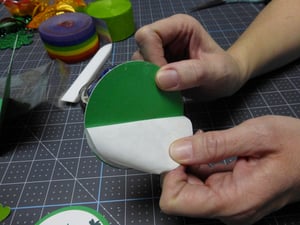
Step 2: Fold your box along the score lines. Use the bone folder to really crease the folds.
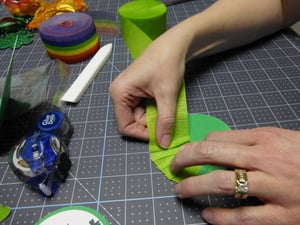
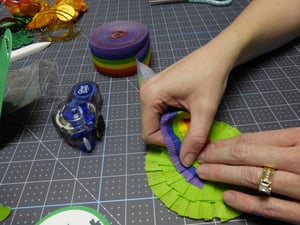
Step 3: With the adhesive side up on the other 3.25” circle, begin pleating your solid color of crepe paper streamer all around the circle. Try to keep the pleats even and the same distance across the circle as you can. Once you’ve gone around once, add a whole bunch of the Glue Dots® Permanent GlueTape along the bottom of the crepe paper to add another pleated layer. Try to move this layer down a smidge so both layers will show. Once the solid color is down, add more Glue Dots® Permanent GlueTape to the middle and pleat some rainbow crepe in a smaller circle all around. Then, add the shamrock you assembled earlier to the front.
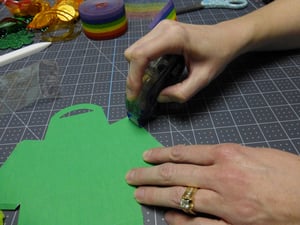
Step 4: Using the Glue Dots® Permanent GlueTape, add adhesive along the edge of the box on the tabs, and fold the box together. Use the bone folder on the inside of the box to press down the tabs.
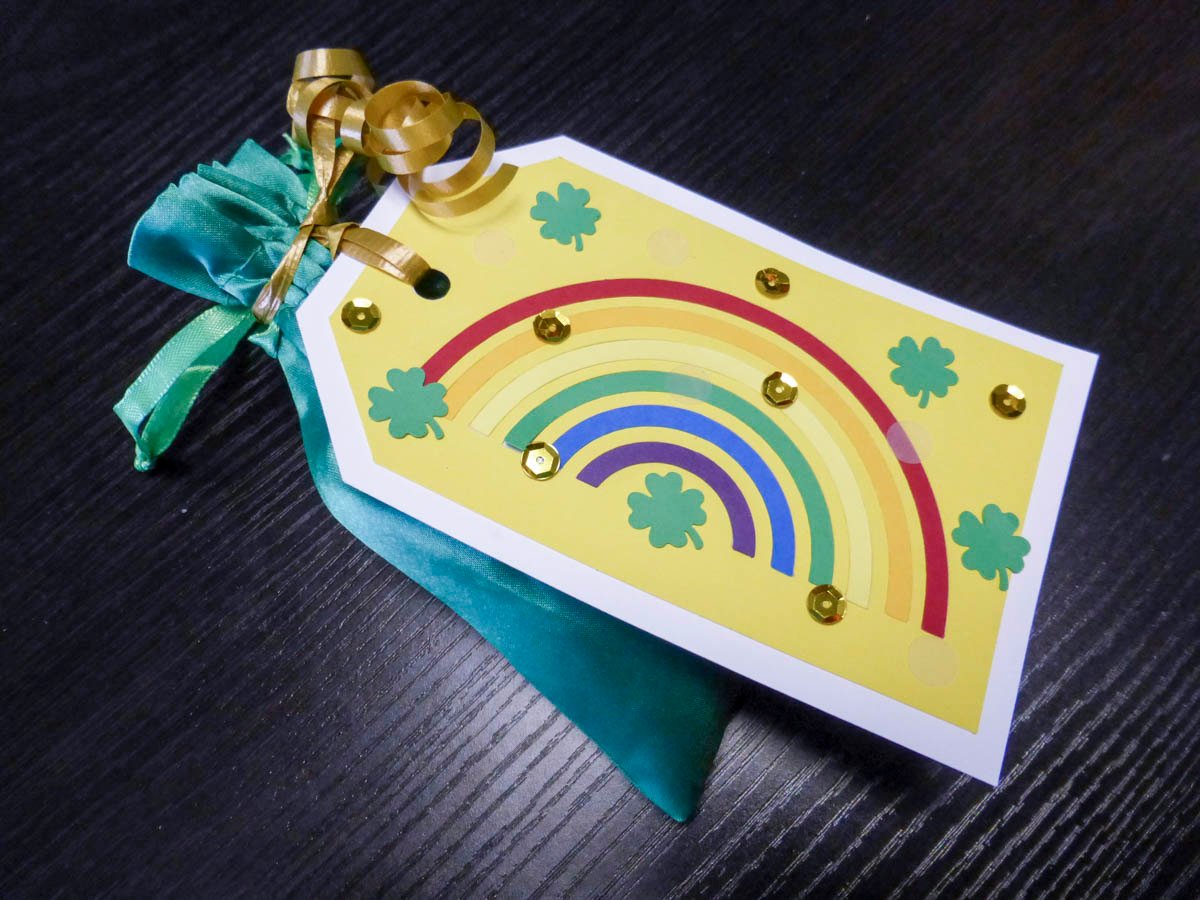
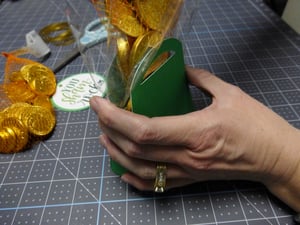
Step 5: Add the cello bag inside the box, and fill with the necklace and some gold coins. Fill as much or as little as you want, and tie off with the gold curling ribbon. With one of the tails of the ribbon, add the tag and then curl both ends.
Step 6: With more GlueTape, glue the crepe paper medallion to the front of the box. Fluff the pleats if they look like they need it.
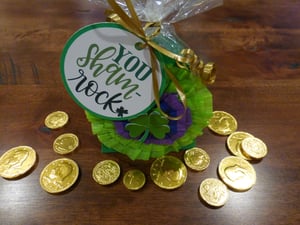
Now you’ve got a cute little treat box that took no time at all thanks to Glue Dots® Adhesive Sheets for Die Cuts and Permanent GlueTape. Happy Saint Patrick’s Day… you Sham-Rock!

I began crafting in 1996 and simply fell in love with making my own cards. Long live snail mail! Crafting isn’t just a hobby for me, but a way of life… Teacher gifts, posters, scrapbooks, wood crafts? Yes, please! I have been married to my cute husband for 16 years and he definitely inspires me to try new things and enjoy the little things. As a stay home Mom, my time is spent raising my two girls, and raising the bar for my gift giving!


