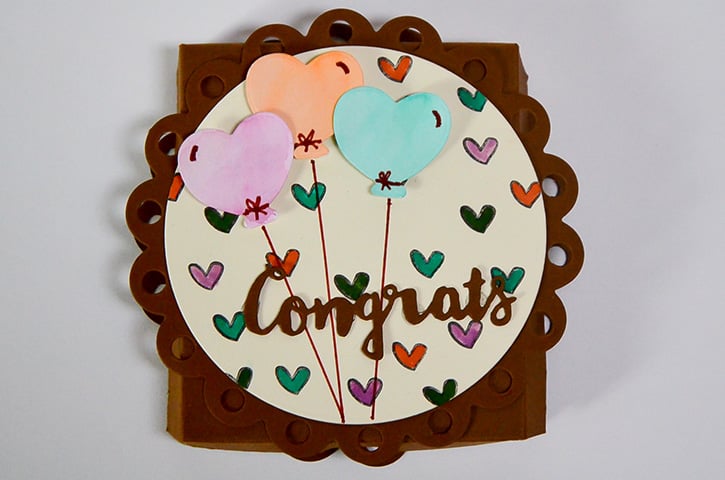
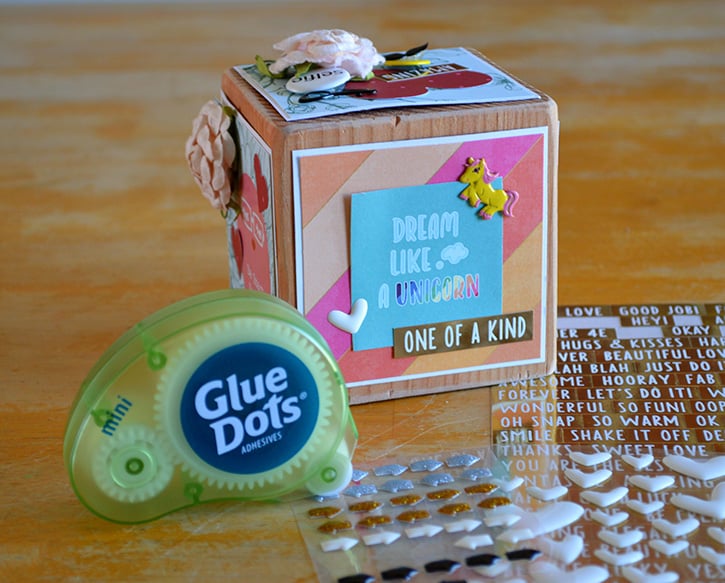
When I read that the Le Plume II markers from Marvy Uchida were water based, I knew I wanted to try it out as a “water color” medium. By adding water, it gave my art a more subdued color, adding a totally different look. Creating this box with the Le Plume markers and some Glue Dots® adhesives makes for an easy and cute way to give someone a congratulatory treat.
Designed by: Grace Tolman
Time: 30 minutes
Level: Moderate Handiness
Size: 3 7/8" x 3 7/8" x ½”
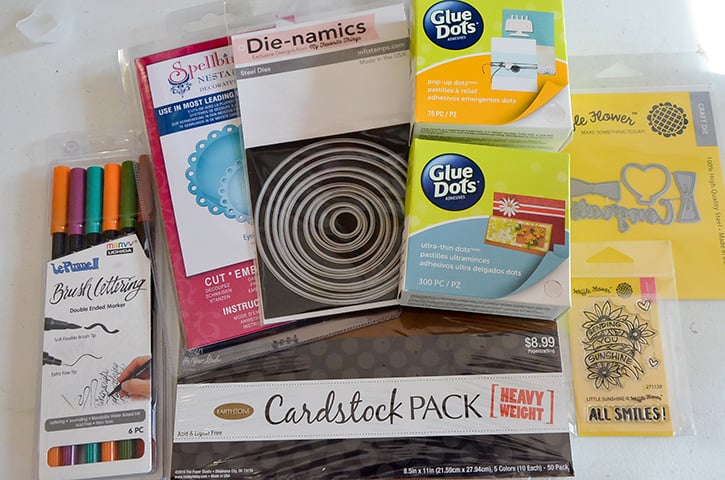
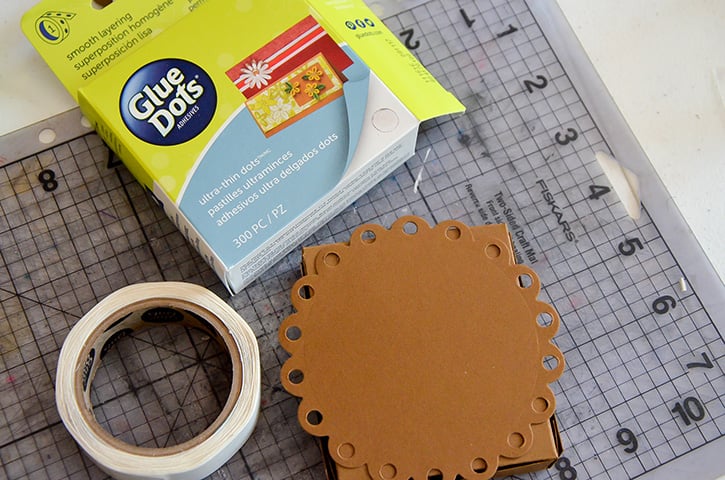
Here's what you need:
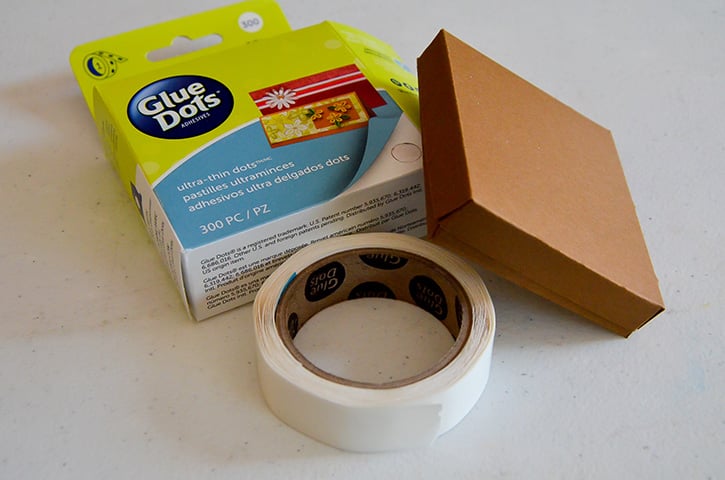
- Ultra-thin Dots™
- Pop-Up Dots™
- Mini Dots™
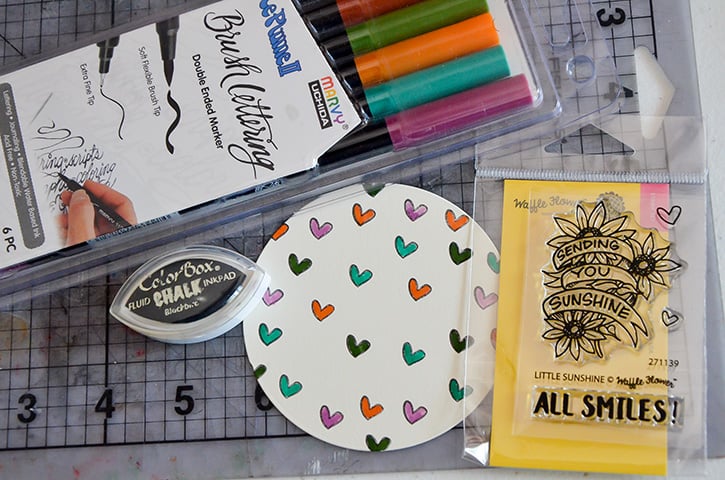
- Pen- Natural set, Le Plume II, Marvy Uchida
- Die cuts- (Circle Stax set 1) My Favorite Things; (Eyelet circles) Spellbinders; (Congrats word) Waffle Flower
- Stamp- Little Sunshine, Waffle Flower
- Ink
- Watercolor brush
- Acrylic block
- Bone folder
- Ruler
- Cardstock
Directions:
Create a template measuring 4" x 8 ½”. Score the piece ½” on both long sides. Turn the paper horizontally then score at ½”, 4”, 4 ½” and 8”. Fold to reinforce the score lines. 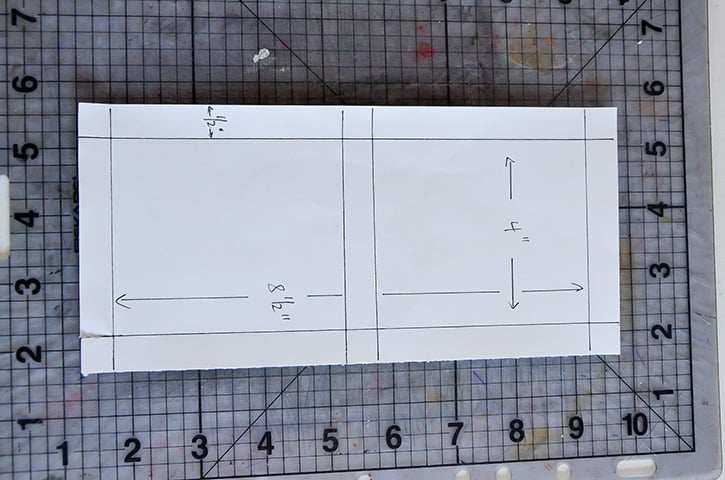
Cut a slit along the score lines on the small squares on each corner of the paper and also on the center as shown in the photo. Repeat steps with brown cardstock.
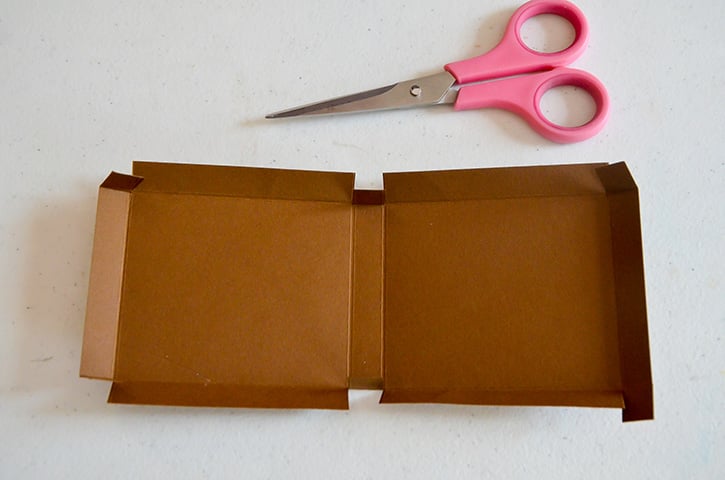
Add Ultra-thin Dots to the squares to put your box together.
Run the dies through the die cut machine using the various dies and cardstock colors. Set aside. 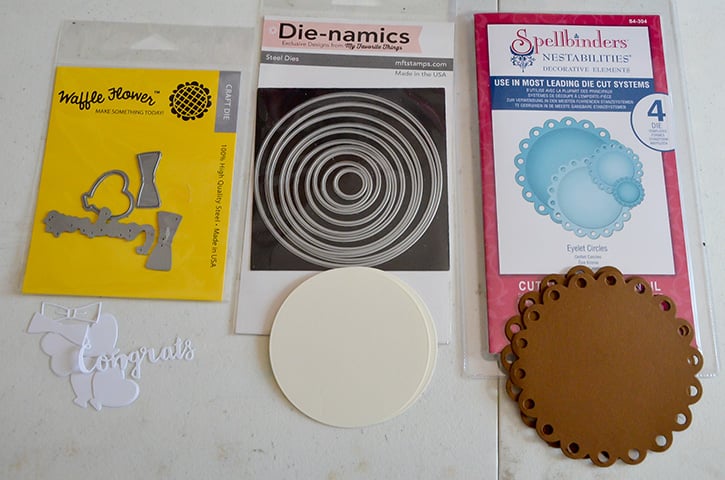
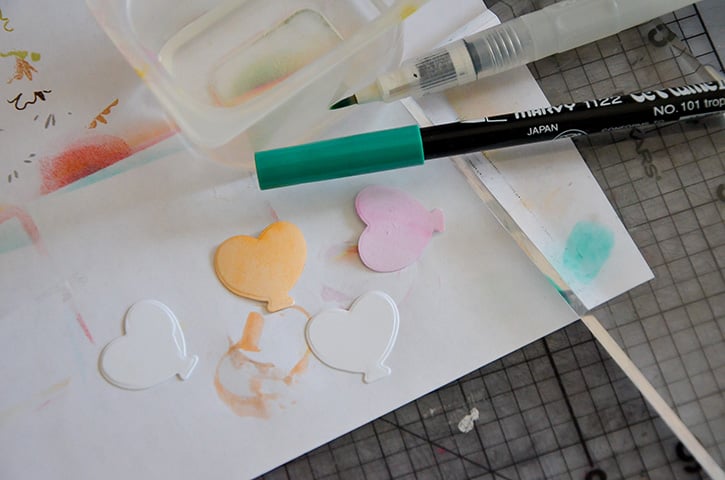
Run a Marvy Uchida marker on the acrylic block to transfer the color onto the block.
Using a water color brush and some water, add color to the die cut hearts. Repeat until happy with the water coloring. Set aside.
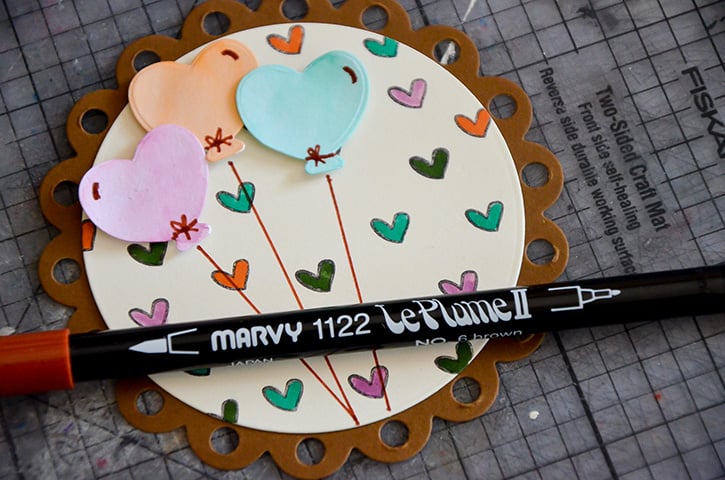
Stamp the small heart onto one of the circle paper; color with the Marvy Uchida markers.
Adhere the circle paper onto one of the scallop circles, centering it, using some Ultra-thin Dots.
Adhere the heart balloons to the circle panel using Pop-Up Dots. 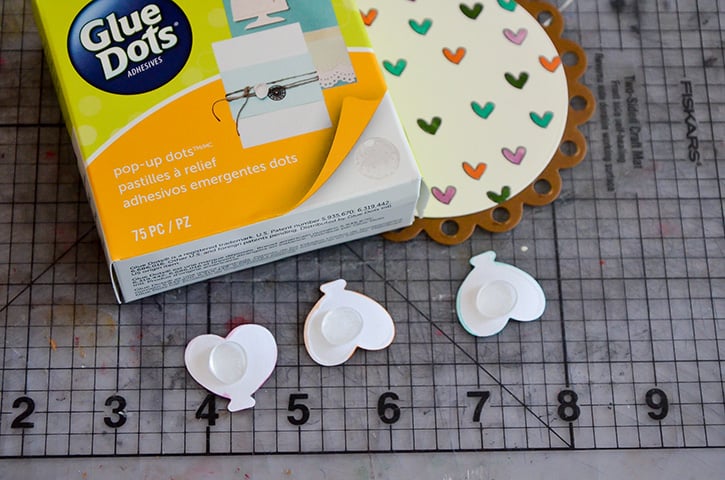 Use a Marvy Uchida marker to create the balloon string lines.
 Add the “congrats” word using some Mini Dots.
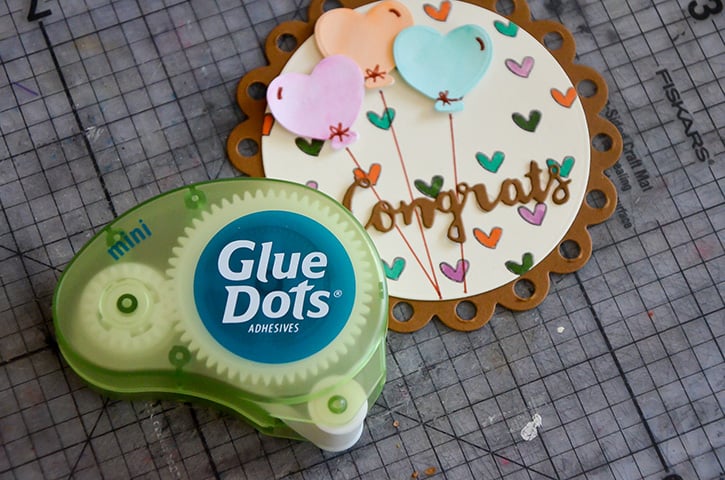
Add the circle topper to the top of the treat box with Ultra-thin Dots. Repeat the process to adhere the other layered circle panel on the bottom of the treat box.
Fill with goodies.
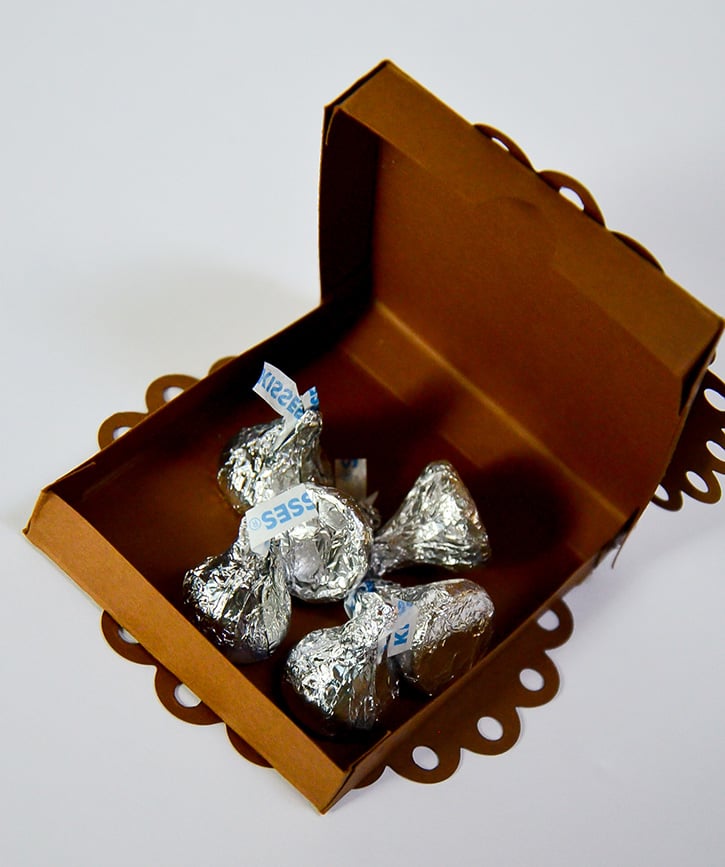
Your treat box is officially ready to be gifted to that special someone!
~ Grace

I’m a mom to a 10 year old boy and an 8 year old girl. Therefore my life is usually filled with learning, new discovery, bribery and driving to and from all of our activities. I have a loving and very supportive husband of 11 years. When the kids have gone to bed at night, my time is spent crafting while catching up on my favorite shows and movies. I also enjoy reading, window shopping, knitting and perusing blogs for inspirations. Three years ago we moved to Colorado from California and we are enjoying our new environment. I feel very inspired with my new home, my new scrapbook space and the mountain views. Although I’ve been doing some type of scrapbooking since grade school, I only started to scrapbook seriously after my son was born. When he was born I knew I would be staying at home with him but coming from a fast paced sales job I was afraid I would ran out of things to do during the day. Little did I know that with newborns you won’t have any time to do anything else. Anyways, after going through a basic scrapbooking class I was hooked and haven’t stopped scrapping since.


