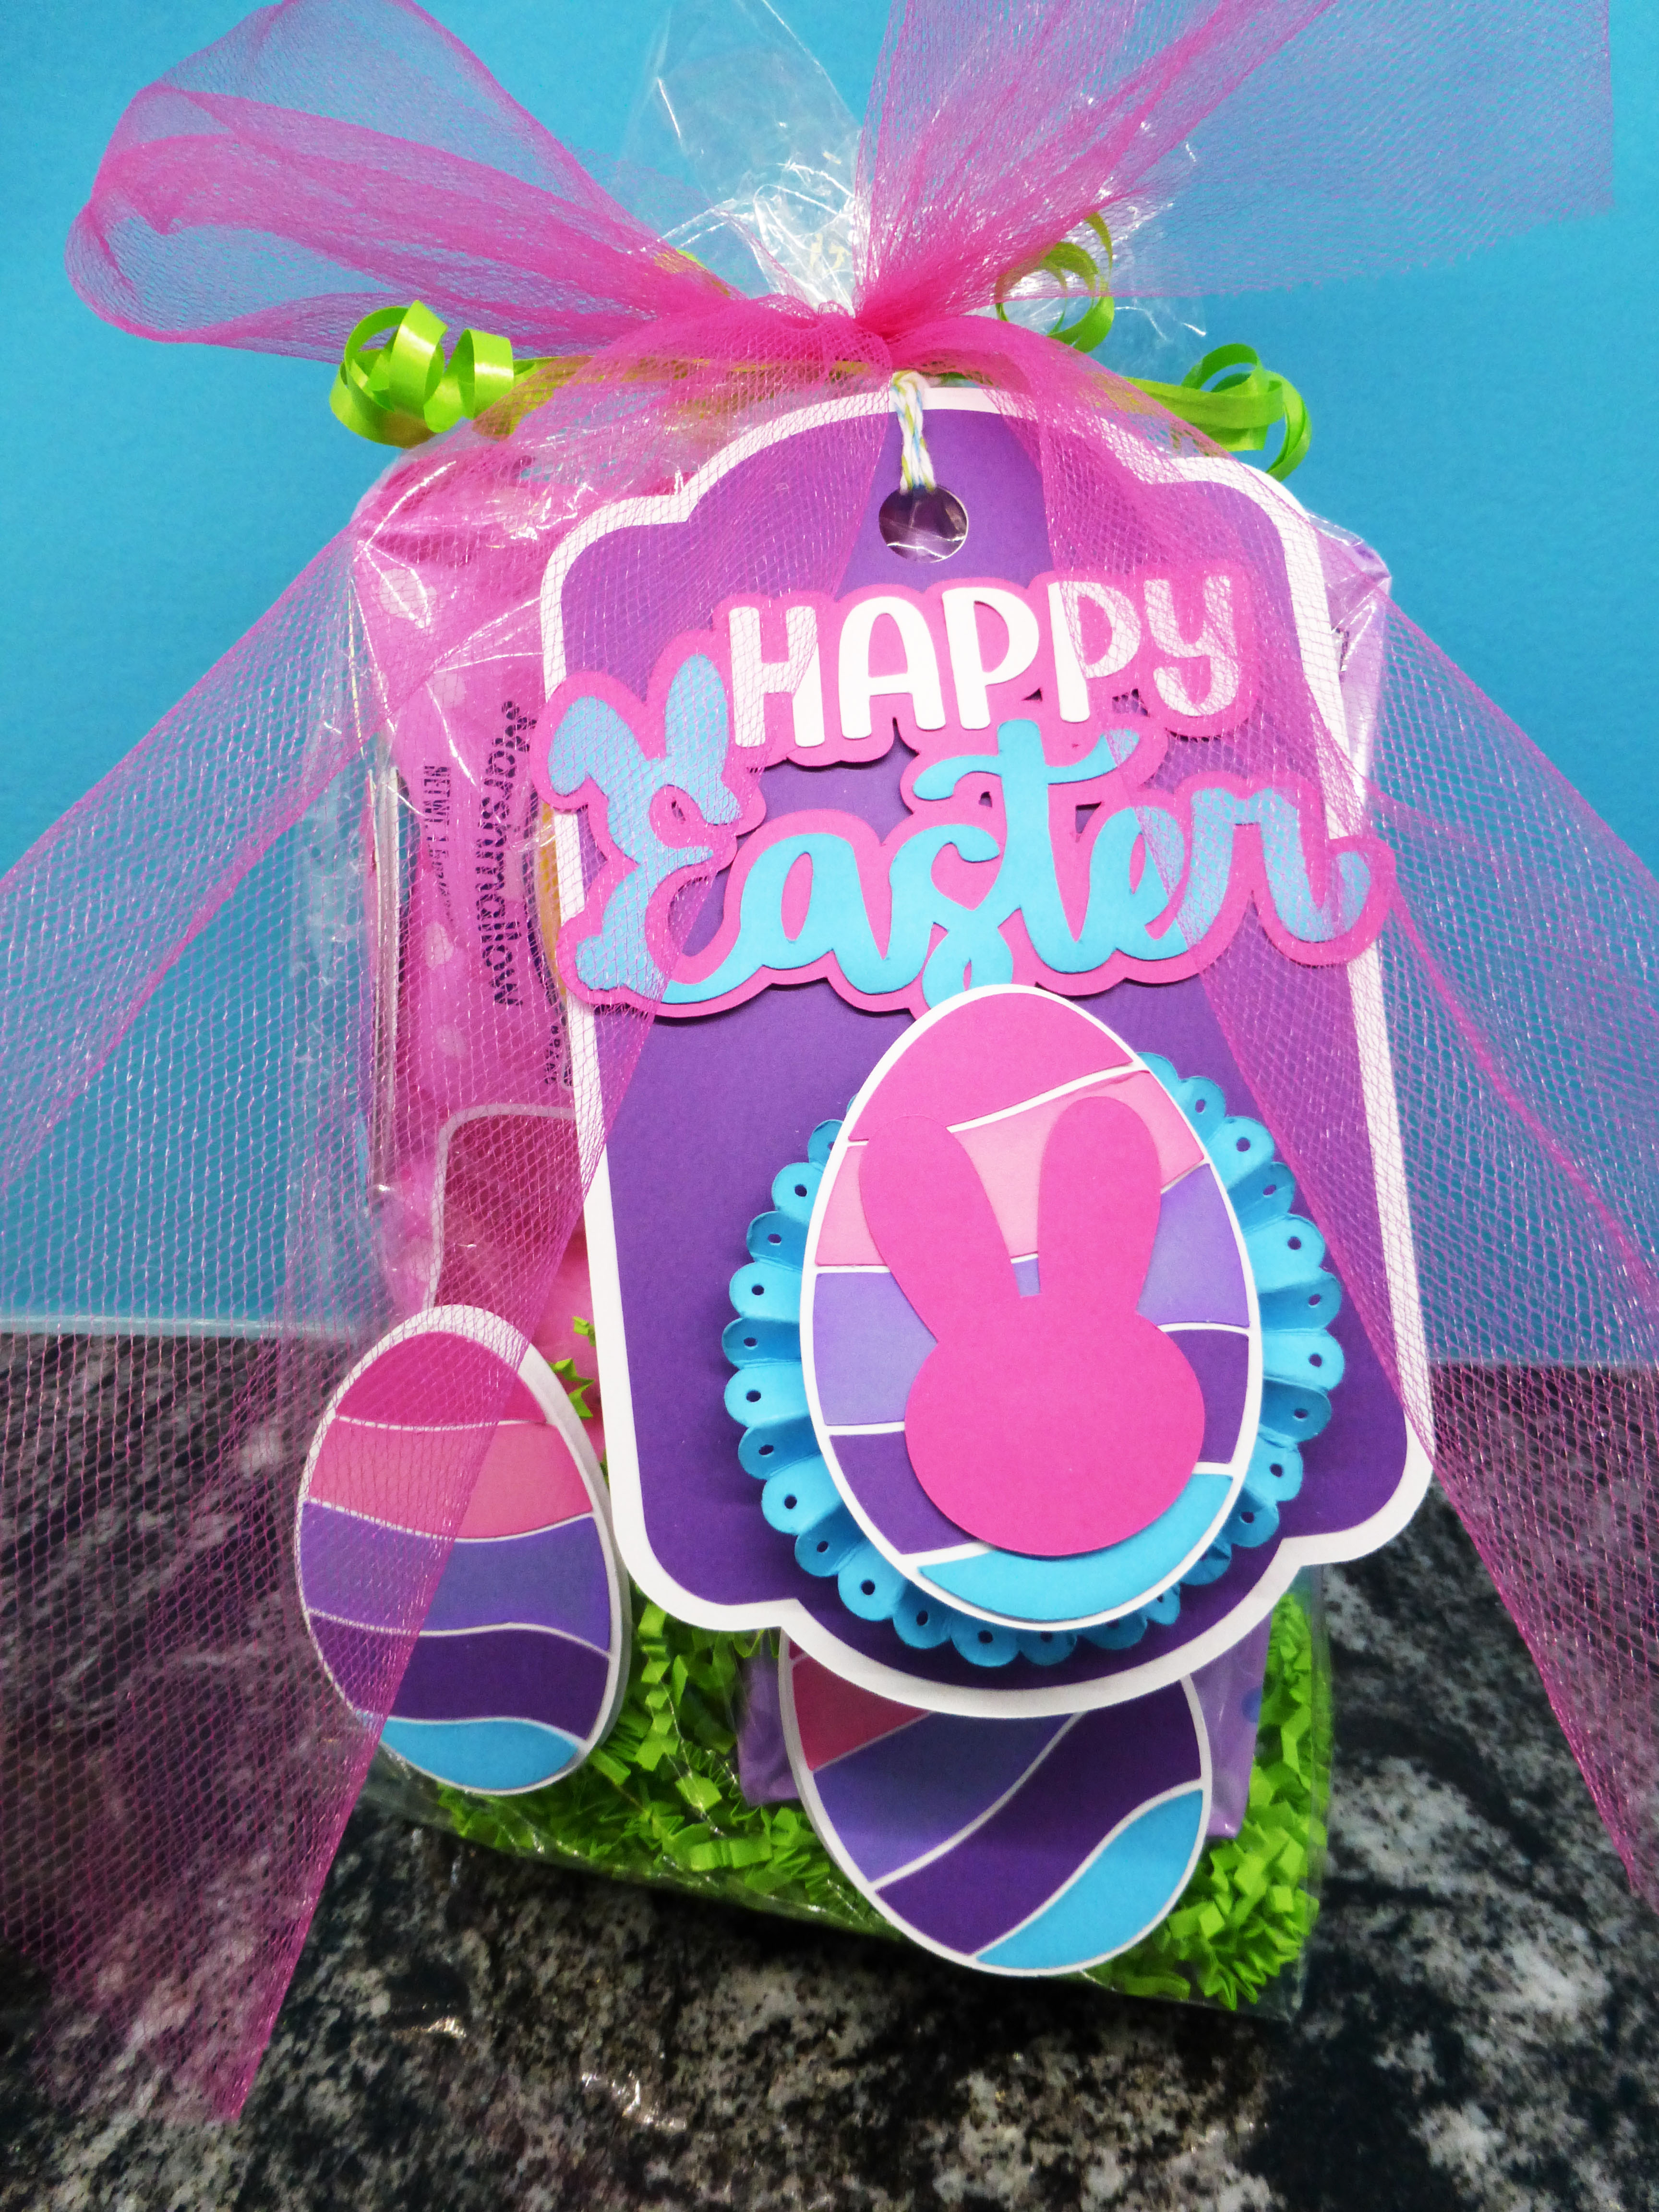
Window-style cards are a great and creative way to share holiday wishes with loved ones. They add layers without much bulk and help to make your cards unique and fun. With this project, I also used reverse embossing and some ink-blending techniques, which added a little more punch to the design.
.jpg)
Designed by: Grace Tolman
Time: Approximately 40 minutes
Level: Moderate Handiness
Size: 5 ½ x 4 ¼”
.jpg?width=725&height=480&name=Easter%20lawn%20fawn%20(14).jpg)
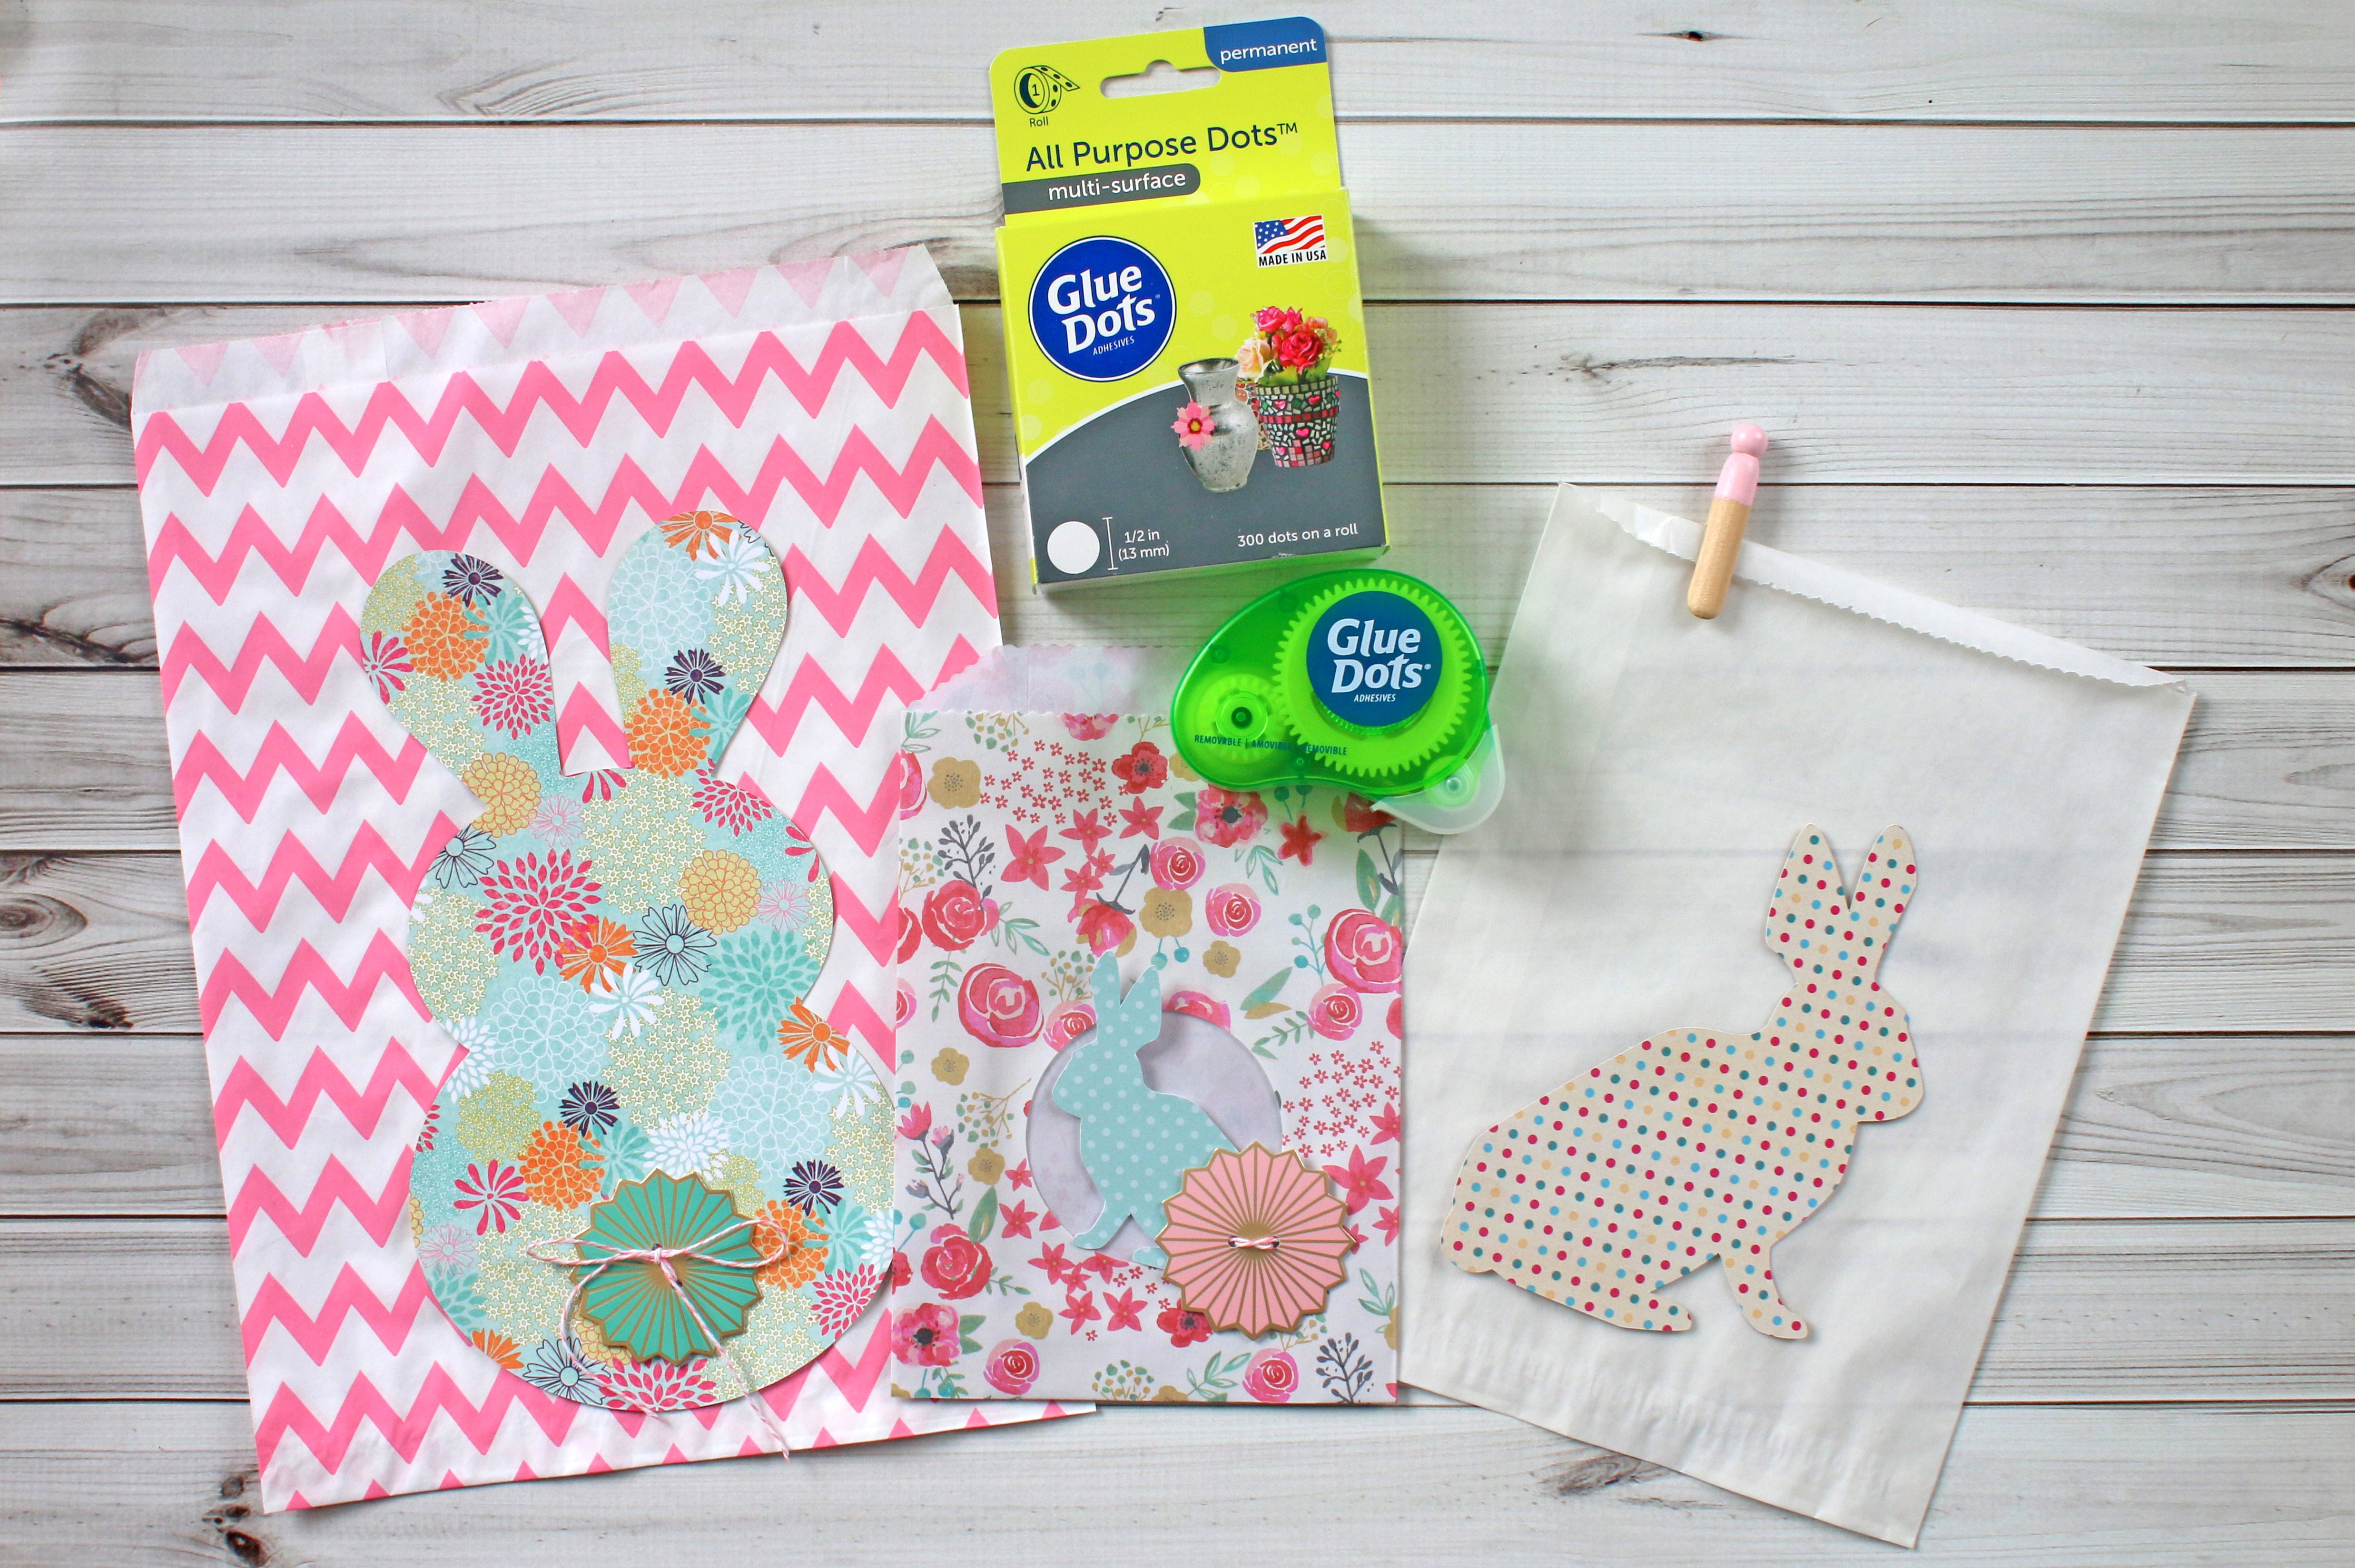
Here is what you need:
- Glue Dots® Permanent GlueTape™
- Micro Glue Dots®
- Removable Glue Dots®
- Circle die cut
- Ink
- Embossing powder
- Lawn Fawn Happy Easter stamp
- Markers
- Scissors
- Light Purple- Bazzill
- White Cardstock
- Pattern papers- Lawn Fawn Let’s Polka in the Meadow
- Twine
- Photo corner stickers
Here is what you do:
Make the card base with the light purple cardstock.
Stamp jelly bean images onto white cardstock.
.jpg?width=725&height=480&name=Easter%20lawn%20fawn%20(9).jpg)
Cut three staggered circles from the jelly bean stamped paper using a circle die..jpg?width=725&height=480&name=Easter%20lawn%20fawn%20(10).jpg)
Using the same circle die, cut a circle window by using the next big circle from the nesting die set (see below), from the diagonal pattern paper. Cut out three frames from three different diagonal papers (one for each of the circles cut from the jelly bean paper) .
.jpg?width=725&height=480&name=Easter%20lawn%20fawn%20(11).jpg)
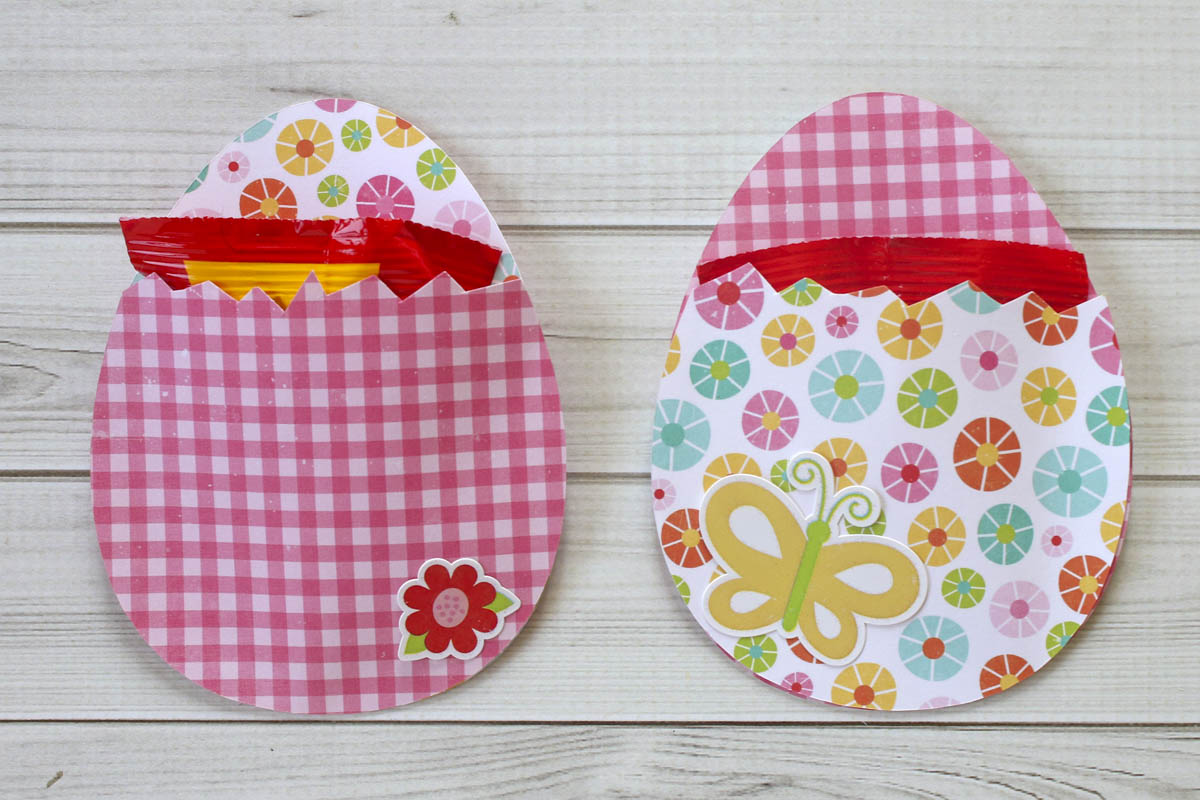
Place the jelly bean paper over a piece of white cardstock with Removable Dots Dot N Go® and lightly mark the circle windows. Remove the panel gently and take off the adhesive from the Jelly bean paper.
.jpg?width=725&height=480&name=Easter%20lawn%20fawn%20(12).jpg)
Following your pencil marks, stamp the bunnies inside the center of the circles with embossing ink and heat emboss using white embossing powder.
Using a blending tool or a makeup sponge, apply some ink onto each of the circles. Wipe off any excess ink.
.jpg?width=725&height=480&name=Easter%20lawn%20fawn%20(13).jpg)
Adhere the circle pattern paper frames over the cut out windows on the jelly bean paper using micro dots.
Adhere the jelly bean panel onto the white cardstock with Permanent GlueTape.
Add the photo corners to the jelly bean panel and adhere it to the front of the purple card with Permanent GlueTape™.
-1.jpg?width=725&height=480&name=Easter%20lawn%20fawn%20(15)-1.jpg)
~Grace

I’m a mom to a 10 year old boy and an 8 year old girl. Therefore my life is usually filled with learning, new discovery, bribery and driving to and from all of our activities. I have a loving and very supportive husband of 11 years. When the kids have gone to bed at night, my time is spent crafting while catching up on my favorite shows and movies. I also enjoy reading, window shopping, knitting and perusing blogs for inspirations. Three years ago we moved to Colorado from California and we are enjoying our new environment. I feel very inspired with my new home, my new scrapbook space and the mountain views. Although I’ve been doing some type of scrapbooking since grade school, I only started to scrapbook seriously after my son was born. When he was born I knew I would be staying at home with him but coming from a fast paced sales job I was afraid I would ran out of things to do during the day. Little did I know that with newborns you won’t have any time to do anything else. Anyways, after going through a basic scrapbooking class I was hooked and haven’t stopped scrapping since.


