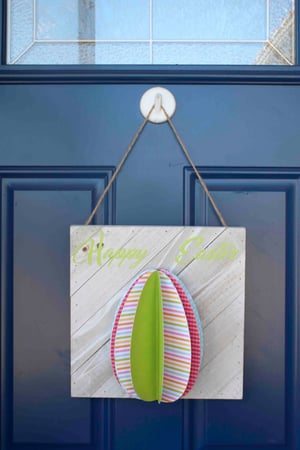
Warmer weather means it’s time for all things Easter. So, break out the bright paper, some Glue Dots® and create a 'Happy Easter' egg sign for your home!
CREATOR: SAMANTHA TAYLOR | TIME: 30 MINUTES
LEVEL: INTERMEDIATE | SIZE: 12” x 12”
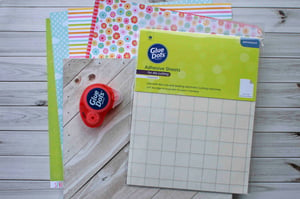
Supplies:
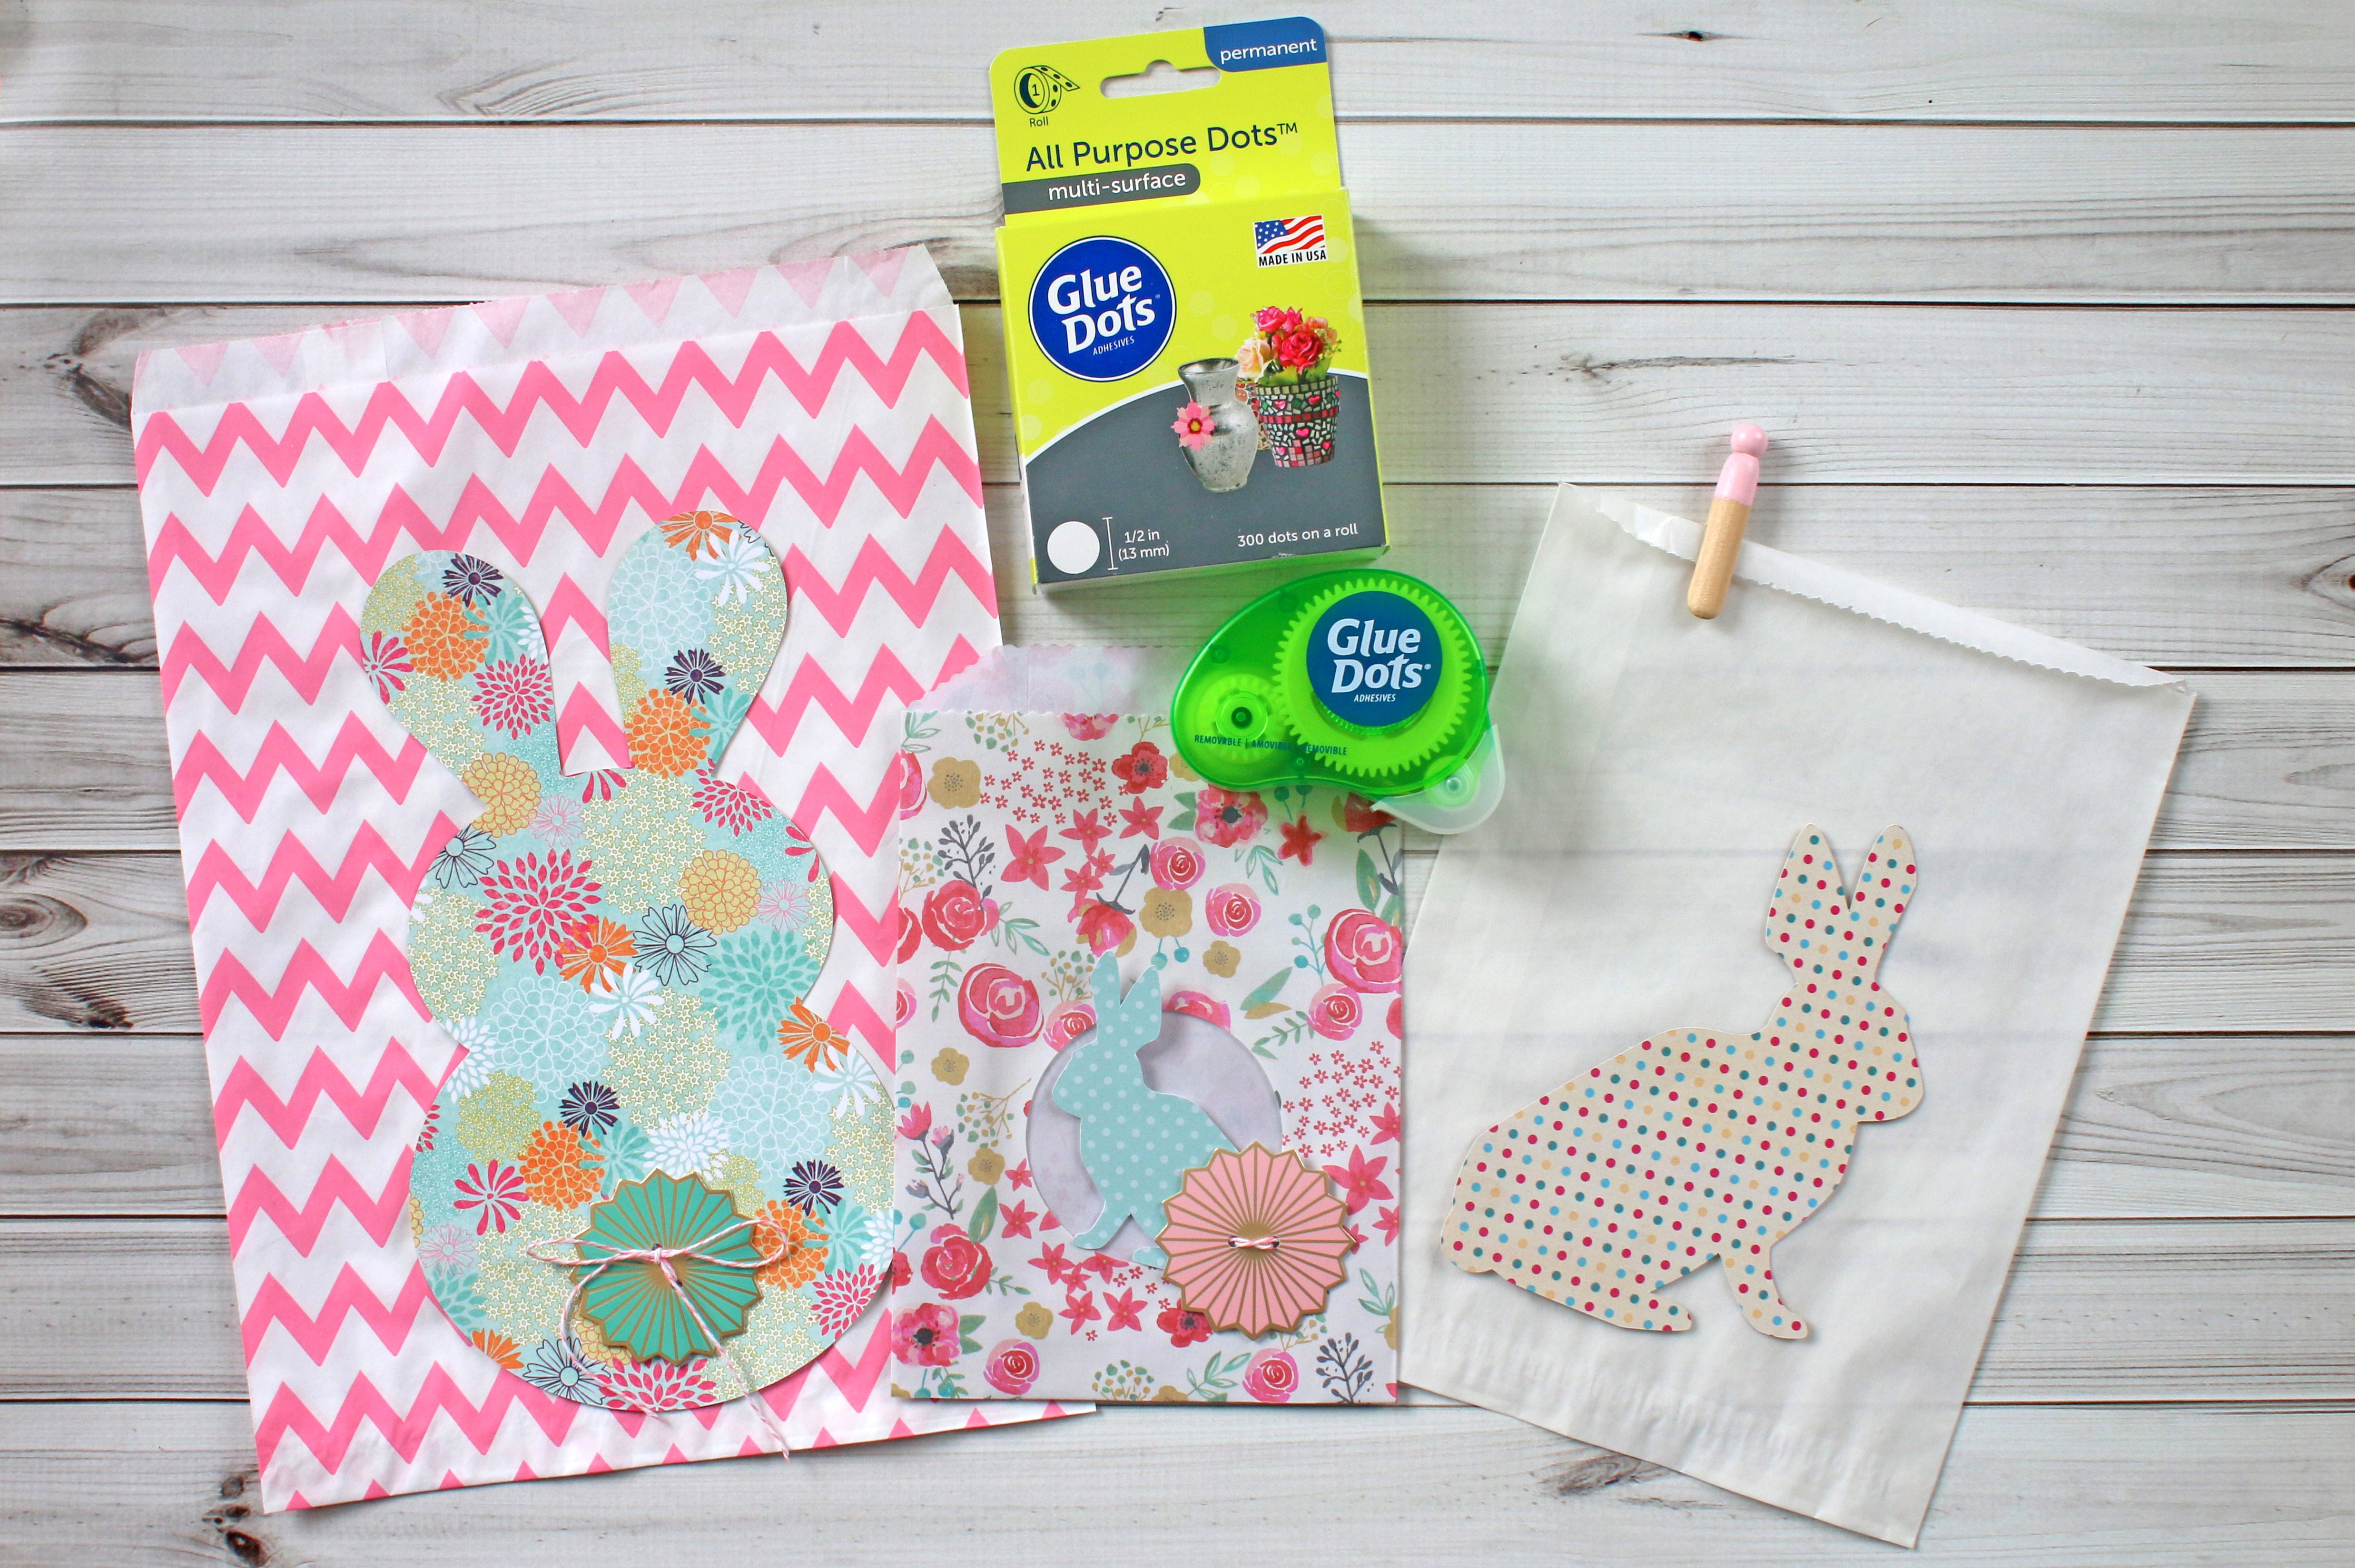
- Glue Dots® Adhesive Sheets for Die Cutting
- Craft Glue Dots®
- Variety of patterned paper
- 12” x 12” wood pallet (This one is Jillibean Soup Mix the Media)
- Electronic die cutting machine (I used a Silhouette Cameo)
- 6” x 9” Egg cut file or die (This one is Silhouette Studio file #17422)
Directions:
- Cut a piece of patterned paper to 11” x 3”. Apply a Glue Dots® Adhesive Sheets for Die Cutting to the back side the patterned paper and proceed to cut out the words “Happy Easter”.
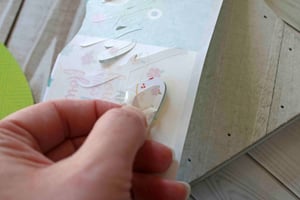
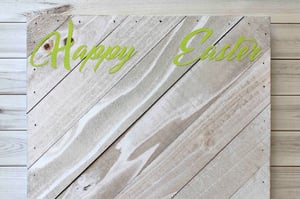
- Peel off liner from cut words and apply to wood pallet.
- Cut 11 identical egg shapes from a variety of spring colored patterned paper (you can cut 2 egg shapes from 1 sheet of 12” x 12” patterned paper).
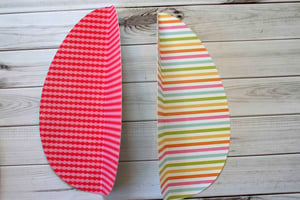
- Fold egg shapes in half vertically with the pattern you want showing facing the inside.
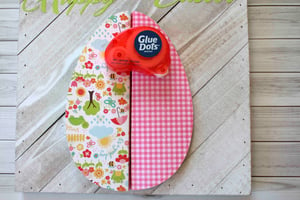
- While folded in half, attach 2 egg shapes to the pallet using Craft Glue Dots®. Place the shapes in such a way that they create one full egg.
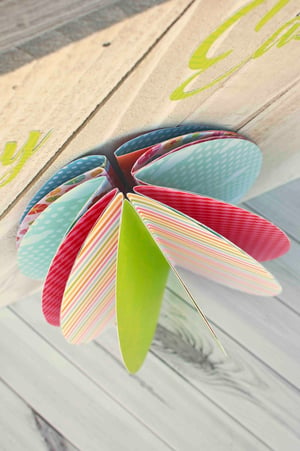
- Continue to layer egg shapes (folded in half) on top of the egg shapes already attached to the pallet.
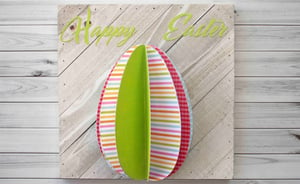
- To finish, unfold one egg. Adhere it on top of the stack of folded eggs with Craft Glue Dots®. The pattern you want to be showing should be facing up towards you.
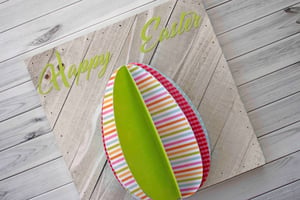
Glue Dots® Adhesive Sheets for Die Cutting make attaching small die cuts a breeze and Craft Glue Dots® are perfect for adhering paper to wood and paper to paper. I hope you enjoy your new 'Happy Easter' Egg Decor!

My name is Samantha Taylor and I have a passion for combining crafting and creativity to beautify life. I live in a small town in rural Iowa with my husband and 2 boys (all 3 of whom you’ll see featured in my projects). I’m a paper crafting fanatic who also loves photography. I enjoy making lay outs, cards, mini albums and home decor items, party decorations, and crafting with my kids. My favorite thing about crafting is getting to connect with so many people all over the world who also love creating pretty things and preserving memories. You can find more from me at www.taylorstamped.blogspot.com. I am so excited to share with you my love for the many uses of Glue Dots®!


