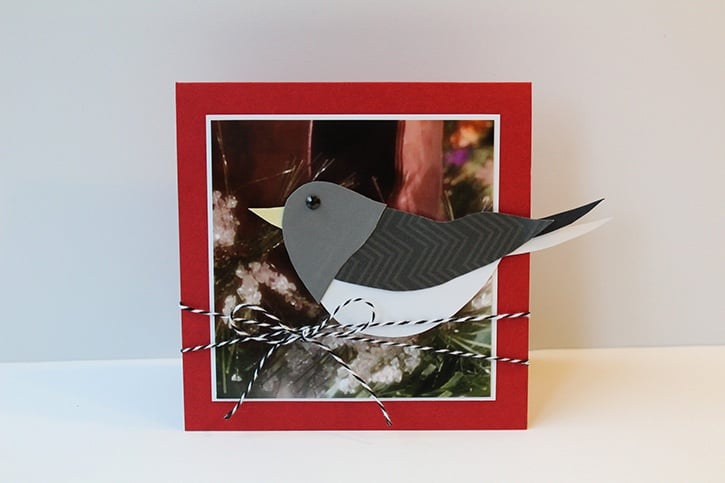
Personalize this season's holiday card with a photo of your Christmas tree and a paper bird made by you! Use the Junco Printable for other craft projects as well.
Made by: Danielle Hunter
Time: 30 minutes
Level: Beginner
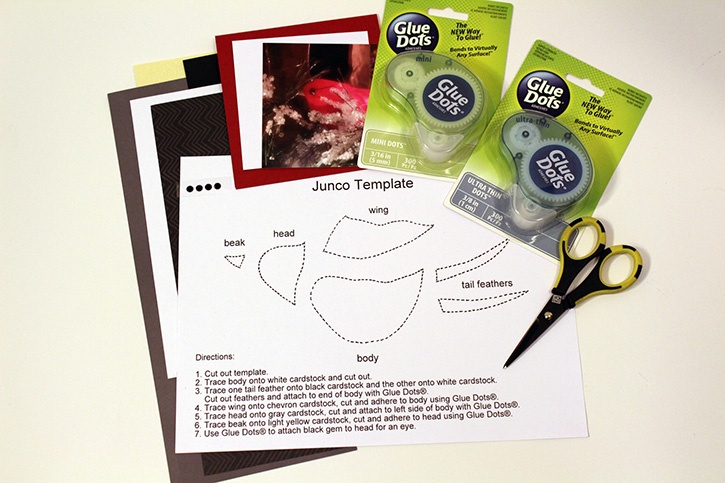
Here's what you need:
- Glue Dots® Mini Dots™
- Glue Dots® Ultra-Thin Dots™
- Junco Template Printable (Print template at 100% onto 8.5" x 11" white cardstock)
- 4" x 4" Christmas tree close-up photograph
- Cardstock (red, black, white)
- DCWV double-sided cardstock (gray and black chevron)
- DCWV glitter cardstock (pale yellow)
- Baker's Twine (black and white)
- Black gem
- Scissors
- Paper trimmer
- Scoring tool
- Eraser
- Pencil
Here's what you do:
Print Junco template onto white cardstock. Do not resize template for this project. Cut along the dotted lines to remove each piece of the Junco template.
Trace body onto white cardstock and cut out with scissors. Use an eraser to remove the pencil lines.
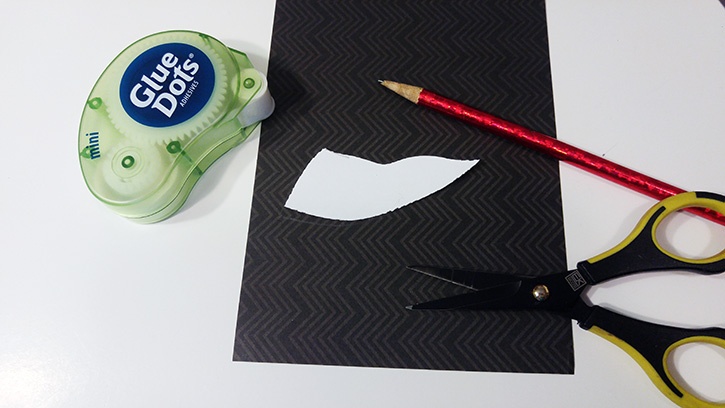
Trace one tail feather onto white cardstock. Cut out feather and attach to end of body with Mini Dots. Repeat the process to create a black tail feather.
Trace wing onto chevron cardstock, cut and adhere to body using Mini Dots.
Trace head onto gray cardstock, cut and attach to left side of body with Mini Dots.
Trace beak onto the glitter cardstock, cut and adhere in between the layers of the Junco's head and body using Mini Dots.
Use a Mini Dots to attach black gem to head for an eye.
Cut a 5" x 10" piece of red cardstock, score and fold to create a 5" x 5" card.
Mat photo with white cardstock and adhere to front of card using Ultra-Thin Dots.
Adhere Junco to the front of card using Mini and Ultra-Thin Dots.
Wrap baker's twine around the front of card two times, create a bow and trim excess twine with scissors. Use the pointed end of scoring tool to add a Mini Dots under the bow to secure it in place.

~Danielle

Danielle Hunter is a multitasking mom of two creative girls. She works in human resources for a non-profit organization and is a yoga teacher in training. She lives in Northeast Ohio and has been dedicated to crafting since childhood. Danielle completed her first scrapbook at the age of four, was a scrapbooker-for-hire for several years, and has shared her knowledge in a classroom setting. She enjoys turning trash to treasure, making crafts for kids, and creating artistic projects with bold colors and fun designs. Danielle joined the very first design team for Glue Dots in 2010. Her projects have been featured in Craft Ideas and CardMaker magazines, as well as websites such as Reader’s Digest, HGTV, and Crafting a Green World.


