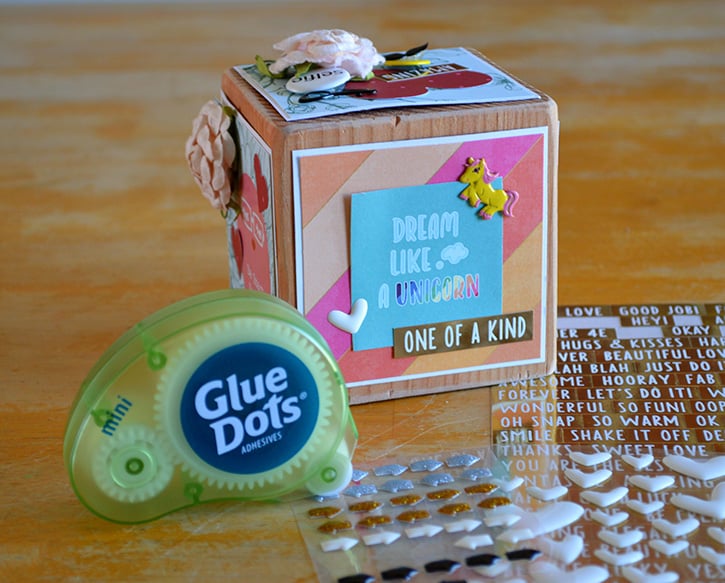
Combine some great prints from Webster’s Pages with a few Glue Dots and you can make a whimsical three-dimensional scene in no time. 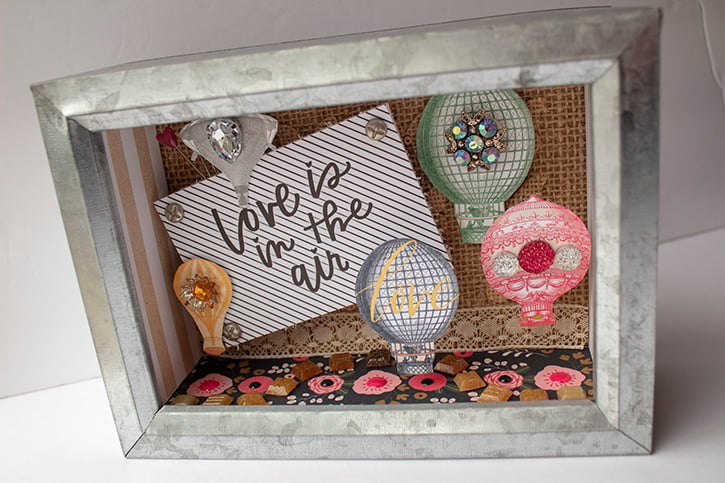
Designed by: Danielle Hunter
Time: 45 minutes
Level: Moderate Handiness
Size: 6" x 8" x 2 ½"
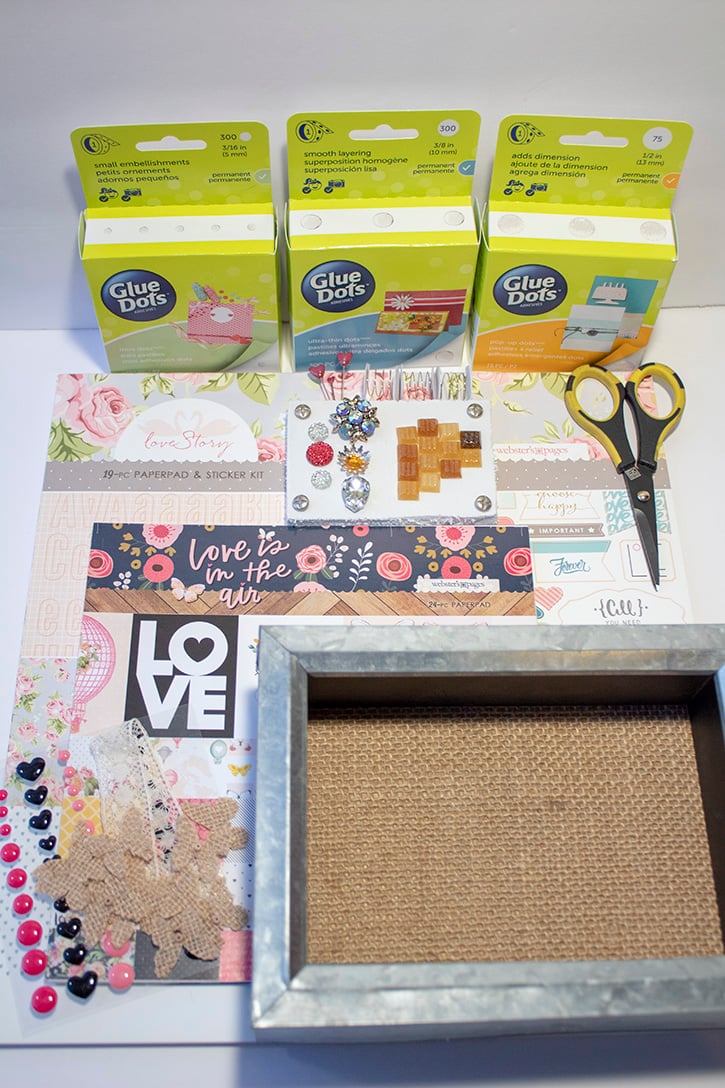
Materials:
- Ultra-Thin Dots™
- Mini Dots™
- Pop-Up Dots™
- Webster’s Pages 8 x 8 paper pad (Love is in the Air)
- Webster’s Pages 12 x 12 paper pad (Love Story)
- 5" x 7" x 2 ½" shadow box
- 12 small burlap butterflies
- 6 ¾" piece of vintage lace ribbon
- 4" x 2¾" piece of foam board
- Assorted embellishments (brads, glass tiles, bling, enamel dots, heart pins, etc.)
- 3 springs
- Scissors
Directions:
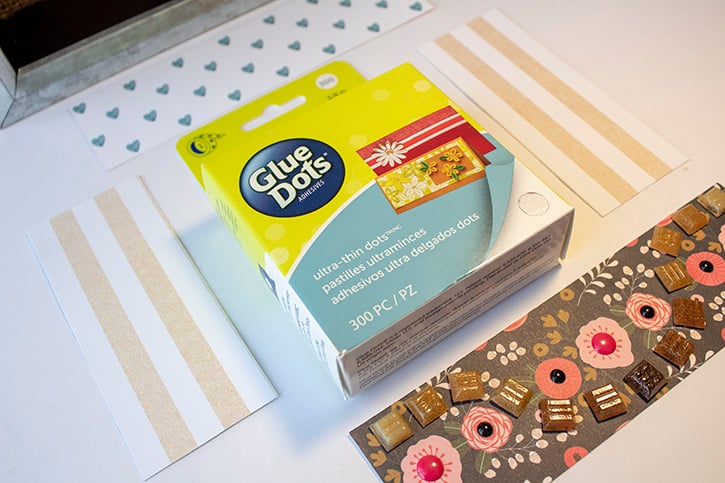
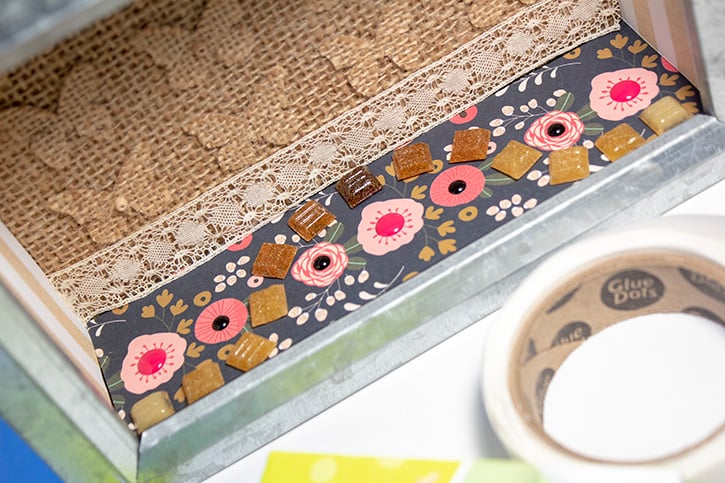
Cut paper to fit inside of the shadow box (top & bottom strips: 6 ¾" x 2"; side strips: 4 ¾" x 2".)
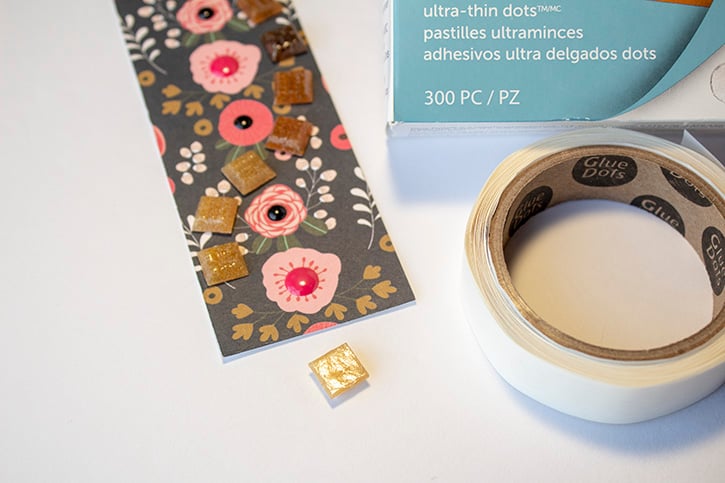
Use Ultra-Thin Dots to decorate bottom floral strip with small glass tiles. Add enamel dots to flowers.
Attach all of the strips to the inside of shadow box using the Ultra-Thin Dots.
Adhere burlap butterflies to the background of box with more Ultra-Thin Dots.
Using the Mini Dots, secure the vintage ribbon to the bottom of the background.
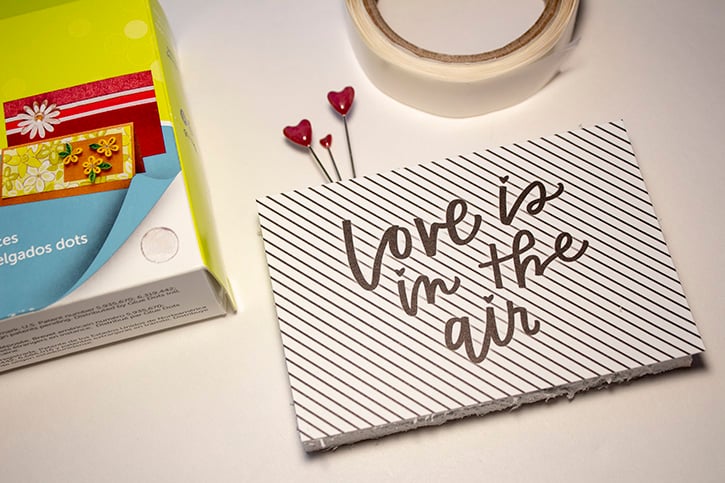
Cut out the “love is in the air” phrase from the paper pad and attach it to the foam board with more Ultra-Thin Dots. Insert brads into each corner of the phrase and add heart pins to top of foam board before securing them to the box with several Ultra-Thin Dots.
Fussy-cut out some hot air balloons from the paper pad and decorate with embellishments using Ultra-Thin and Pop-Up Dots.
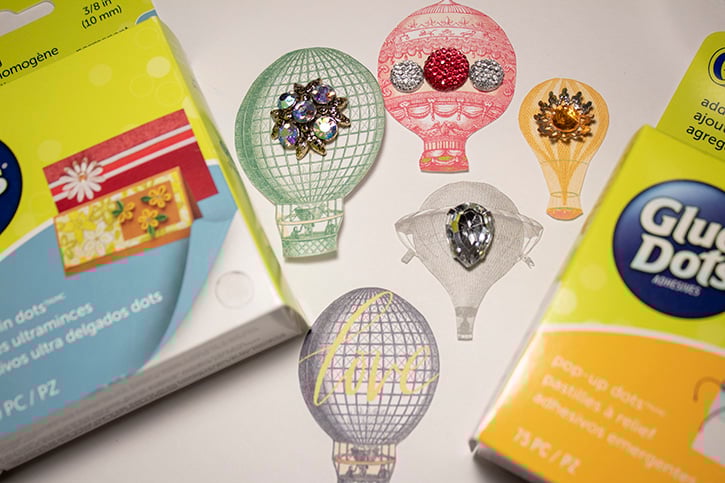
Attach the hot air balloons to the background using the springs and Pop-Up Dots.
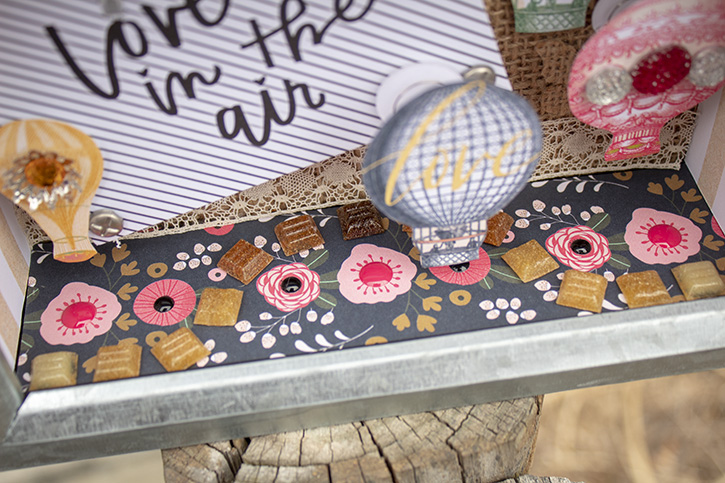
Voila! Your shadowbox is complete. This project can be customized to match your own personal style by finding some great papers and embellishments.
Tips:
-
Use Mini or Micro Dots to add an extra layer of adhesive to the enamel dots.
-
Pre-cut slits for your brads using a craft knife.
~ Danielle

Danielle Hunter is a multitasking mom of two creative girls. She works in human resources for a non-profit organization and is a yoga teacher in training. She lives in Northeast Ohio and has been dedicated to crafting since childhood. Danielle completed her first scrapbook at the age of four, was a scrapbooker-for-hire for several years, and has shared her knowledge in a classroom setting. She enjoys turning trash to treasure, making crafts for kids, and creating artistic projects with bold colors and fun designs. Danielle joined the very first design team for Glue Dots in 2010. Her projects have been featured in Craft Ideas and CardMaker magazines, as well as websites such as Reader’s Digest, HGTV, and Crafting a Green World.


