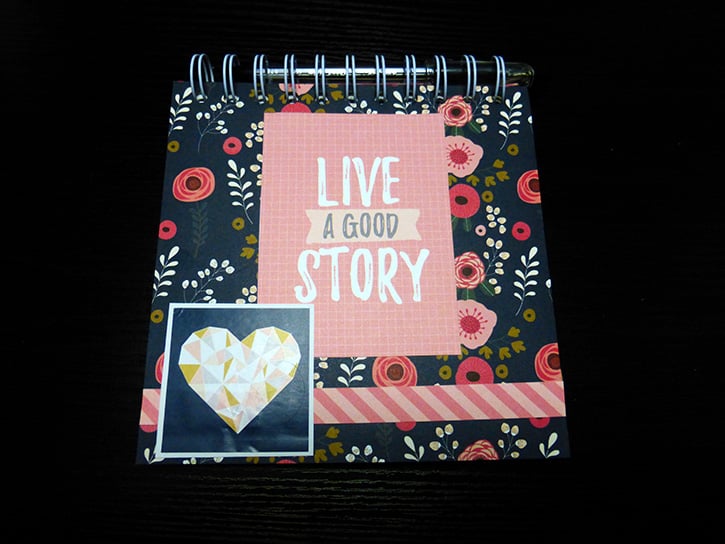
With all the beautiful papers from Webster’s Pages, this notebook can be put together fairly quick and looks super cute to boot! Mix and Match the collections and get creative with your pages! So many options; no two pages will be alike!
Made by: Amanda Tibbitts
Level: Moderate Handiness
Size: 6” x 6” Bound Notebook
Time: About an hour
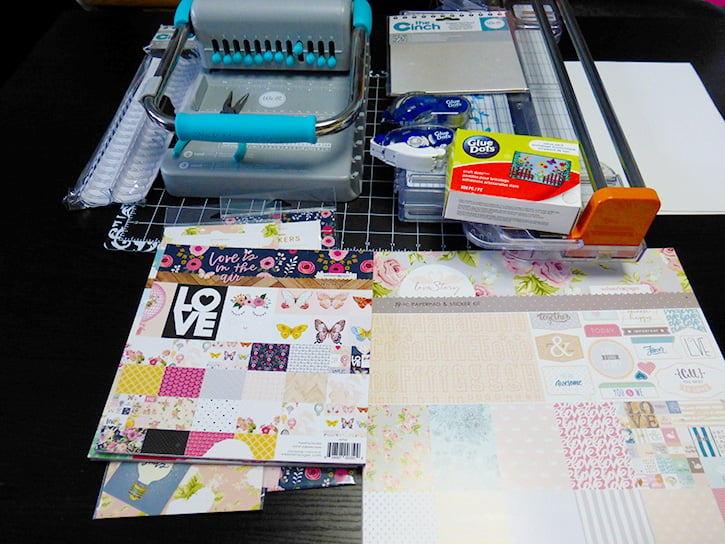
Materials:
- Premium Permanent GlueTape
- Permanent GlueTape
- Craft Dots™
- Webster’s Pages: Love Story Deluxe PaperPad
- Webster’s Pages: Love is in the Air 8” x 8” PaperPad and Ephemera Stickers
- Webster’s Pages: Changing Colors 8” x 8” PaperPad and Ephemera Stickers
- 10 sheets of white Cardstock
- We R Memory Keepers Cinch Designer Book Board 6” x 6”
- Cinch binding wires at .75”
- Craft mat
- We R Memory Keepers Cinch
- Wire cutters
- Paper trimmer
- Scissors
- Pencil
Let's make a notebook:
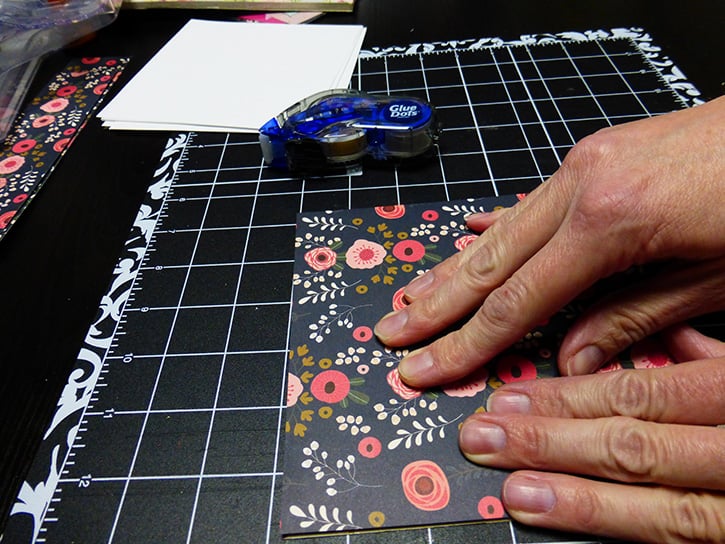
With the paper cutter, trim the white cardstock to 5 ¾” pieces. These are the “guts” of your notebook.
From each of the Webster Pages packs, pick the colors/patterns you want to use for your covers, both inside and out. With the pencil, trace around the WRMK Book Board to get the sizing, and trim your patterned pages down to fit. Keep the board and the papers together as you do the back cover. Use the scissors to trim the edges if needed.
With Premium Permanent GlueTape attach your front and back papers to the matching boards, really getting adhesive all the way to the edges so it won’t lift in the future.
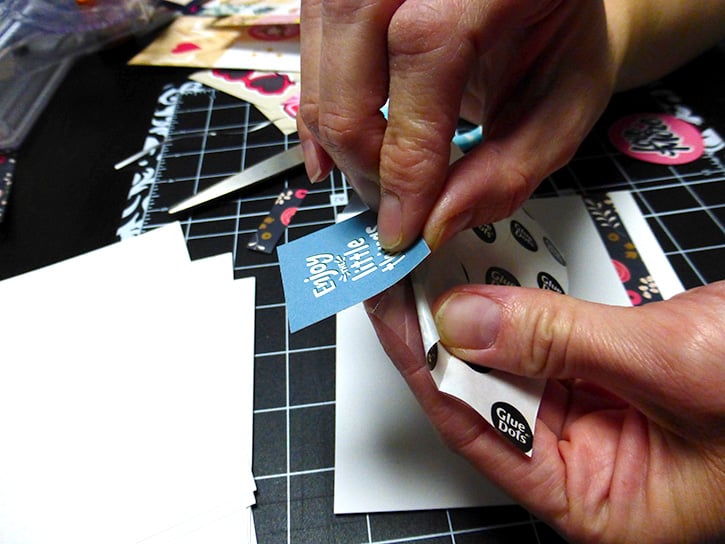
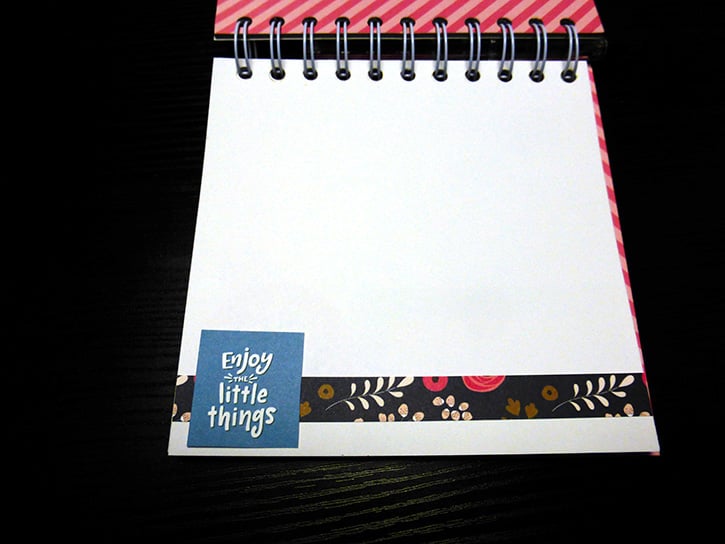
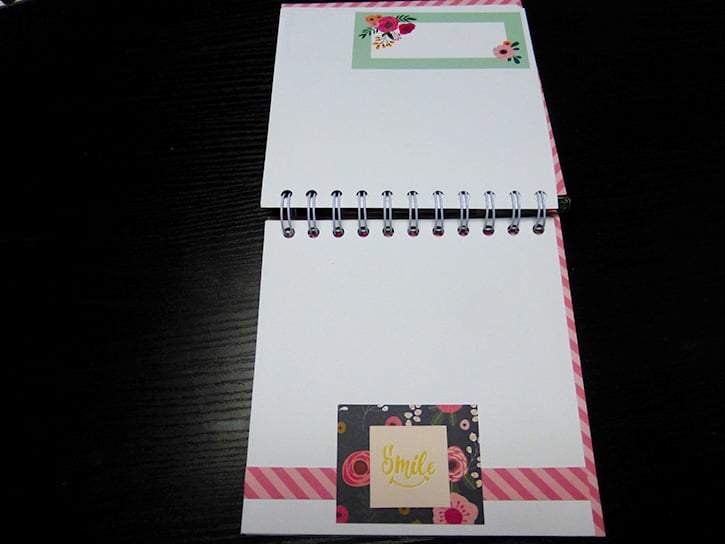
Keep it simple, or dress it up! Line up some paper that you have left over from trimming your covers and make little strips to run along the bottom of your pages.
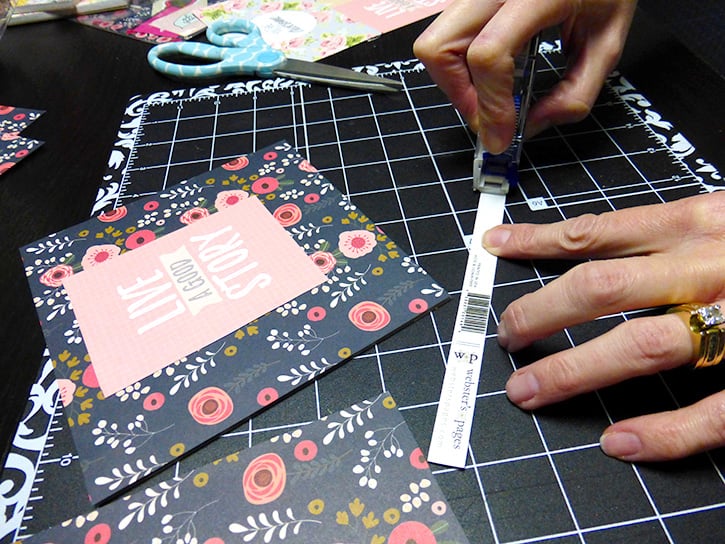
Mat some of the cut-a-parts with some leftover white cardstock. The combinations are endless!
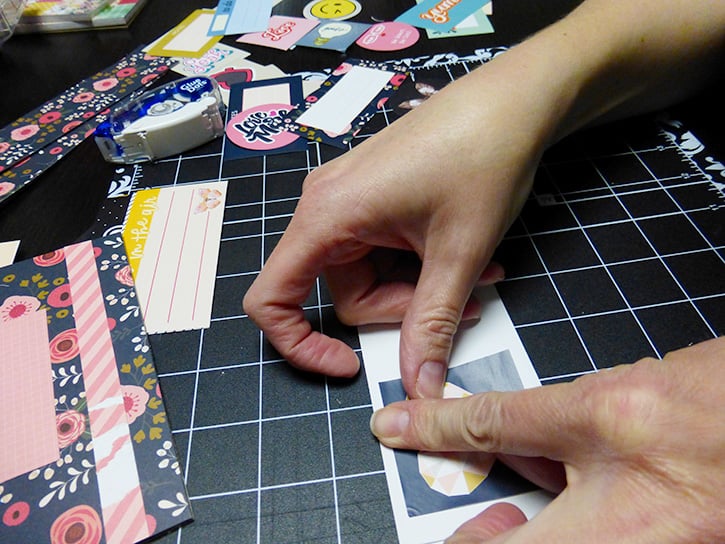
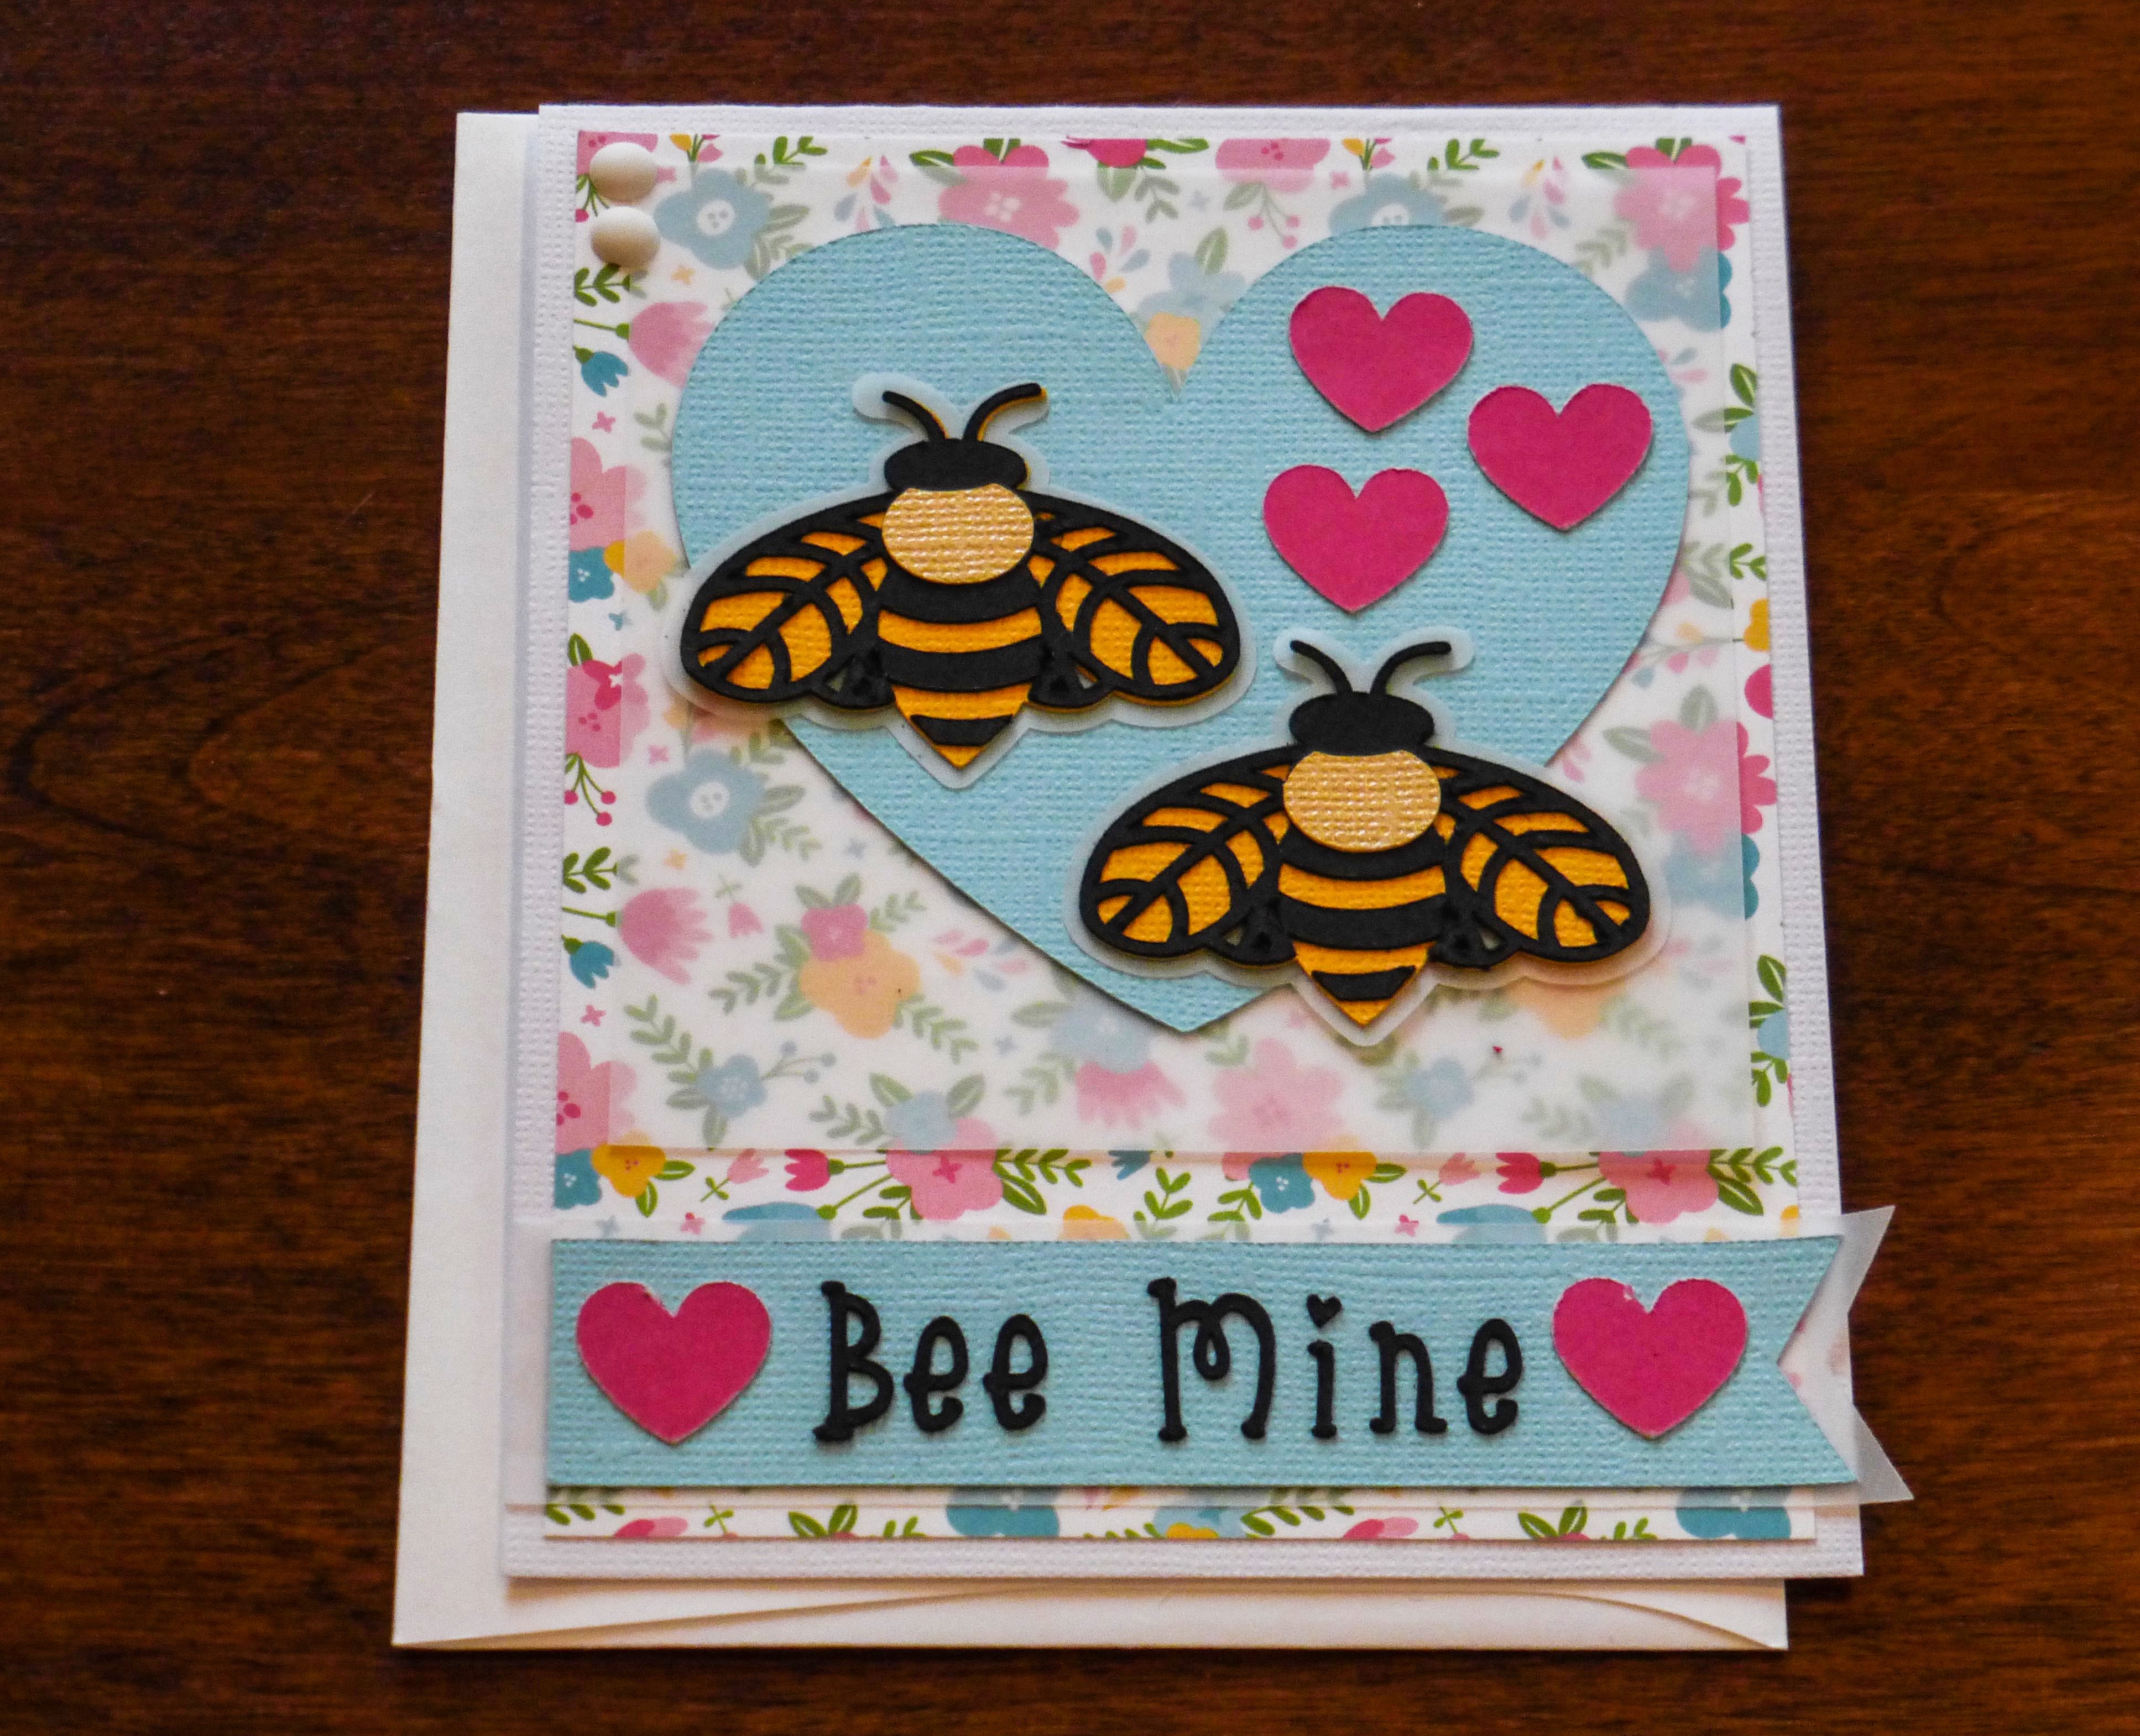
Set aside the back cover and begin decorating the inside pages. The Ephemera stickers are so cute, and work like a dream.
I love a paper pack that has cut-a-parts and I used most of two pages to do the front and back of my pages. Only decorate along the bottom so you’ve got plenty of room to write your notes.
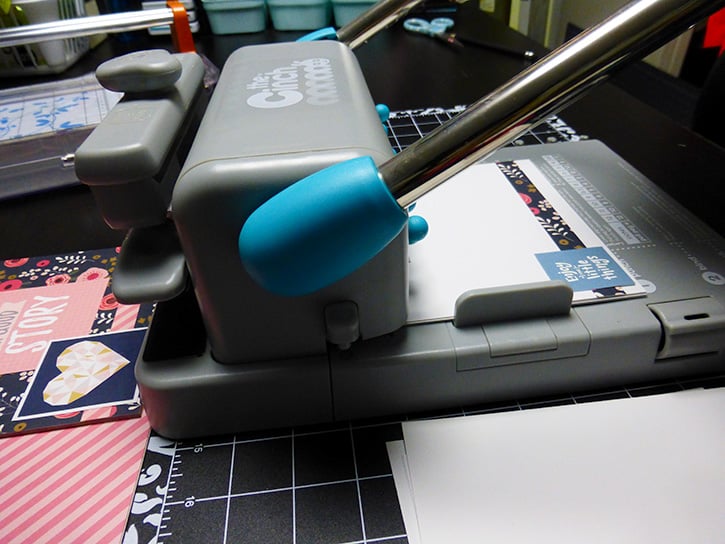
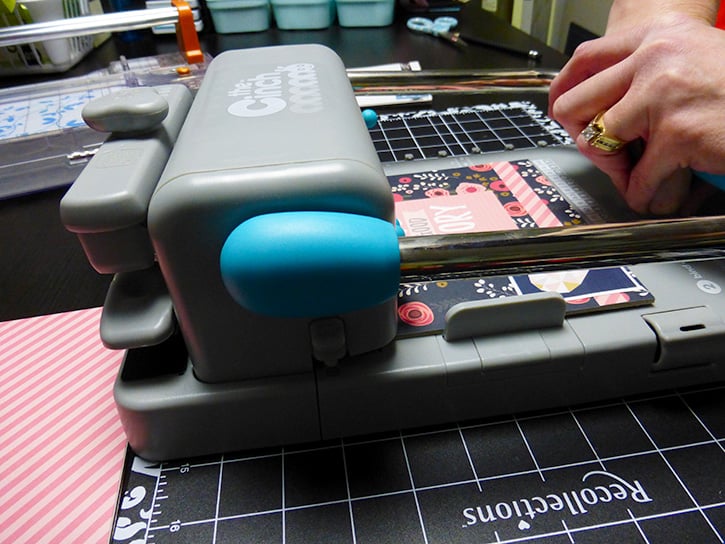
Once your “guts” are decorated, you’re ready to bind! And the Cinch really is just that; A Cinch! My book had 11 holes for the wire, and it punched them perfectly! Follow the directions along the machine to get the right amount of holes. You may only want 6, and that’s ok! It can bind any amount! Cinch (basically hole-punching) your "guts" first.
Once your "guts" are cinched you can repeat the process with your covers.
After your guts and covers have been punched, count how many holes you have. Cut your Binding Wire accordingly using the wire cutters. 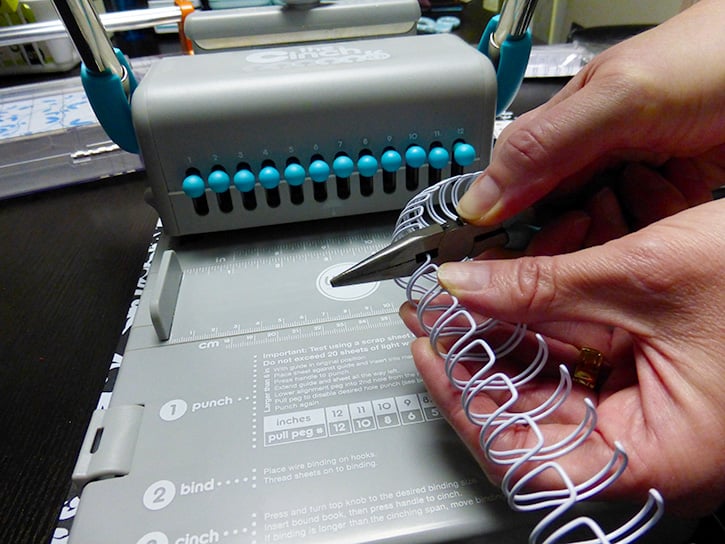 On the Cinch, there is a wire holder on the side. Place your wires in, and then add your guts. Add your front cover face up, then with your back cover, flip it over so it’s outside is resting on the front cover’s face. This will help “hide” the binding seam later.
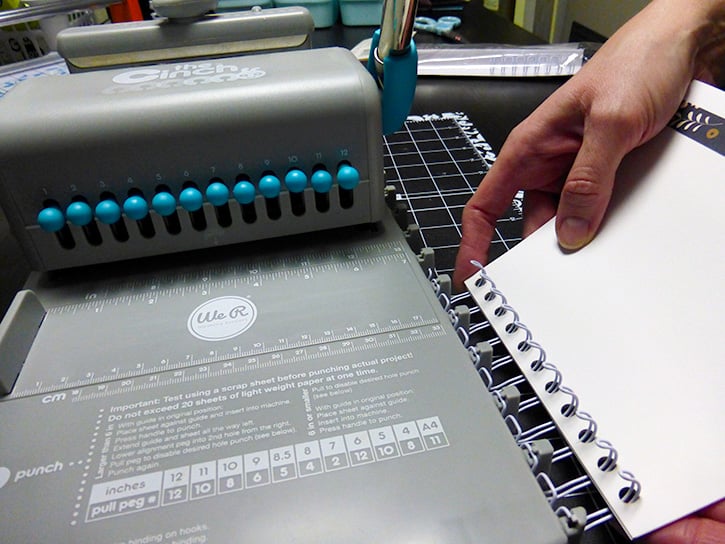 Following the guide on the Cinch, bind your notebook. You may need to adjust the size of the wire setting to get a tighter bind, but don’t over bind it, or it will look squished!
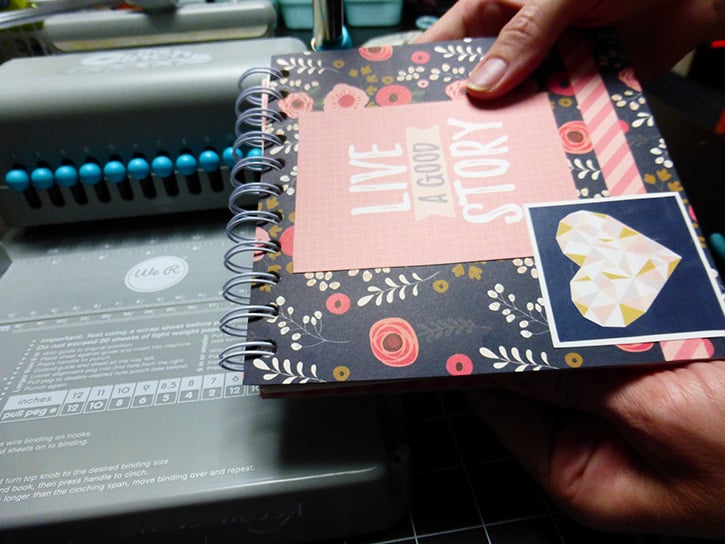
Slip a pen into the notebook and you’re ready to Live a Good Story, just like your notebook says! The Webster’s Pages are so pretty and coordinate so well.
~ Amanda

I began crafting in 1996 and simply fell in love with making my own cards. Long live snail mail! Crafting isn’t just a hobby for me, but a way of life… Teacher gifts, posters, scrapbooks, wood crafts? Yes, please! I have been married to my cute husband for 16 years and he definitely inspires me to try new things and enjoy the little things. As a stay home Mom, my time is spent raising my two girls, and raising the bar for my gift giving!


