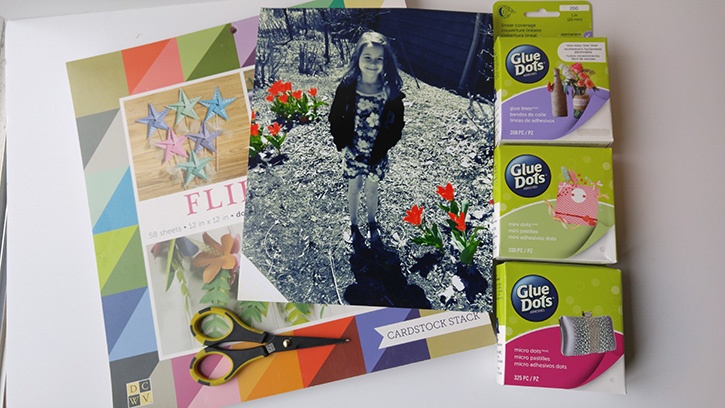
Take your photo editing from mobile to paper and make it 3D! Learn how to turn a simple spring-themed photo into one to display during your Easter holiday.
Made by: Danielle Hunter
Time: Approximately 1 hour 30 minutes
Level: Intermediate
Here's what you need:
- Premium Permanent GlueTape™
- Glue Lines®
- Mini Glue Dots®
- Micro Glue Dots®
- DCWV Flip/Side Cardstock Stack
- Ribbon (turquoise)
- Bling (turquoise)
- Spring/Easter-Themed Photograph
- 8"x10" Photo Frame
- EK Success Paper Punch (1" retro flower)
- Scoring tool
- Scissors
- Paper trimmer
- Mobile device
- PicsArt photo editing application
Here's what you do:
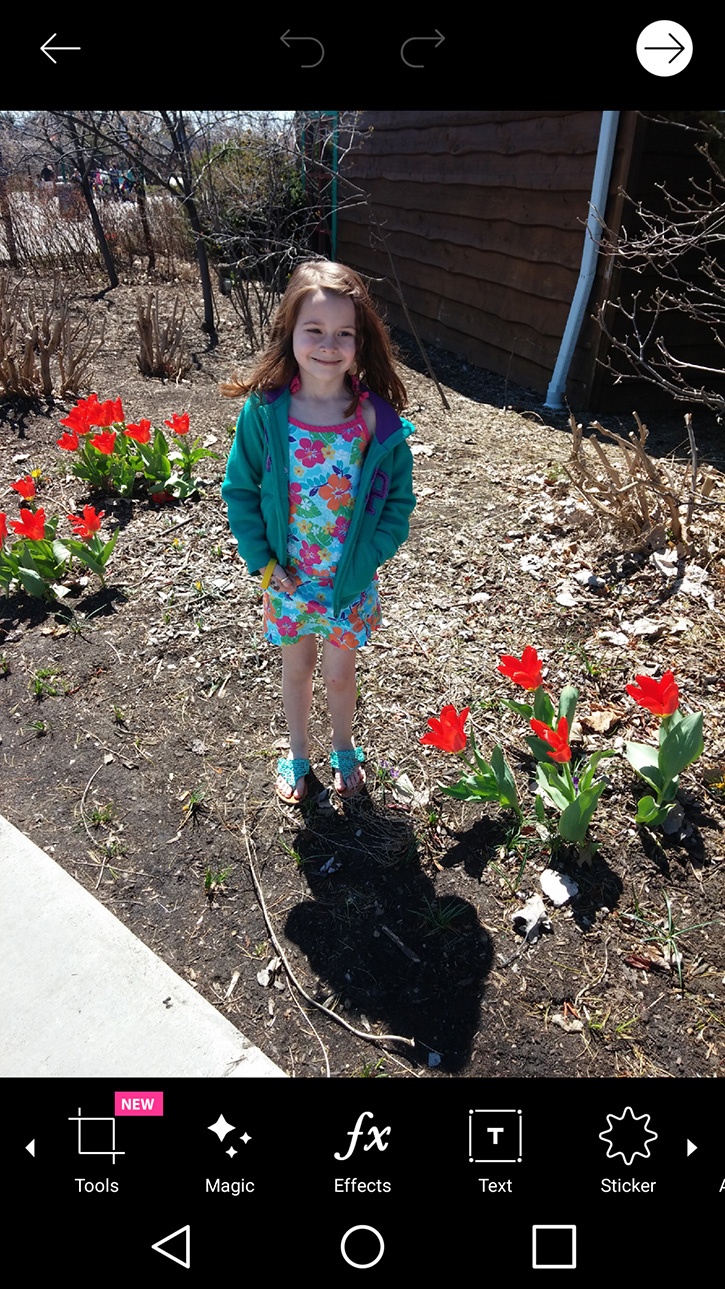
Download the PicsArt photo app on a mobile device to edit photo. Below is the original photo I took.
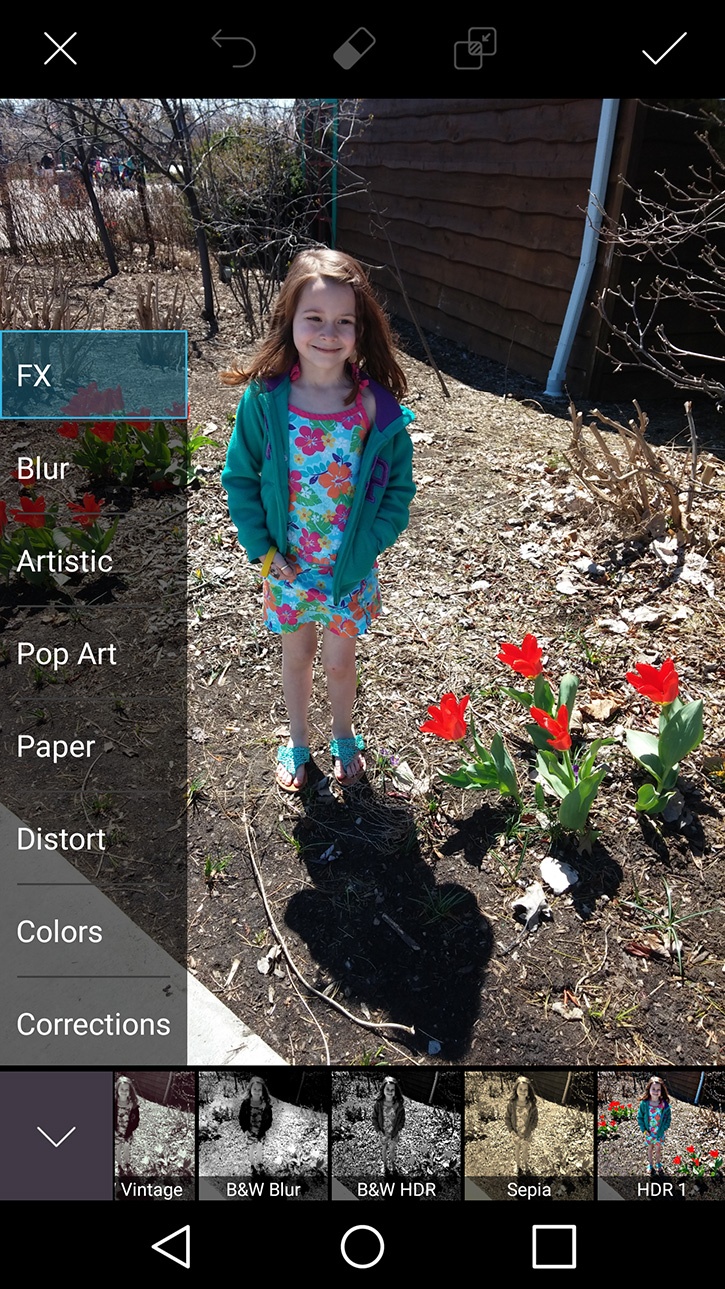
Tap on Effects and swipe to choose the B&W Cross filter.
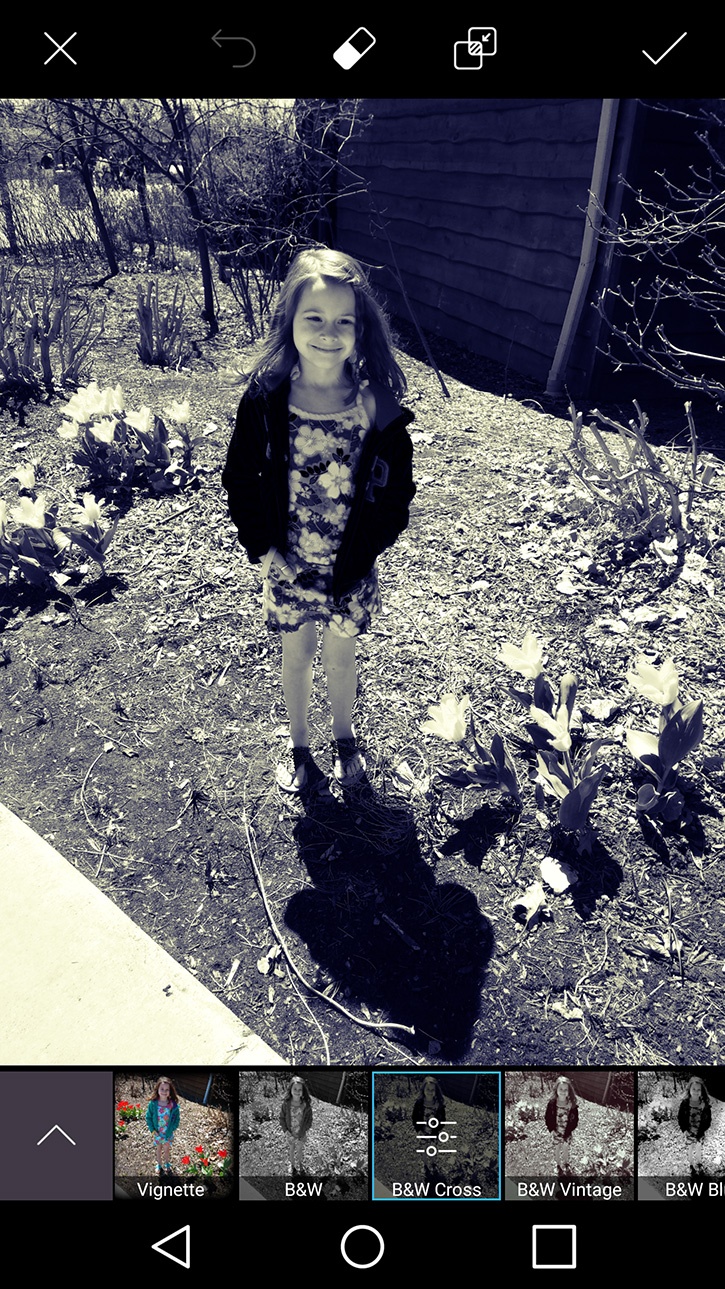
Tap the eraser and reduce size to approximately 18.
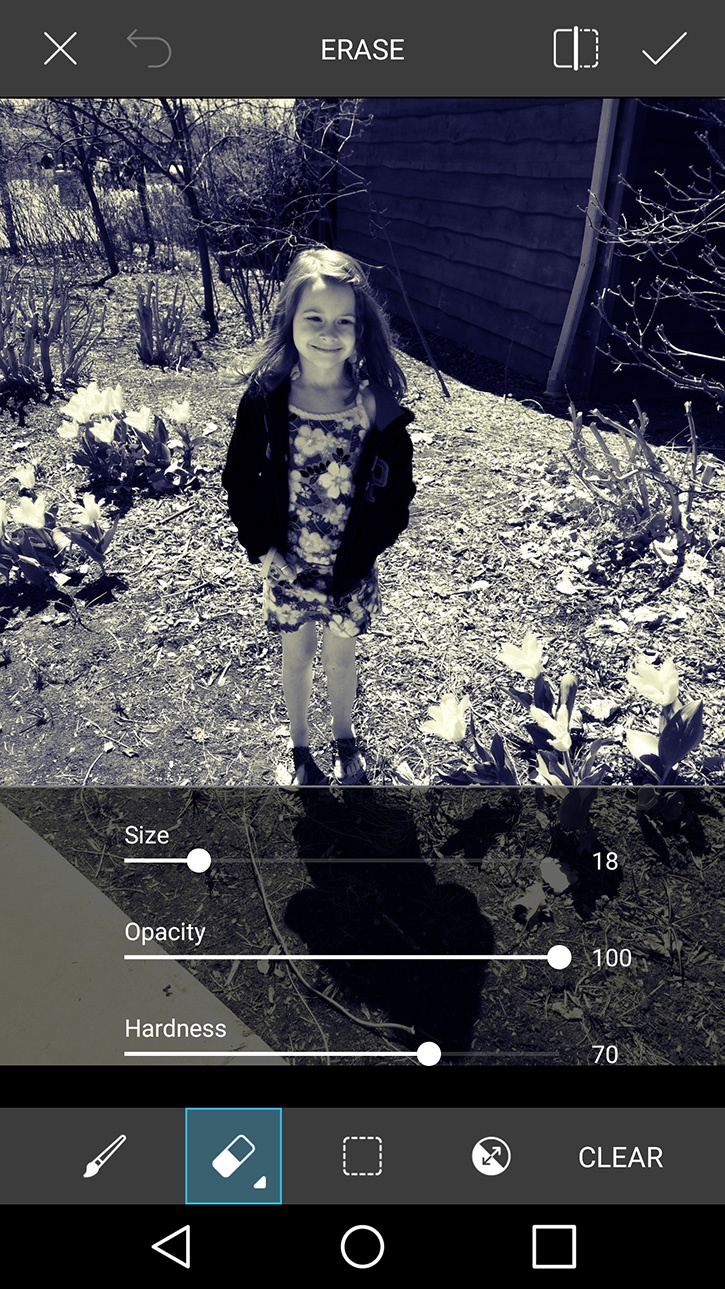
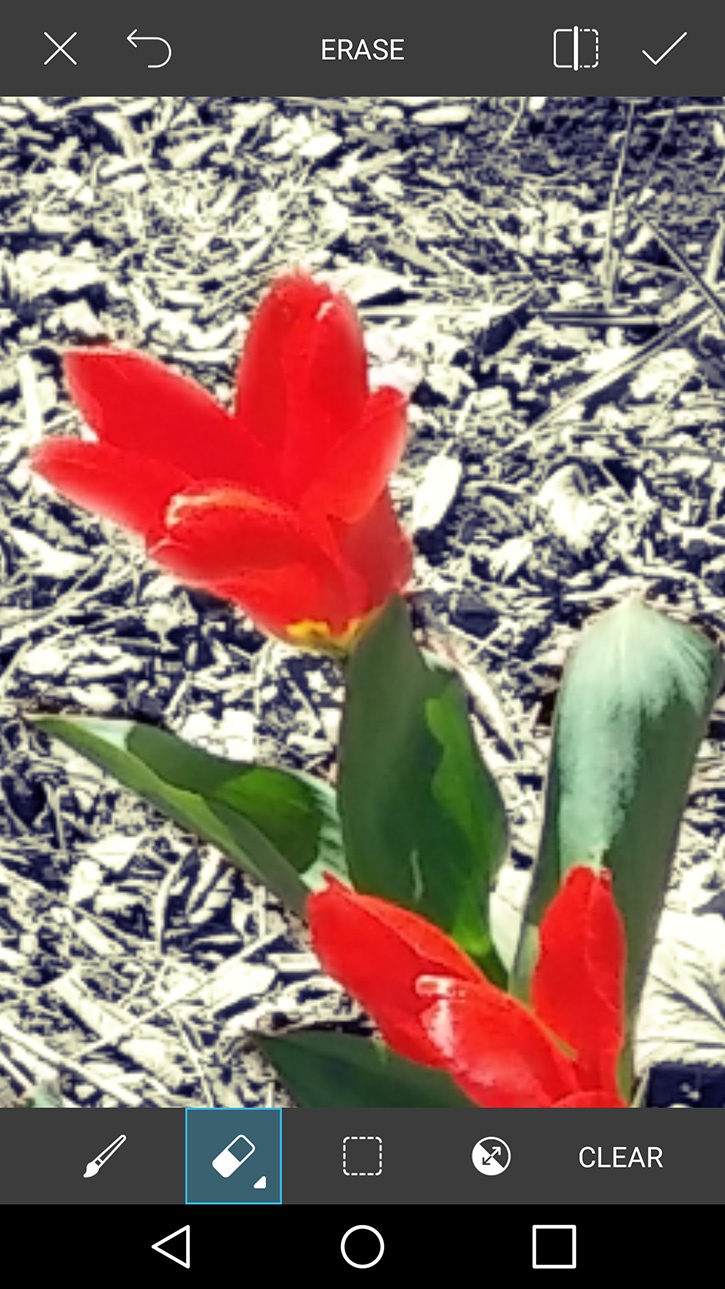
Enlarge the photo with fingertips and erase color back into the flowers. Tap the checkmark when finished.
Crop photo and save.
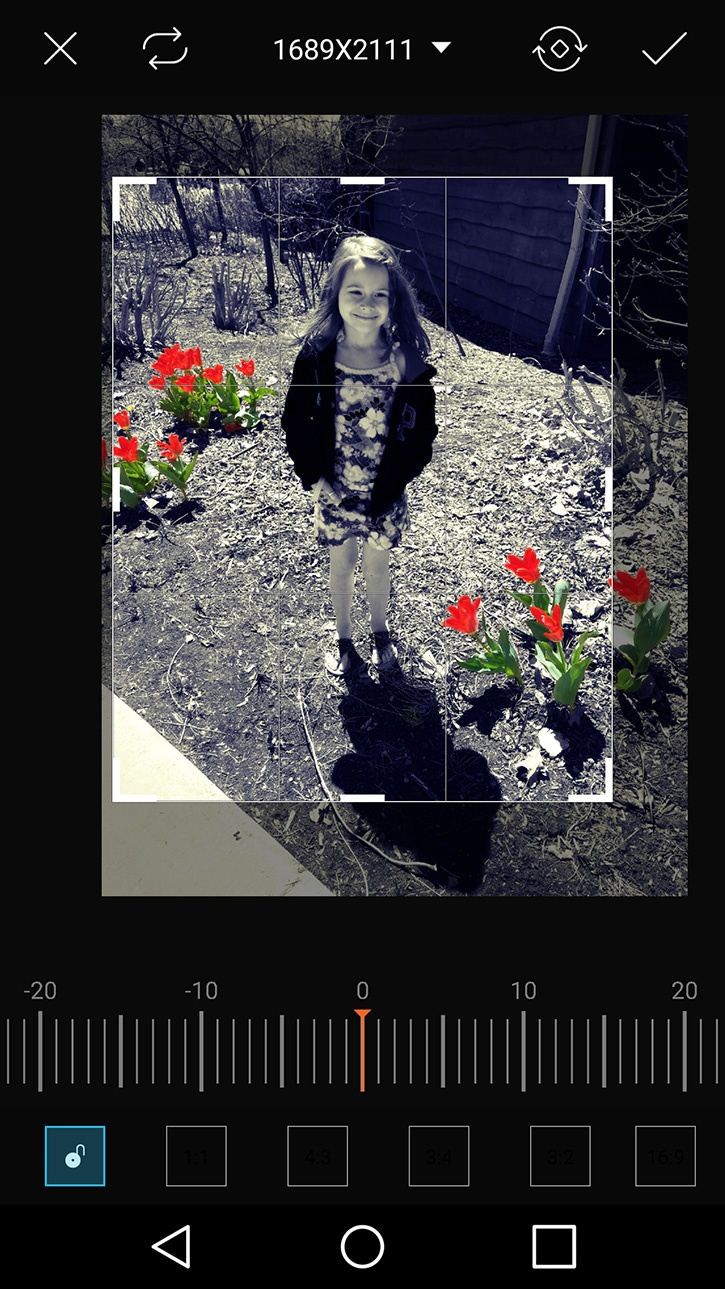
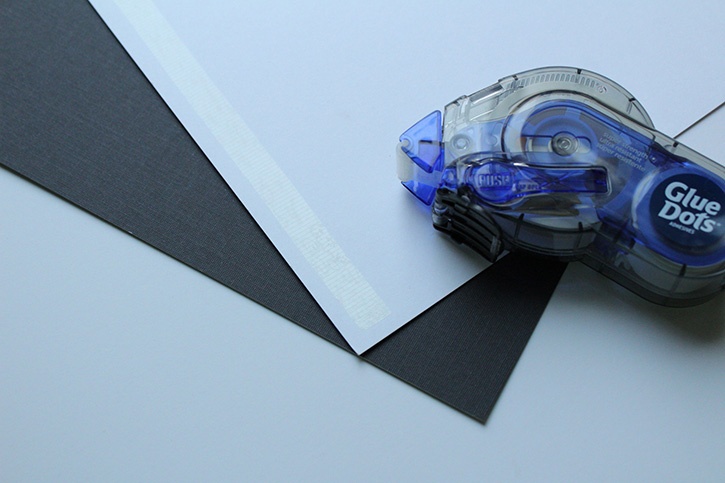
Print an 8 x 10" copy of the edited photo. Trim photo to 7" x 9". Use Glue Dots new Premium Permanent GlueTape to adhere the photo onto 7 1/4" x 9 1/4" white cardstock and mat again onto 8" x 10" black cardstock.
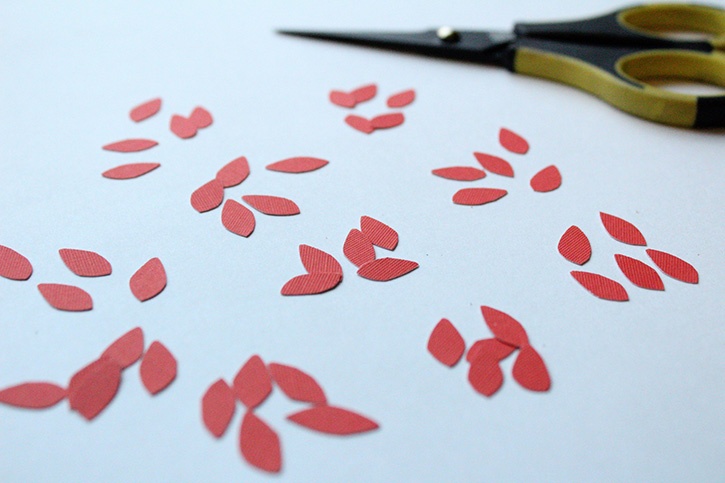
Make small flower petals using red cardstock and scissors.
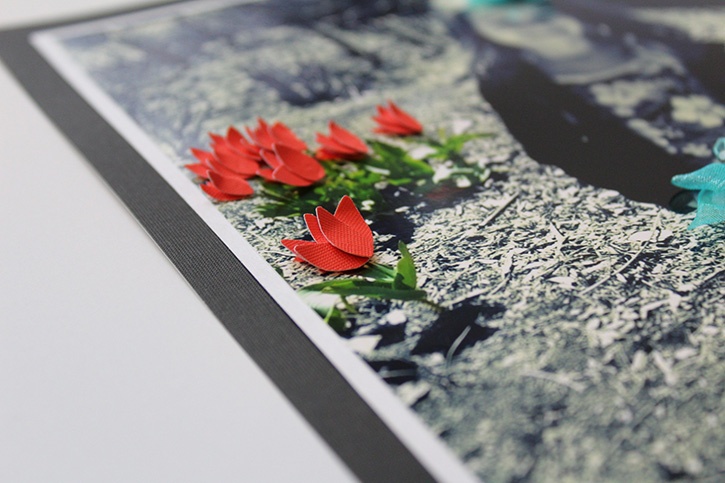
Adhere to photo with Mini and Micro Glue Dots® to create three-dimensional flowers.
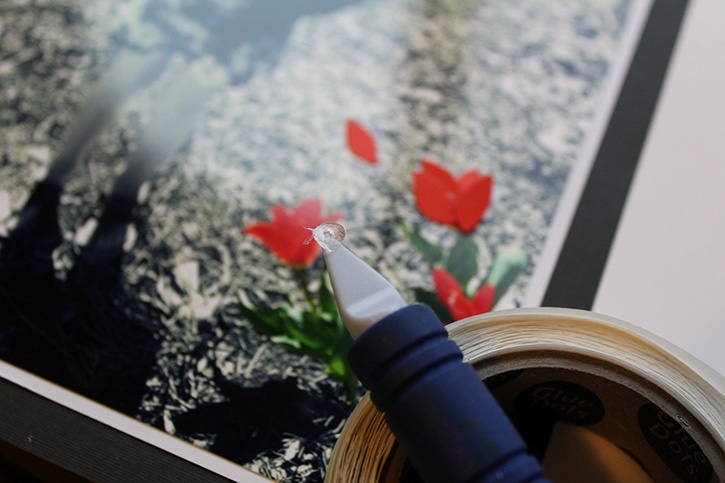
Use a scoring tool to add Glue Dots if desired.
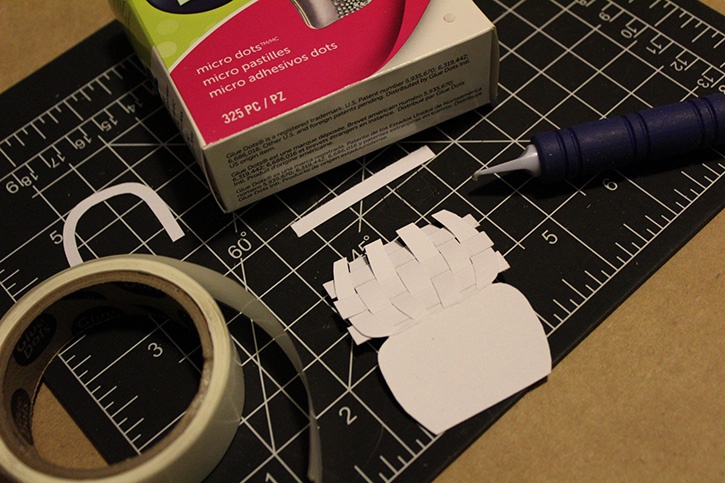
Design an Easter basket using white cardstock, scissors and Glue Dots. Cut out a small basket shape, handle and strips of paper (see photo).
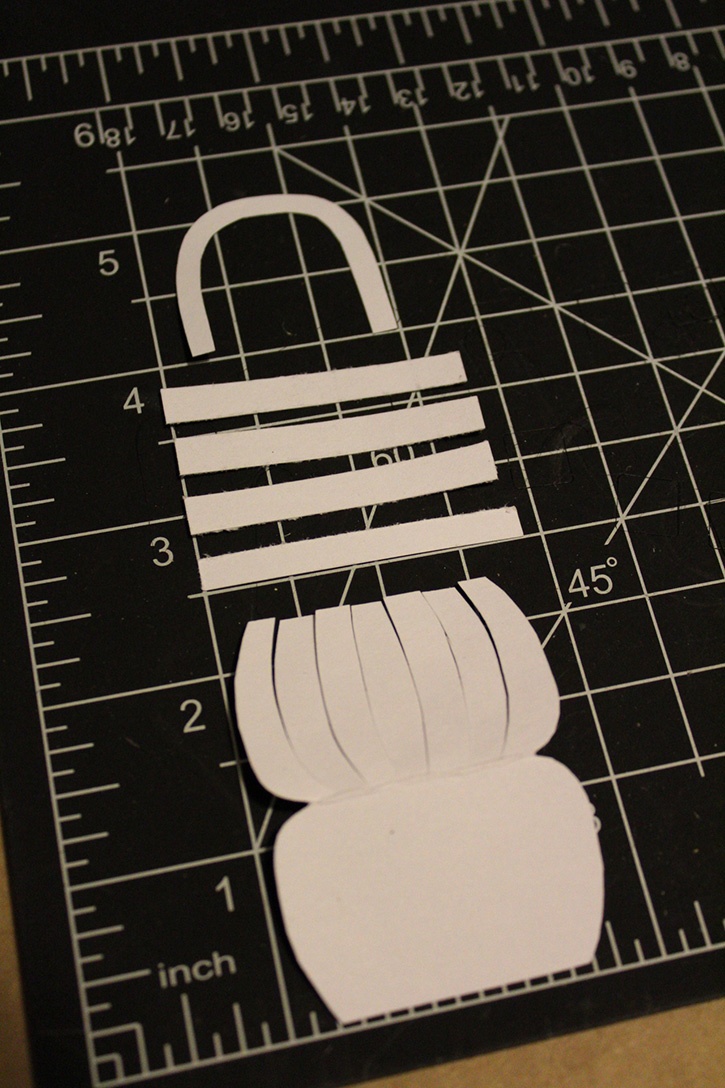
Make slits into front of basket, weave in paper strips and secure with Micro Glue Dots®. Trim excess strips and use a Glue Dots Glue Line® to attach one top strip. Use Micro Glue Dots® to attach handle on inside of basket.
Create colored Easter eggs with flower punch and the extra strips left in the DCWV cardstock stack (saves paper).
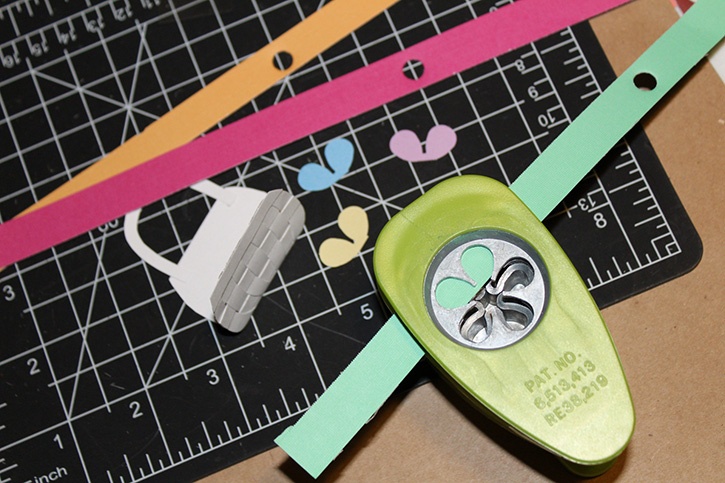
Adhere a Glue Line to the inside of basket and add eggs. Secure basket closed with Glue Lines. Make two small ribbon bows and add bling to the center of each with Micro Glue Dots. Use Mini Glue Dots to attach one bow to Easter basket and the other as a hair bow. Use Glue Lines and Micro Glue Dots to adhere basket to photo.
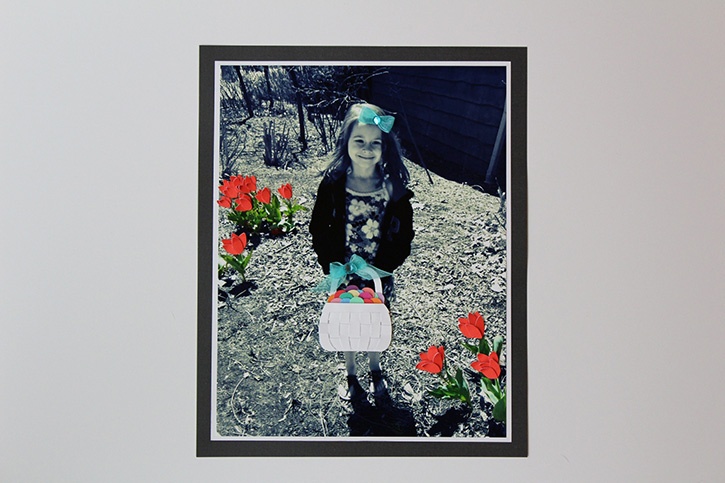
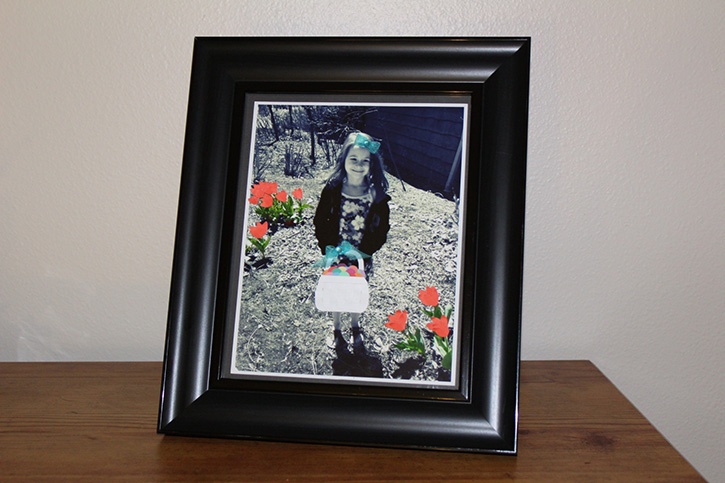
Frame and display your 3D Easter photo.
Tips:
- If desired, make assorted flowers to add to your project. Use a variety of flower punches and colored cardstock.
- Save time on photo editing. Skip Step 1 and print a black and white photo, only adding color with cardstock.
- You may also use a photo without a child. Photograph an outdoor scene and create flowers, an Easter basket or maybe an Easter bunny.

Danielle Hunter is a multitasking mom of two creative girls. She works in human resources for a non-profit organization and is a yoga teacher in training. She lives in Northeast Ohio and has been dedicated to crafting since childhood. Danielle completed her first scrapbook at the age of four, was a scrapbooker-for-hire for several years, and has shared her knowledge in a classroom setting. She enjoys turning trash to treasure, making crafts for kids, and creating artistic projects with bold colors and fun designs. Danielle joined the very first design team for Glue Dots in 2010. Her projects have been featured in Craft Ideas and CardMaker magazines, as well as websites such as Reader’s Digest, HGTV, and Crafting a Green World.


