Mosaic boxes are beautiful, but they can also be expensive. Learn how to design your own mosaic masterpiece with Glue Dots and a few items from the craft store.
Made by: Danielle Hunter
Time: 1 hour 30 minutes (not including drying time)
Level: Beginner
Here's what you ened:
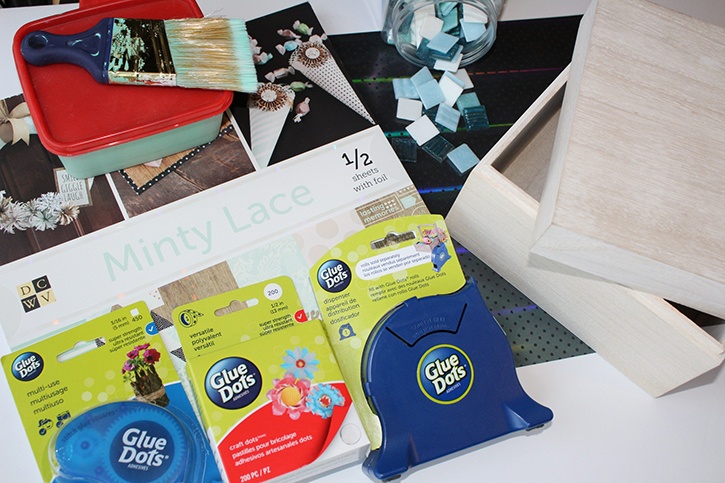
- Permanent Glue Squares®
- Craft Glue Dots® - You can also use All Purpose Glue Dots® or Glue Dots® Advanced Strength Dot N Go®
- Desktop Dispenser(Optional)
- DCWV Minty Lace printed cardstock
- Unfinished wood box (8"L x 8"W x 5"H)
- Art Mind Mosaic Glass Tile assortment (180 tiles total)
- Dutch Boy Satin Acrylic Enamel paint (Glazed Teal)
- Paint brush
- Paper trimmer
Here's what you do:
Apply 2-3 coats of paint to the interior and exterior of the wood box. Allow the box to dry in between coats.
Cut 2 sheets of printed cardstock (7 1/4" x 7 1/4") to fit inside inside the lid and base of the box. Use Permanent Glue Squares to attach the cardstock inside the box.
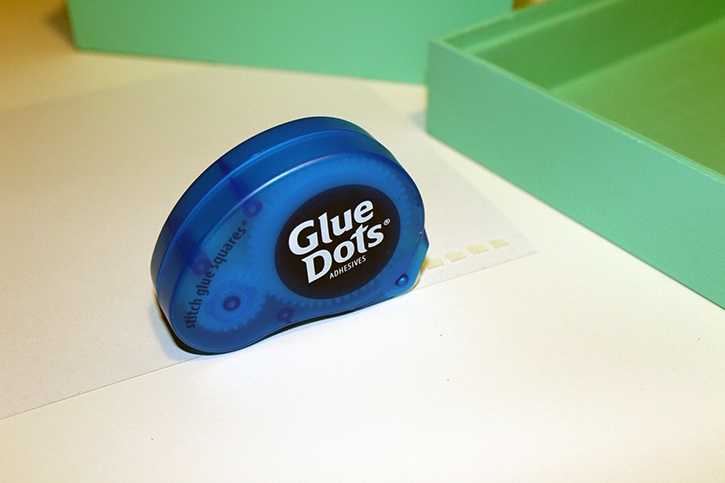
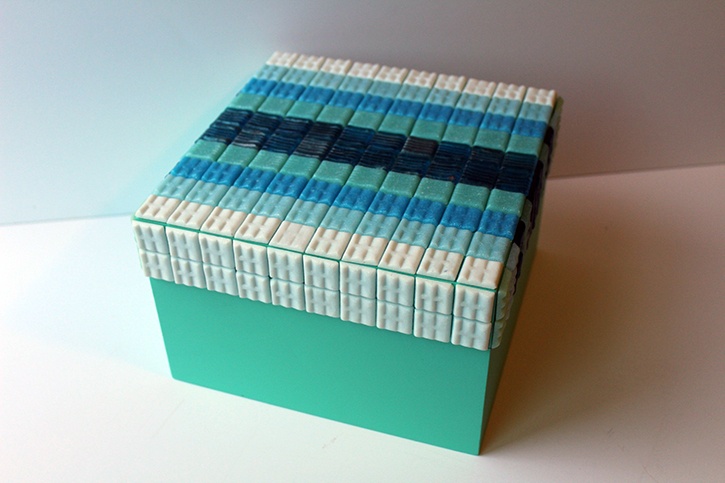
Tip: Create a design before adhering the tiles to the box. Once you have your pattern or tiles laid out, use Craft Glue Dots to attach the glass tiles to the box lid.
Note: You can also use All Purpose Glue Dots or Glue Dots Advanced Strength Dot N Go for this project.

Danielle Hunter is a multitasking mom of two creative girls. She works in human resources for a non-profit organization and is a yoga teacher in training. She lives in Northeast Ohio and has been dedicated to crafting since childhood. Danielle completed her first scrapbook at the age of four, was a scrapbooker-for-hire for several years, and has shared her knowledge in a classroom setting. She enjoys turning trash to treasure, making crafts for kids, and creating artistic projects with bold colors and fun designs. Danielle joined the very first design team for Glue Dots in 2010. Her projects have been featured in Craft Ideas and CardMaker magazines, as well as websites such as Reader’s Digest, HGTV, and Crafting a Green World.


