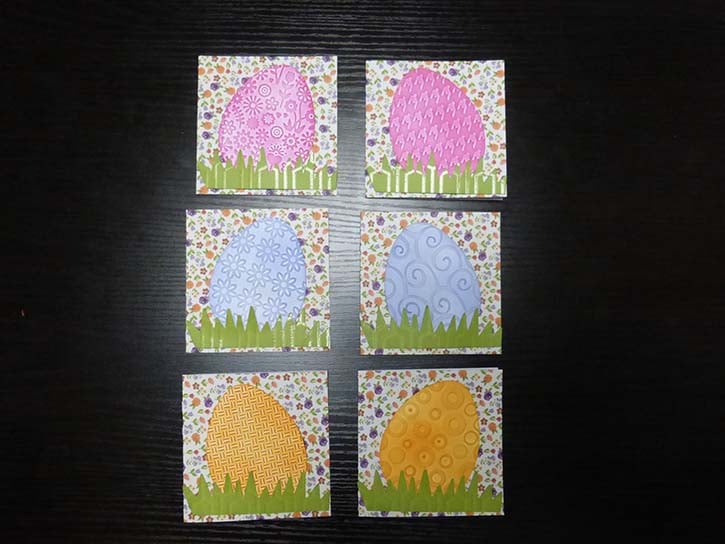
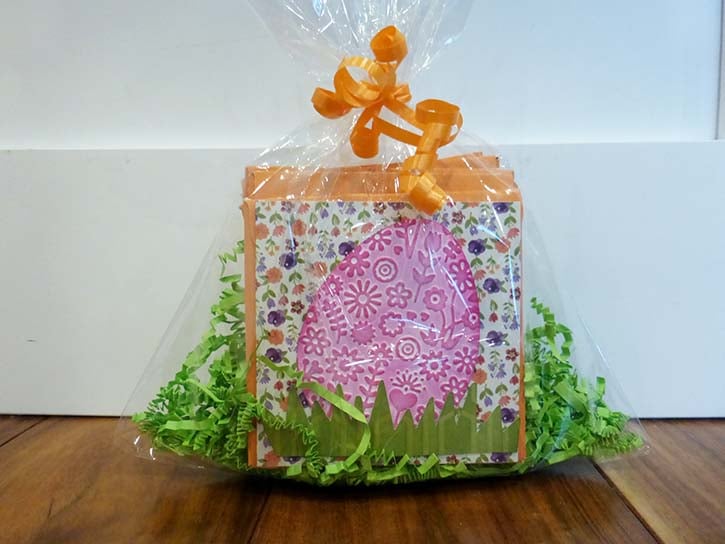
This little set of note cards is perfect for Easter! The bright colors and sweet textures are just right for that special touch.
Made By: Amanda Tibbitts
Time: 1 hour
Level: Beginner
Size: 6 3 ½ “x 3 ½” Note Cards and envelopes
Here's what you need:
- Pop-Up Glue Dots®
- Micro Glue Dots®
- Mini Glue Dots®
- Craft Glue Dots®
- Small Cellophane Bag
- Easter “grass” (Crinkled paper shred)
- Curling ribbon
- DCWV Garden Charm Premium Stack
- DCWV Flipside Double Sided Cardstock Stack
- 6 Embossed and die cut white eggs
- 6 die cut grass borders
- 4 colors of Tim Holtz Distress Ink (Mowed Lawn, Shaded Lilac, Picked Raspberry, and Spiced
- Marmalade
- Distress Ink Applicator
- We R Memory Keepers Envelope Punch Board
- Scratch Paper
- Paper Trimmer
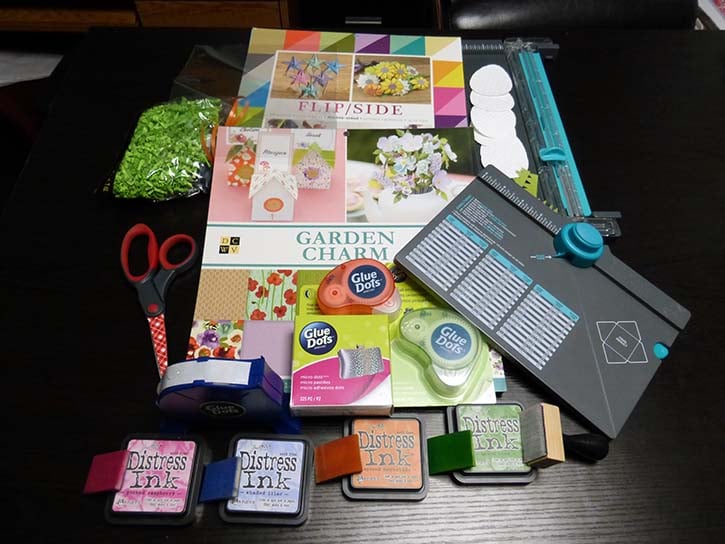
Here's what you do:
After you’ve chosen your card base from the DCWV Garden Charm stack, cut your six 3 ½” x 3 ½” cards with your paper trimmer. Pick from the Flipside stack a solid color that will coordinate with your card colors and cut your paper down to make your envelopes with the punch board. Follow the directions on the punch board to make your envelopes, gluing together with Craft Glue Dots.
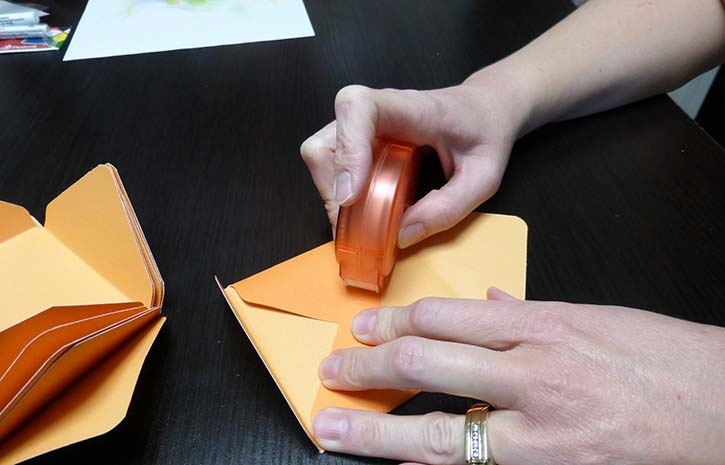
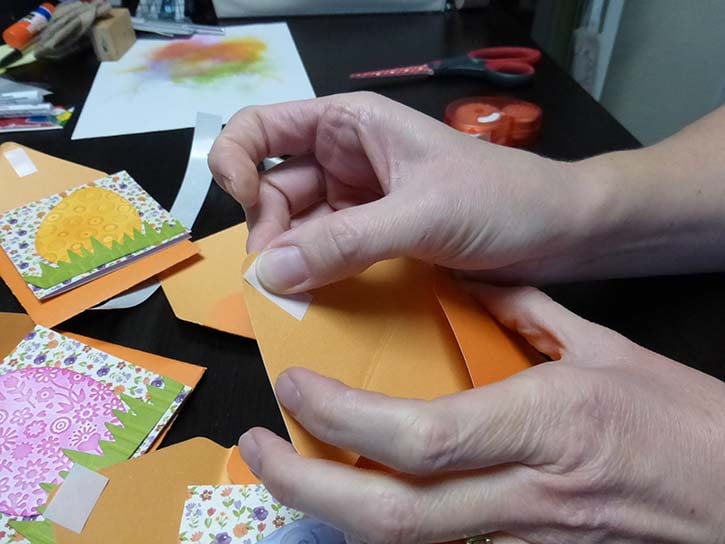
After you have them put together use Micro Glue Dots on the top flap of the envelope to seal it. Place about 3 toward the top of the flap. Cut a small piece of the Glue Dots® backing to set on the Micro Dots until it’s ready to seal.
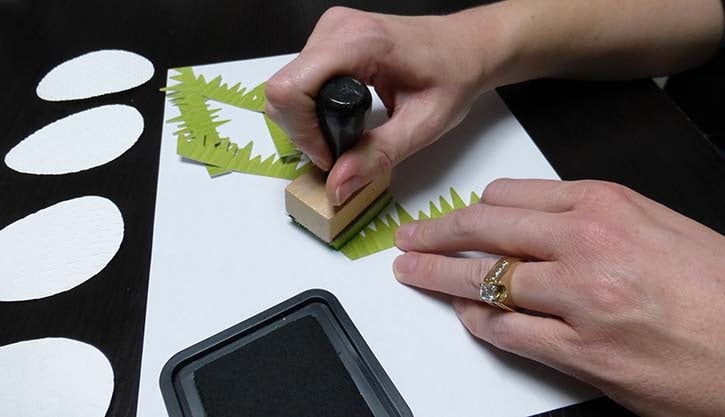
Distress your white eggs with your choice of colors on the scratch paper. Heavily distress or light, it’s your choice! The beautiful paper in the Garden Charm collection will lend itself to many different styles of inking.
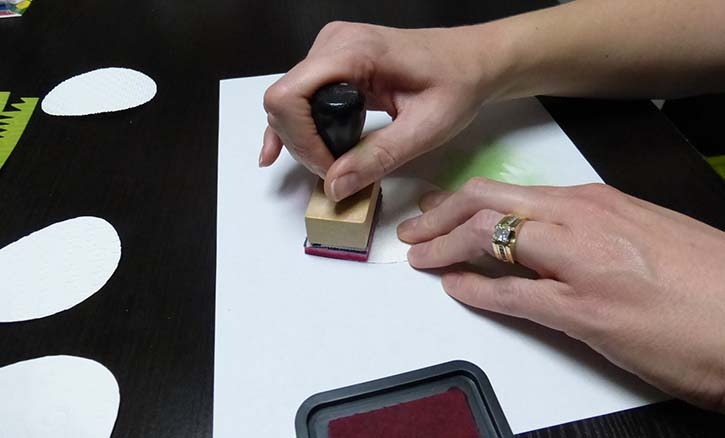
Add a hint of distress around the grass border as well. Once they are all colored the way you’d like them, set them aside and work on your cards.
Make sure your cards are scored and lying as flat as they can.
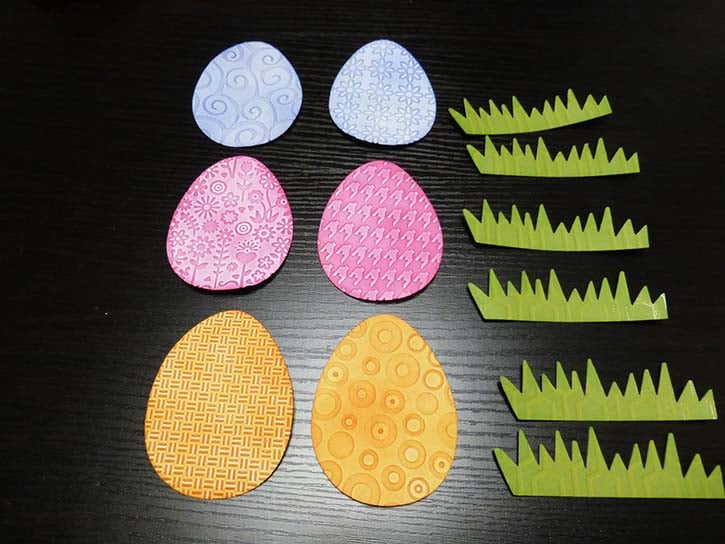
Beginning with an egg of your choice, add about 4 Pop Up Glue Dots to the back side. Place it on your card front at a slight angle to the left right. Continue this for all 6 eggs.
Then, using the Mini Glue Dots add two on the edge of the grass border in a row on the left and right side leaving a larger space in the middle for the egg.
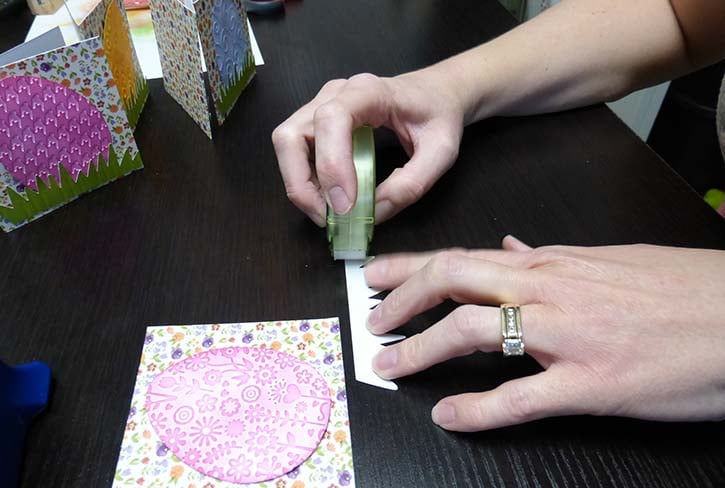
Place it on your card front right over the egg, lining up to your liking. Now your cards are done!
Using some of the Easter “grass” fill a small area in the bottom of your cellophane bag and set your beautiful cards down in the grass. Tie the bag off with the curling ribbon, curl it and you’ve got a darling little gift to give to someone special!

I began crafting in 1996 and simply fell in love with making my own cards. Long live snail mail! Crafting isn’t just a hobby for me, but a way of life… Teacher gifts, posters, scrapbooks, wood crafts? Yes, please! I have been married to my cute husband for 16 years and he definitely inspires me to try new things and enjoy the little things. As a stay home Mom, my time is spent raising my two girls, and raising the bar for my gift giving!


