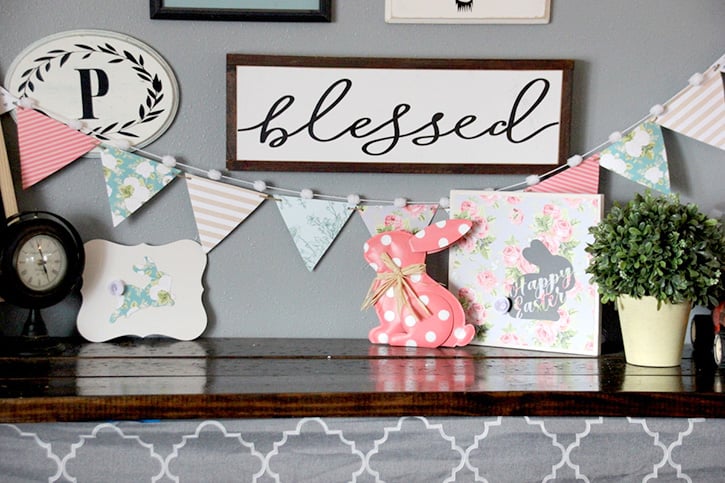
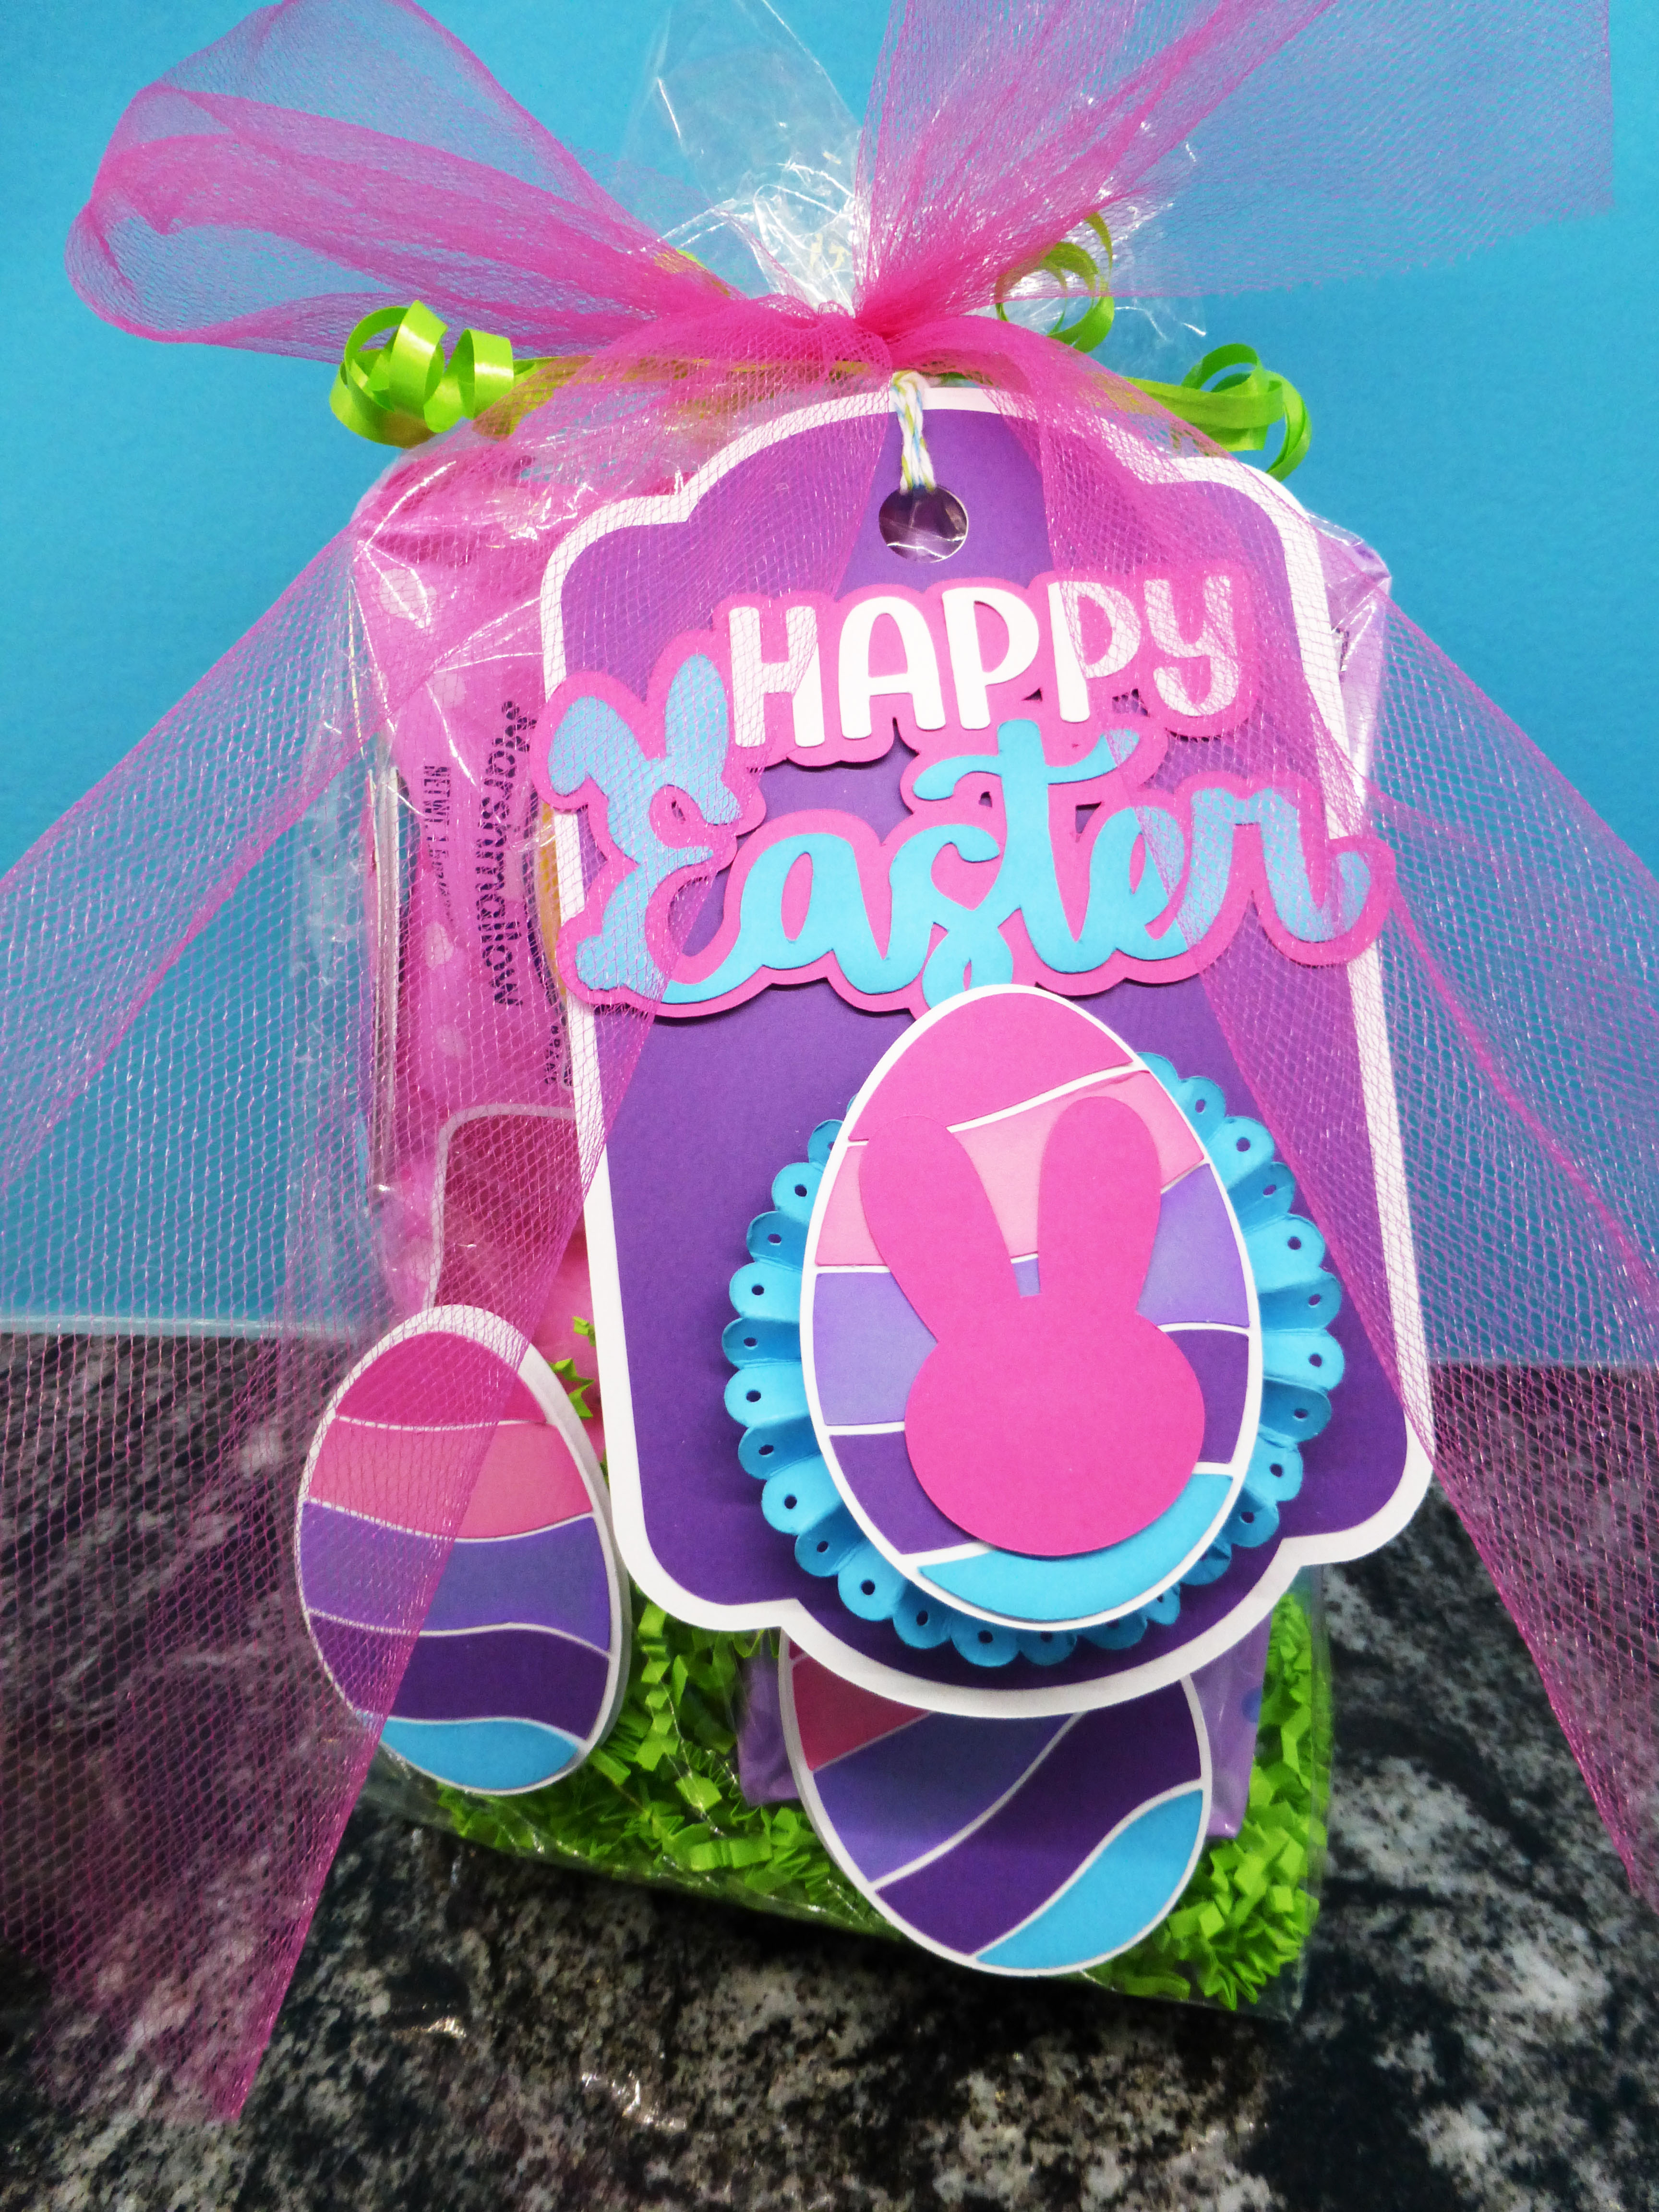
I wanted to mix making some spring decor and Easter together this year, so I decided to add some floral to it all. I am in love with how it turned out!
Designed by: Robyn
Time: 15-30 minutes
Level: Advanced
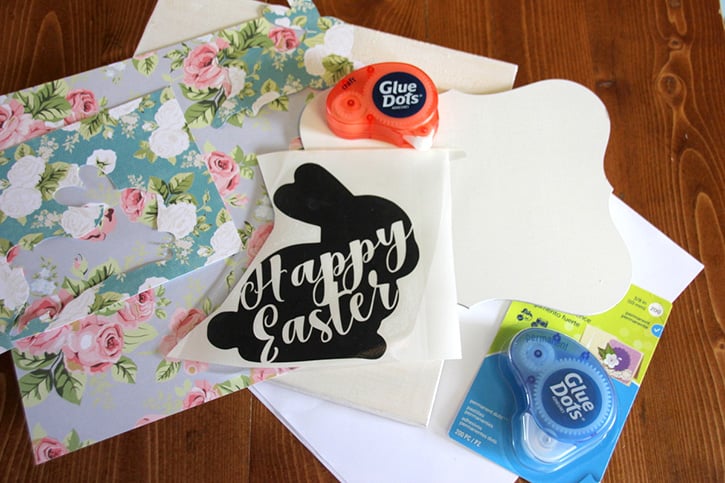
Materials:
- Craft Dots™ or Permanent Dots™
- Wood plaque or canvas
- Various floral papers
- White printer paper
- Black vinyl
- White acrylic paint (if desired)
- Vinyl cutting machine
- Scissors
Directions:
Paint your wood plaque (or white canvas) with white paint and sand the edges a bit to distress it.
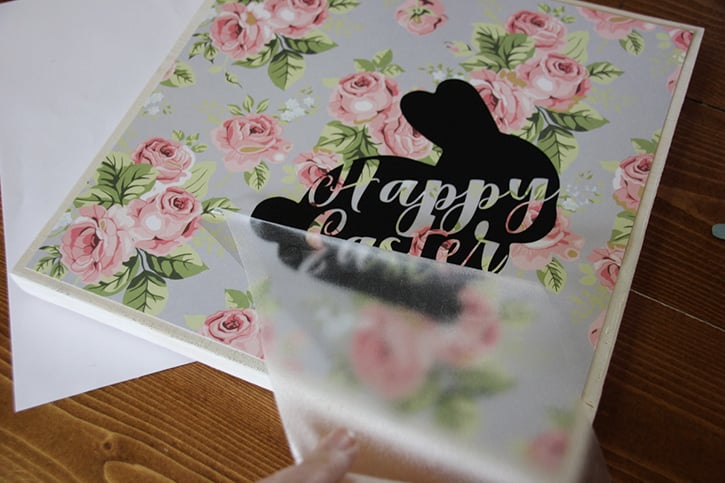
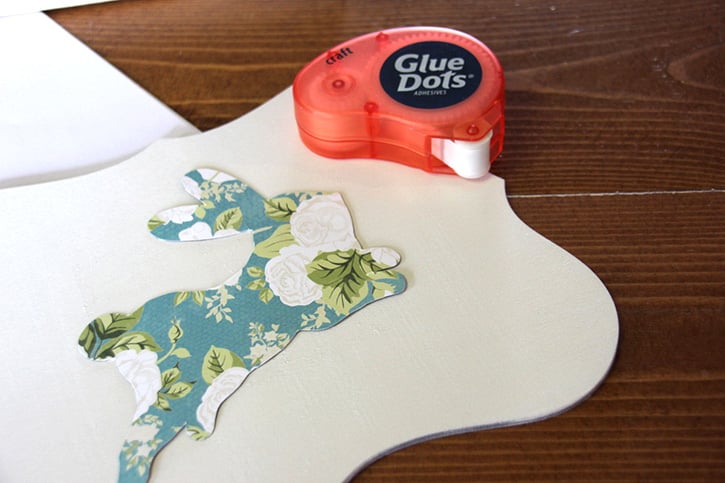
Cut one of your floral papers so that it will fit on your board or canvas. Then adhere it using your Craft Dots.
Apply your Easter bunny vinyl decal over your floral paper. I used black to make it simple and to a little pop with the floral behind it.
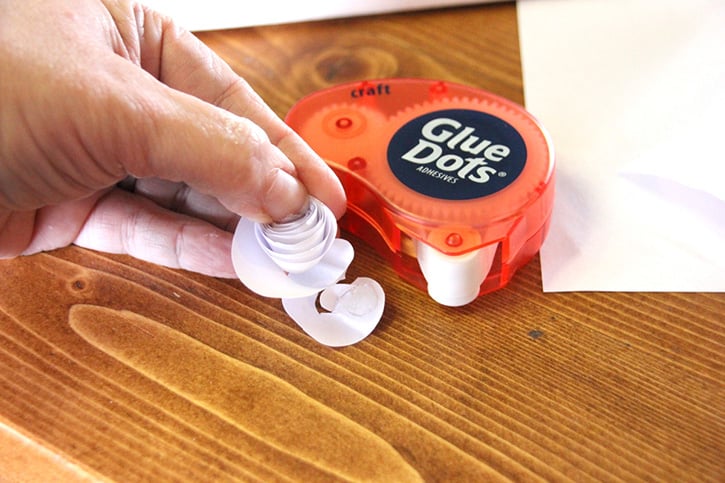
Cut your white paper into a circle and then cut a spiral into it, moving inward to make a rolled paper flower to use as the bunny tail.
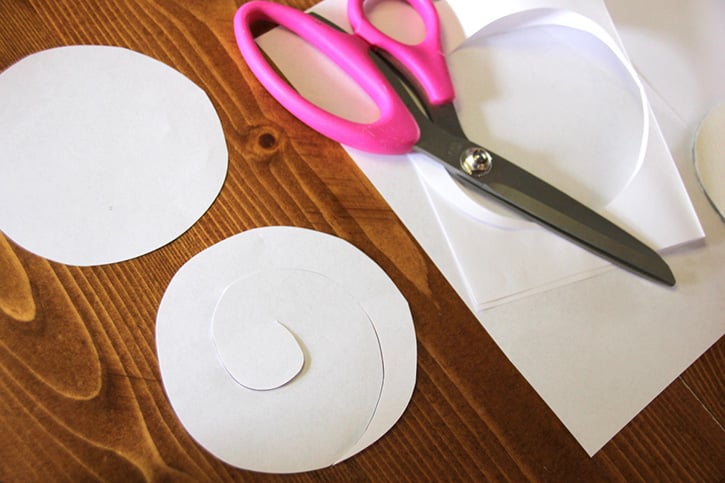
Starting at the inside of the spiral, roll the paper and then adhere at the size you want the paper rosette to be with your Craft Dots. Adhere it to the bunny as the tail.
I also made another small cut out of a bunny in floral and a paper banner to hang as well. I love the spring florals and the festive Easter bunnies together. So easy and fun to make!
~ Robyn

Hi! I’m Robyn and blog over at Create it. Go! I live in beautiful Northwest Arkansas and love being outside. I’m a mom to five fun, crazy kiddos that I love, ranging in age from 16 down to 4. And I’m a wife to a man that I love laughing wtih! I love to create. I love papercrafting, working with wood, upcycles, repuposes, and DIY’s, crafting anything in general, trying out new recipes, sewing, photography, you name it! I also like to pick up a good book and ignore those dishes and laundry that never seem to go away. haha My life is never boring and can almost always use some re-balancing and simplifying. It’s not perfect, but I love it!


