Exploding cards are a standout way to send a loved one a message. While they are fun to make, you will definitely need some design software knowledge to break them apart and cut them out onto your respective choice of papers, but the learning curve is not impossible. Plus with the help of Glue Dots®, your assembly will be a mess-free and easy experience.
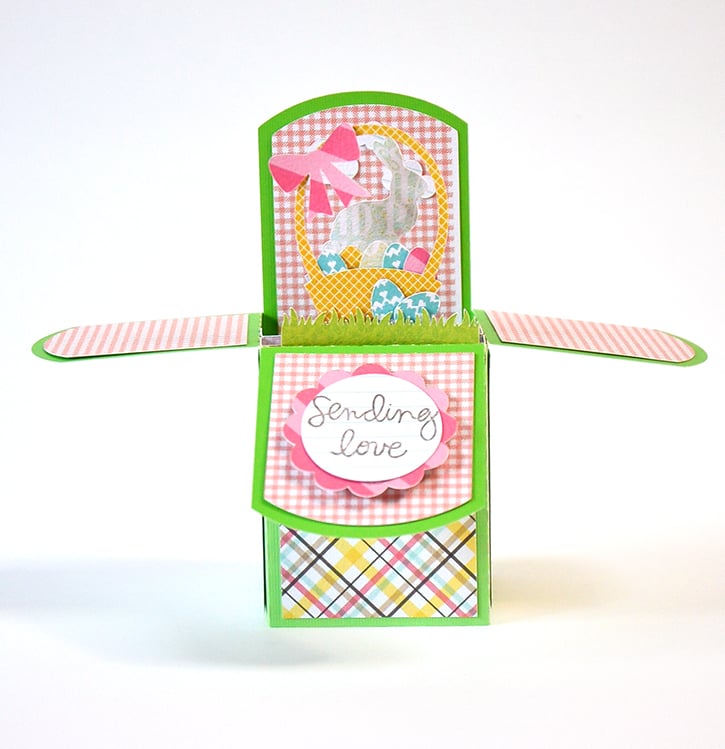
Designed by: Grace Tolman
Time: 35 minutes
Level: Moderate Handiness
Size: 5" x 2 ¼” x 2 ¼”
Notes: I am new to “explosive” type cards. At first they intimidated me, but after discovering that there are cut files for these kinds of projects, I wasn’t so scared anymore. And after creating this one, I am officially hooked.
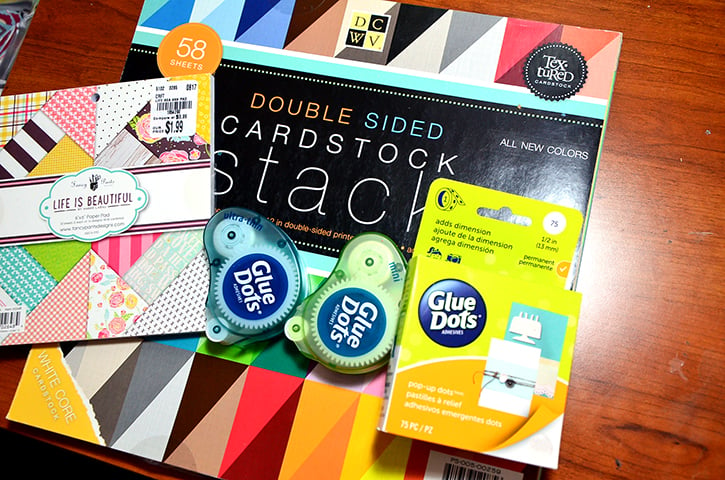
Materials:
- Ultra-Thin Dots™
- Mini Dots™
- Pop Up Dots™
- Cut file- A2 BOX CARD: EASTER BASKET, Silhouette Design Store
- Cameo Silhouette
- Stamp
- Ink
- Cardstock
- Patterned papers
- A2 Size Envelope
Directions:
Download and open your exploding card- A2 BOX Card: Easter Basket - cut file into your design studio software.
Using the ungroup method, separate the parts of the cut file and rearrange them so that where you can easily combine multiple pieces of varying papers onto the mat to cut as many pieces of the card as possible, all at the same time.
*If you need help in this process, YouTube always have some great tutorials.
Do not resize the parts so that the card will fit perfectly into a regular card size envelope.
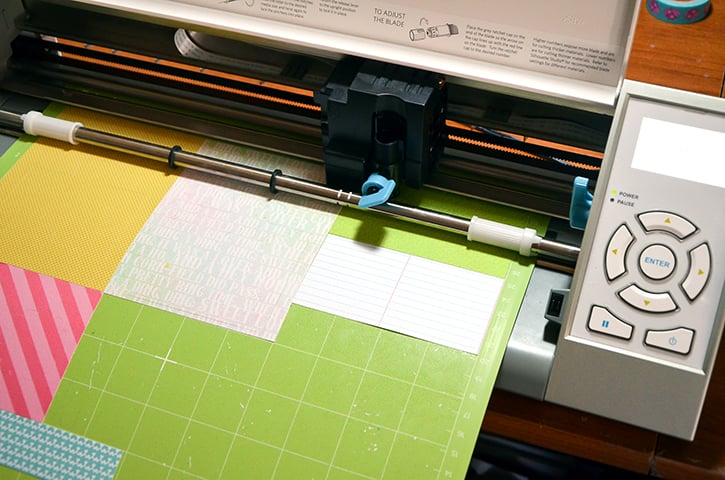
Cut the desired pattern papers to size and place on the mat and cut out the parts.
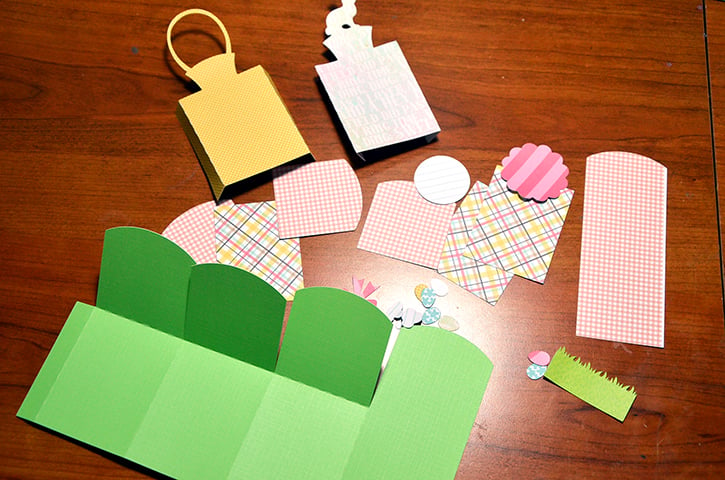
Put together the card. Use the Ultra-Thin Dots to adhere the bigger pieces. 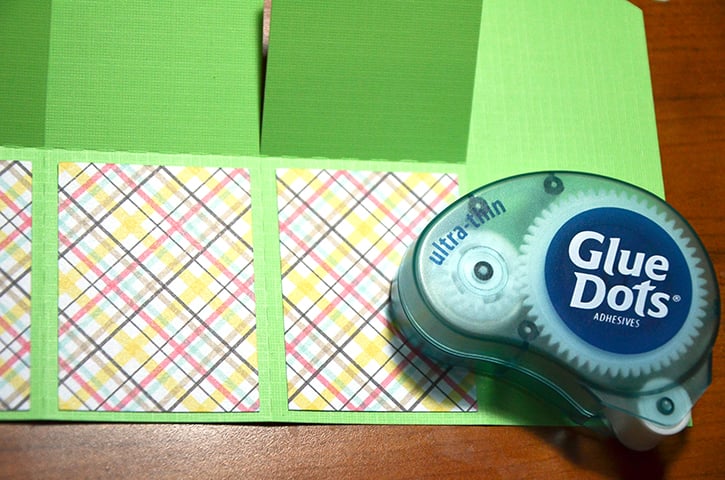
Use the Mini Dots for the smaller pieces. You might need some tweezers to help place the tiny eggs behind the basket.
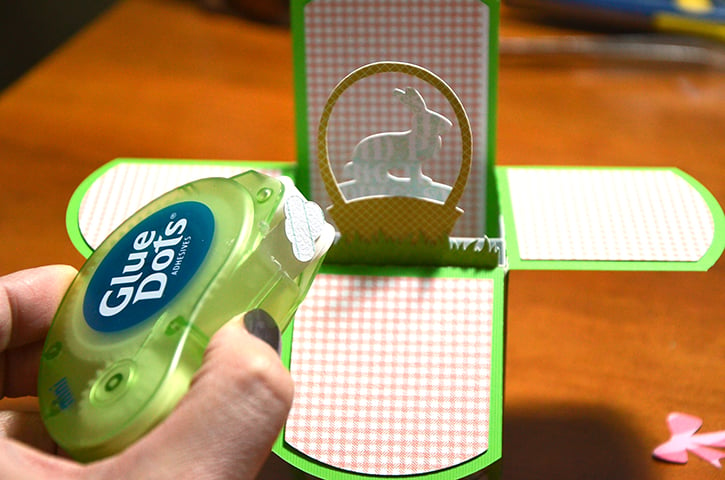
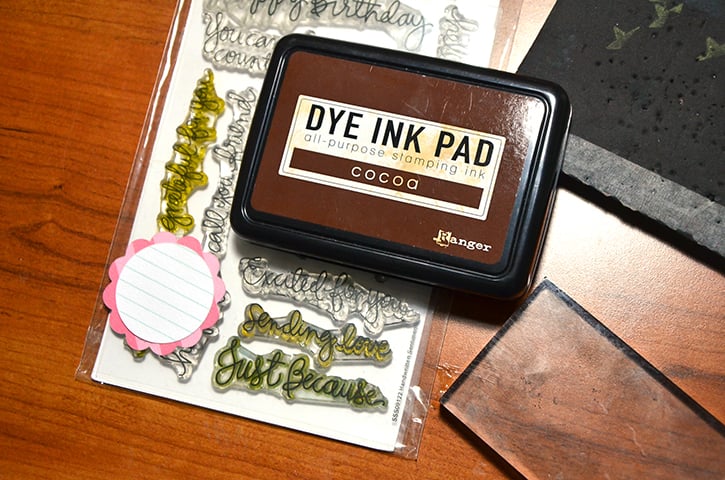
At first, I didn’t think I would need to stamp a greeting on my card but the circle panel was calling for something in the middle so I pulled out one of my “go-to” stamp set for sentiments and stamped “sending love” on the circle panel. I adhered the circle to the scallop circle piece using more Ultra-Thin Dots.
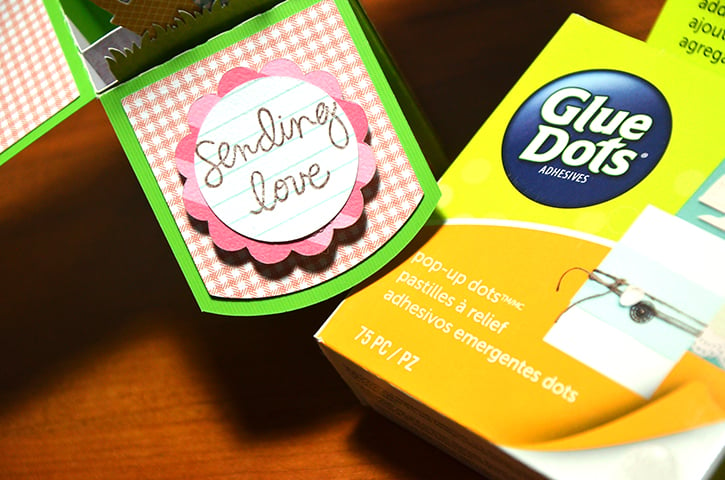
Then adhered the whole thing on the center of the card with Pop-Up Dots.
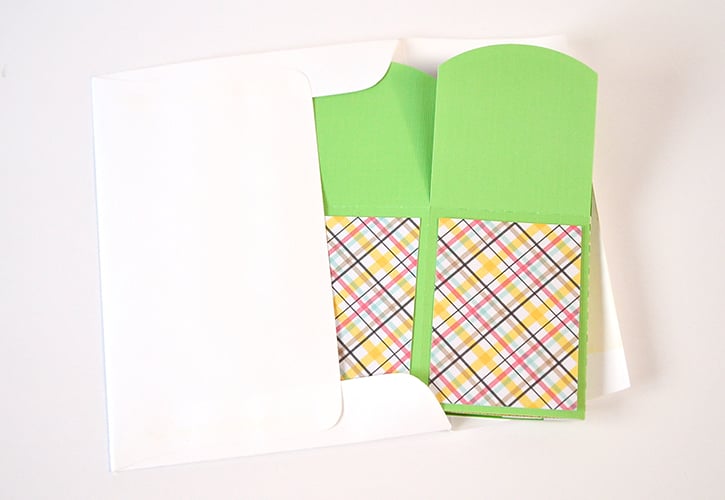
When you are ready to send the card, all you have to do is fold the card on itself and tuck it in an A2 size envelope.
~ Grace

I’m a mom to a 10 year old boy and an 8 year old girl. Therefore my life is usually filled with learning, new discovery, bribery and driving to and from all of our activities. I have a loving and very supportive husband of 11 years. When the kids have gone to bed at night, my time is spent crafting while catching up on my favorite shows and movies. I also enjoy reading, window shopping, knitting and perusing blogs for inspirations. Three years ago we moved to Colorado from California and we are enjoying our new environment. I feel very inspired with my new home, my new scrapbook space and the mountain views. Although I’ve been doing some type of scrapbooking since grade school, I only started to scrapbook seriously after my son was born. When he was born I knew I would be staying at home with him but coming from a fast paced sales job I was afraid I would ran out of things to do during the day. Little did I know that with newborns you won’t have any time to do anything else. Anyways, after going through a basic scrapbooking class I was hooked and haven’t stopped scrapping since.


