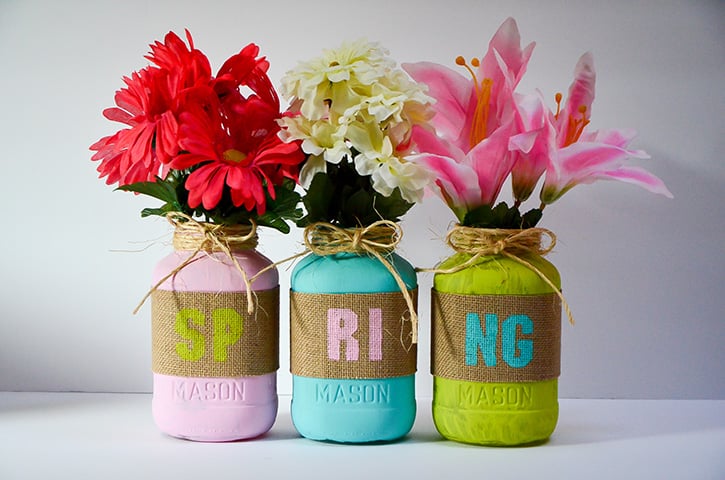
Recycling empty food jars is one of my favorite ways to be kind to the earth. Plus, spring always means renewal for me, so making these pretty home decor jars were a no-brainier. Using the All Purpose Dots makes the process super quick and mess-free.
 Designed by: Grace Tolman
Time: About 1 hour, including drying time
Level: Moderate Handiness
Size: 6 ½" x 3 2/3” per jar
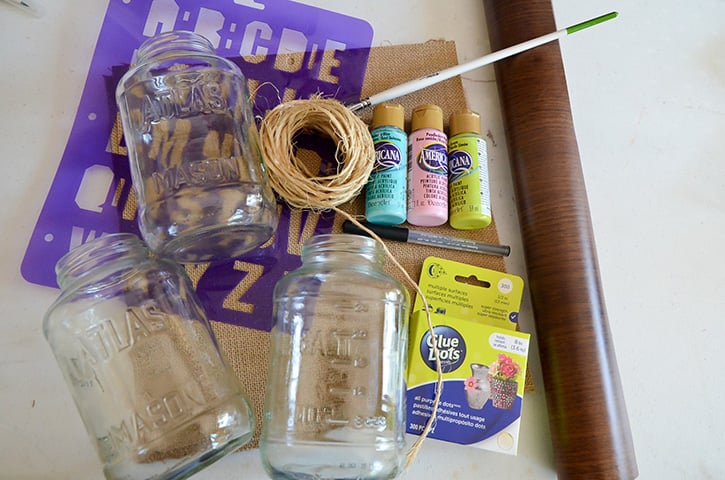
Materials:
- All Purpose Dots™
- DecoArt Americana Paints (Poodle skirt pink, Citron Green, Bahama Blue)
- Paint brush
- Letter stencil
- Recycled spaghetti sauce jar
- Burlap sheets
- Jute twine
- Stencil paper
Directions:
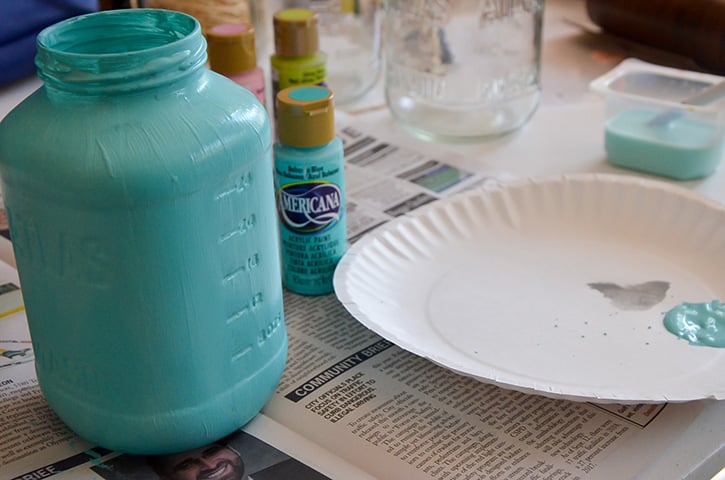
Paint the outside of the jars using Spring colors of paint. Set aside to dry.
Stencil the letters on the back of the Contact paper. Divide the word “Spring” into three clusters of two letters each.

Cut out the inside (positive part) of the letters with a craft knife; careful not to cut outside of these letters. Keep the little parts in the middle of the p and r.
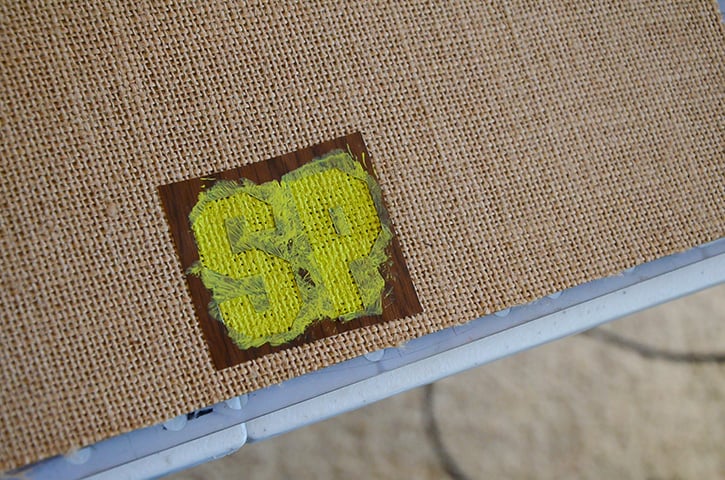
Place the “stencils” on the burlap sheet. Paint the letters onto the sheets. Set aside to dry.
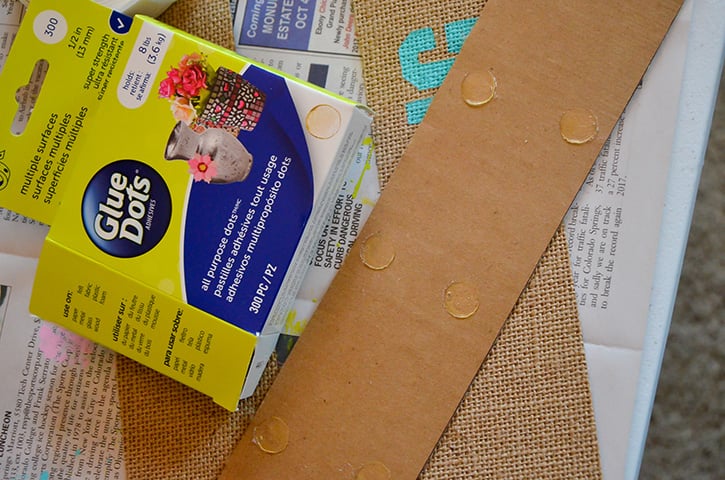
Once the letters are dried, peel off the stencil sheets and cut out the burlap sheets into 2 ½” strips. Add All Purpose Dots on the back of the sheet and adhere to the jar.
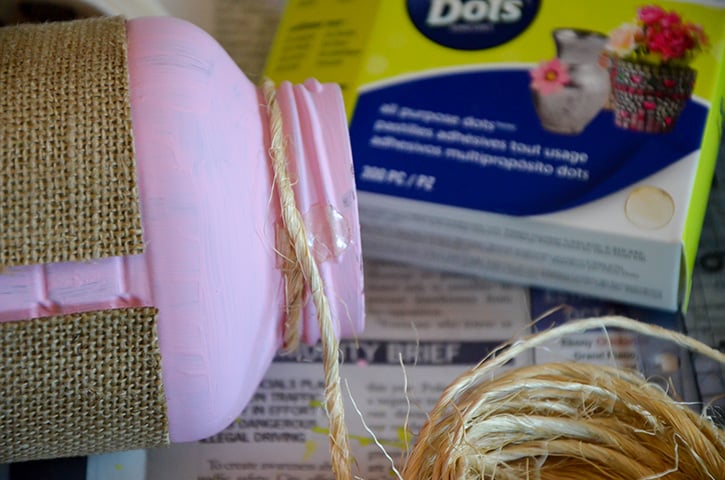
Place one All Purpose Dot to the back lip of the jar. Wrap the twine around the jar a few times making sure to adhere the string to the adhesive. Trim the excess.
Tie a bow with the twine and adhere the bow to the center of the wrapped twine using more All Purpose Dots.
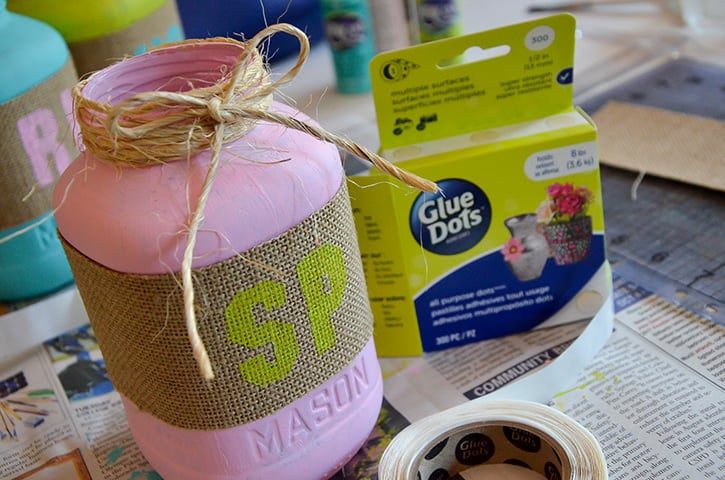
Repeat the process for all of the jars until you spell out SPRING.
Fill with flowers - and now enjoy!
~ Grace

I’m a mom to a 10 year old boy and an 8 year old girl. Therefore my life is usually filled with learning, new discovery, bribery and driving to and from all of our activities. I have a loving and very supportive husband of 11 years. When the kids have gone to bed at night, my time is spent crafting while catching up on my favorite shows and movies. I also enjoy reading, window shopping, knitting and perusing blogs for inspirations. Three years ago we moved to Colorado from California and we are enjoying our new environment. I feel very inspired with my new home, my new scrapbook space and the mountain views. Although I’ve been doing some type of scrapbooking since grade school, I only started to scrapbook seriously after my son was born. When he was born I knew I would be staying at home with him but coming from a fast paced sales job I was afraid I would ran out of things to do during the day. Little did I know that with newborns you won’t have any time to do anything else. Anyways, after going through a basic scrapbooking class I was hooked and haven’t stopped scrapping since.


